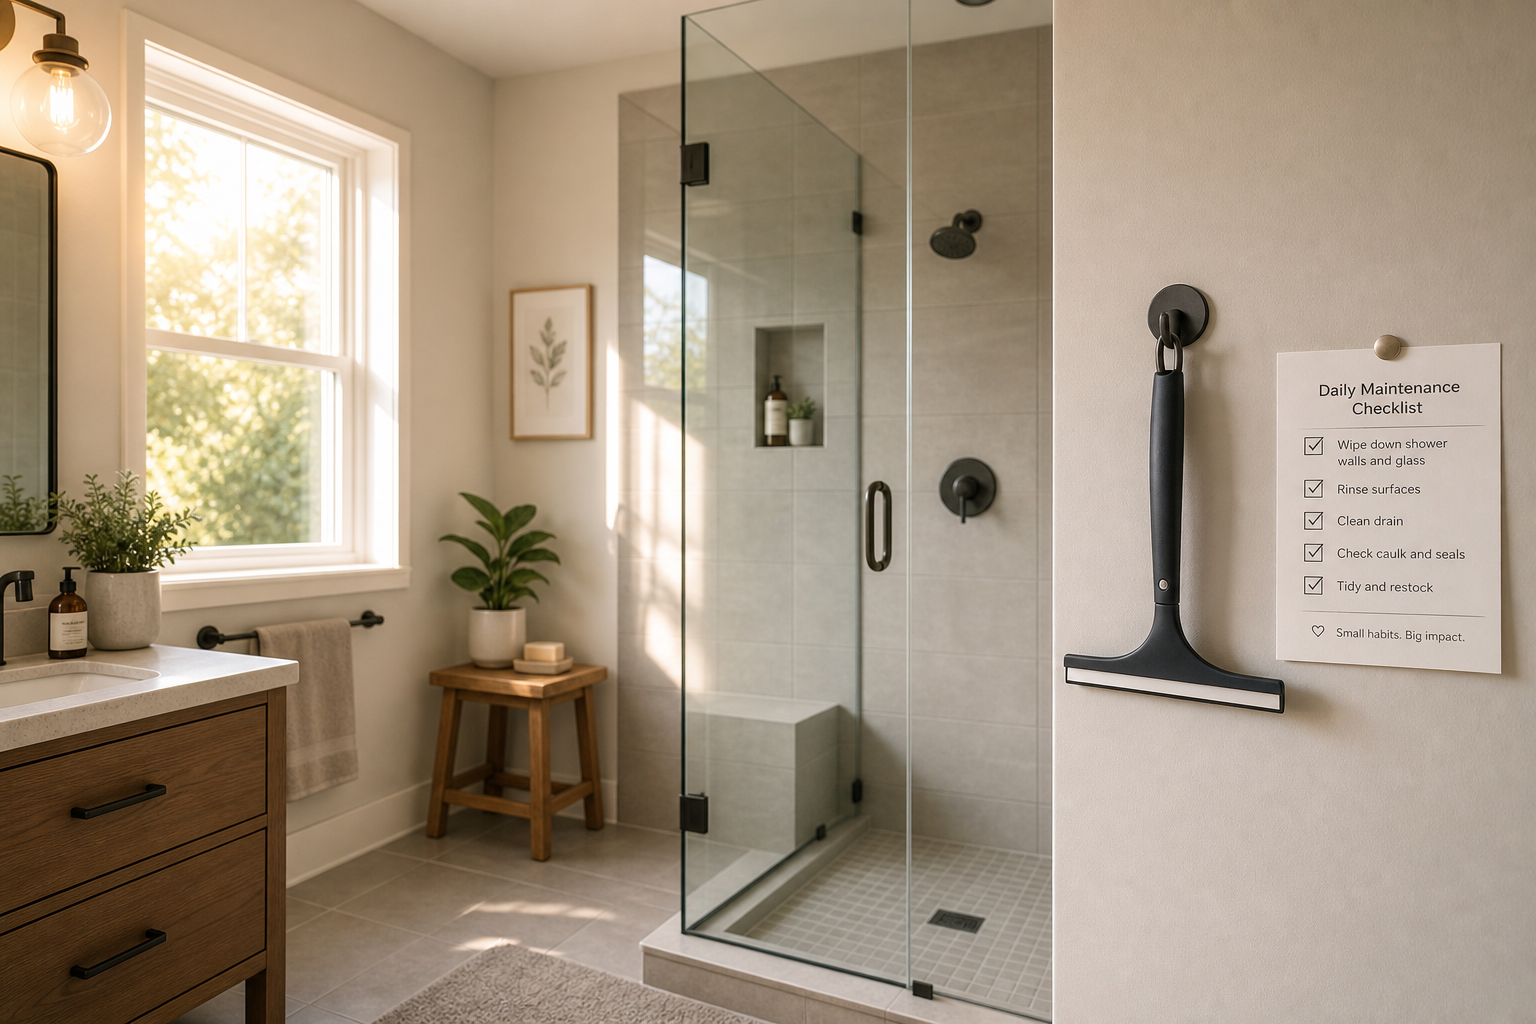
Caulk at the base of a shower or tub is a maintenance component, not a permanent installation. The household that treats it as permanent will eventually deal with mold in the caulk body that no surface cleaning removes. The household that replaces it on a schedule treats it as the sacrificial layer it was designed to be: a flexible, replaceable seal that fails before the tile, the waterproofing, or the framing does.
This is not a failure of the product. Silicone caulk in a shower environment performs exactly as engineered for three to five years. After that, the elastomer loses flexibility, the bond to tile and fixture surfaces weakens, and the joint that was watertight becomes a channel that holds moisture against surfaces meant to stay dry. The question is not whether caulk fails. It will. The question is whether you notice the failure before it causes secondary damage, and whether the replacement is done correctly enough to reset the clock for another three to five years.
What Caulk Actually Does in a Bathroom
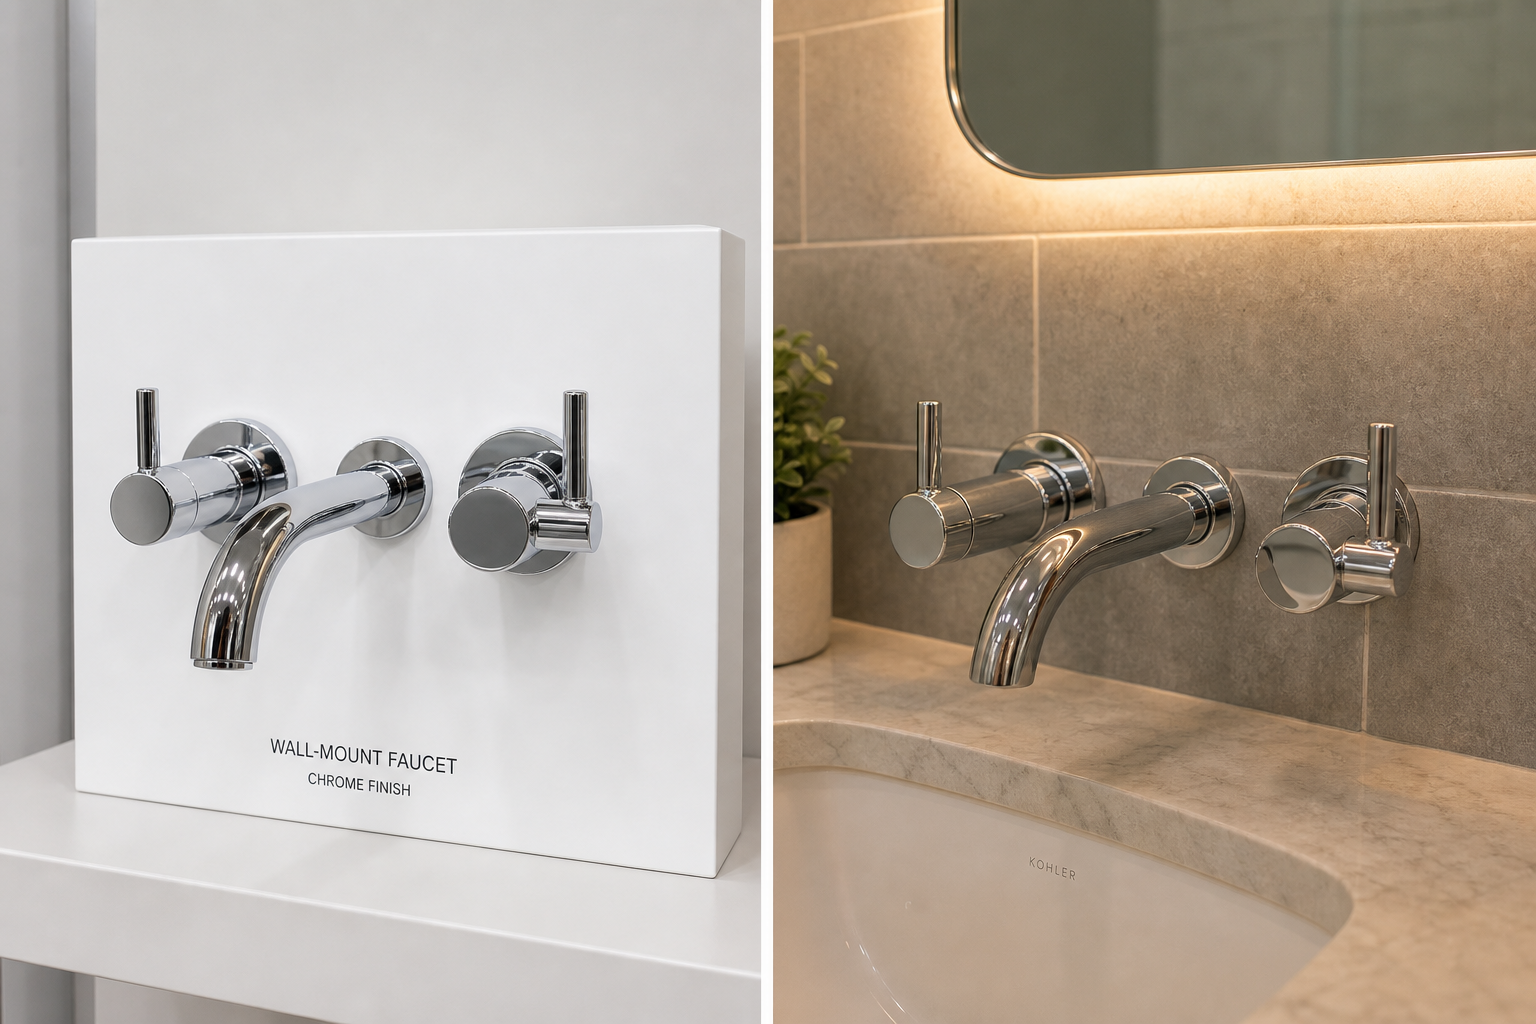
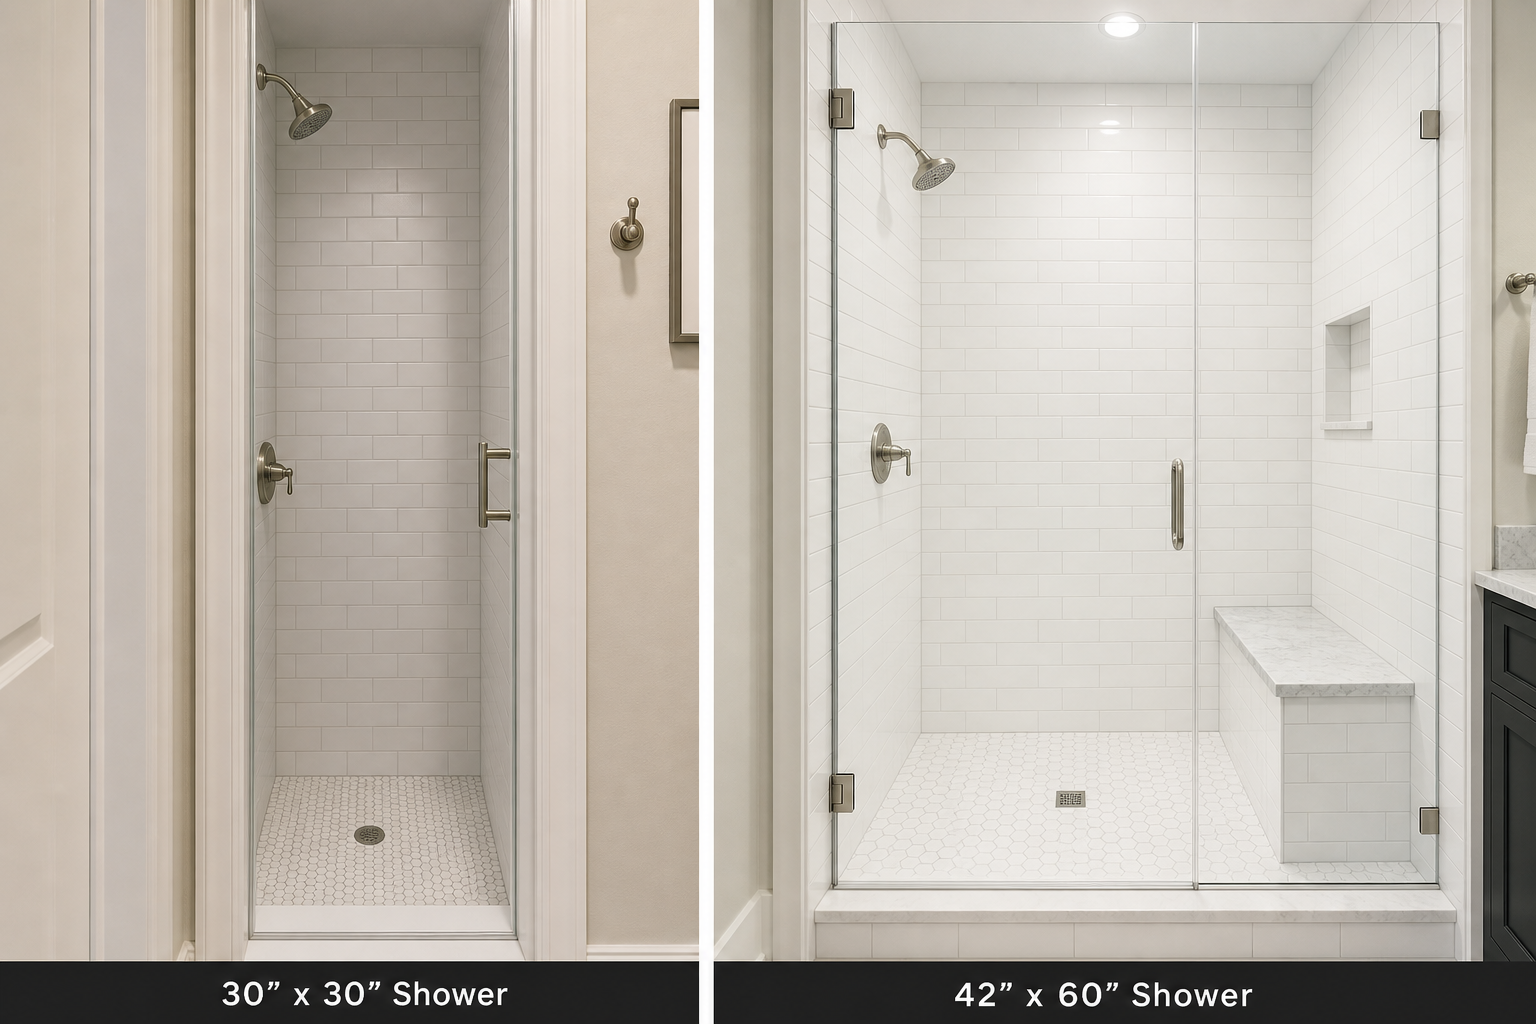
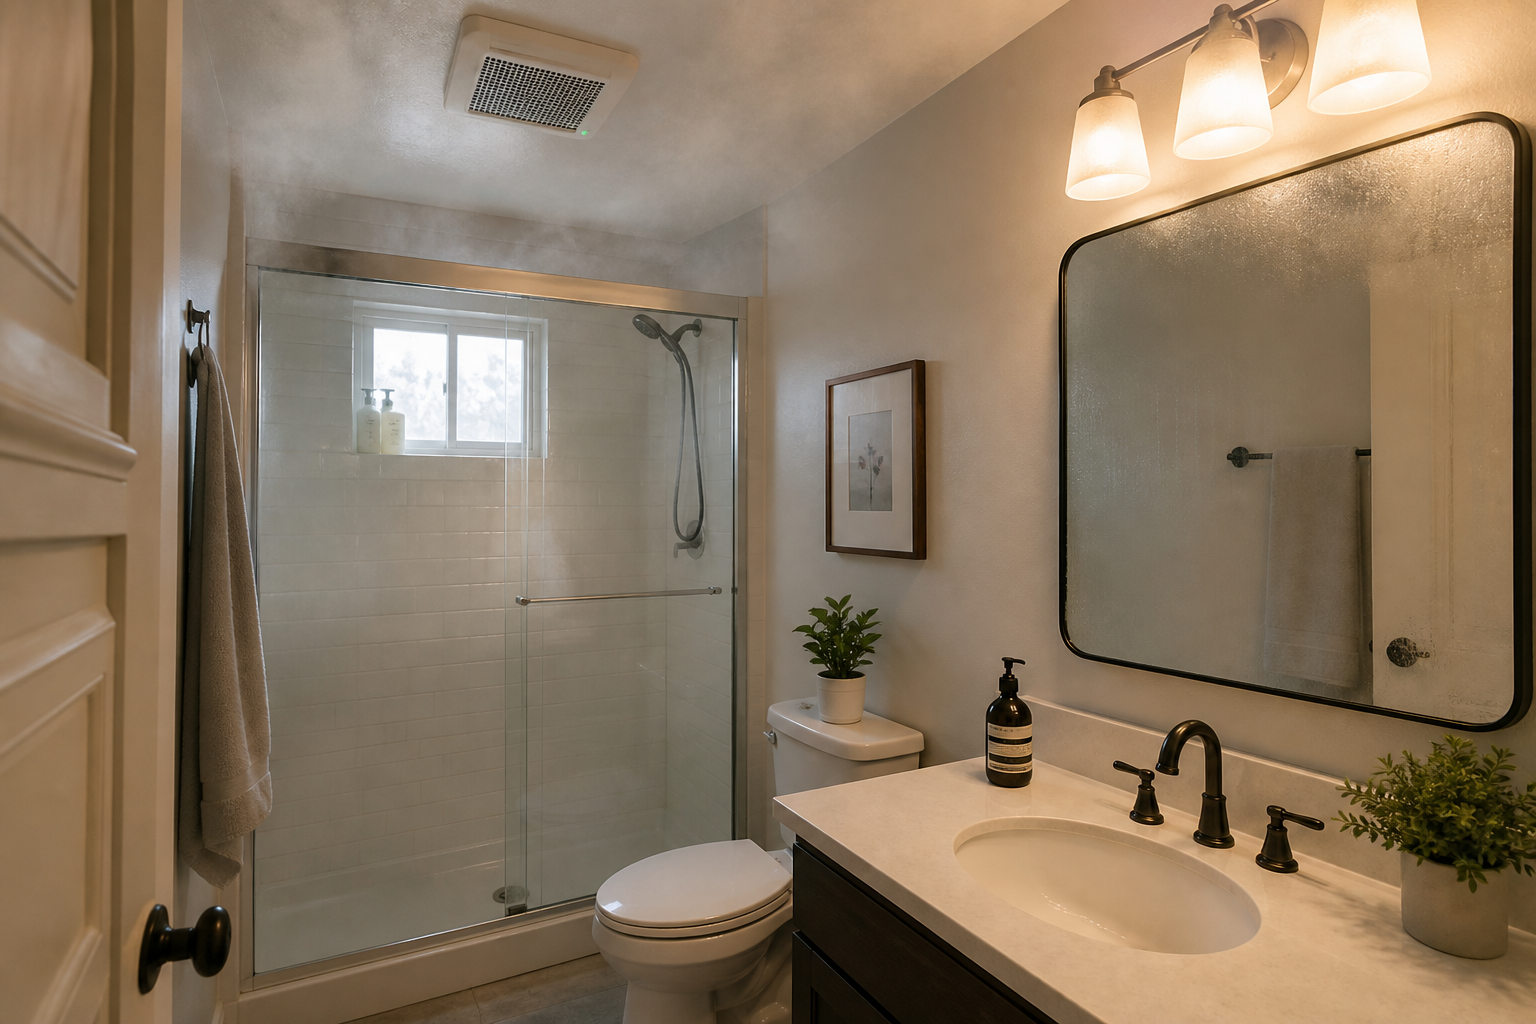
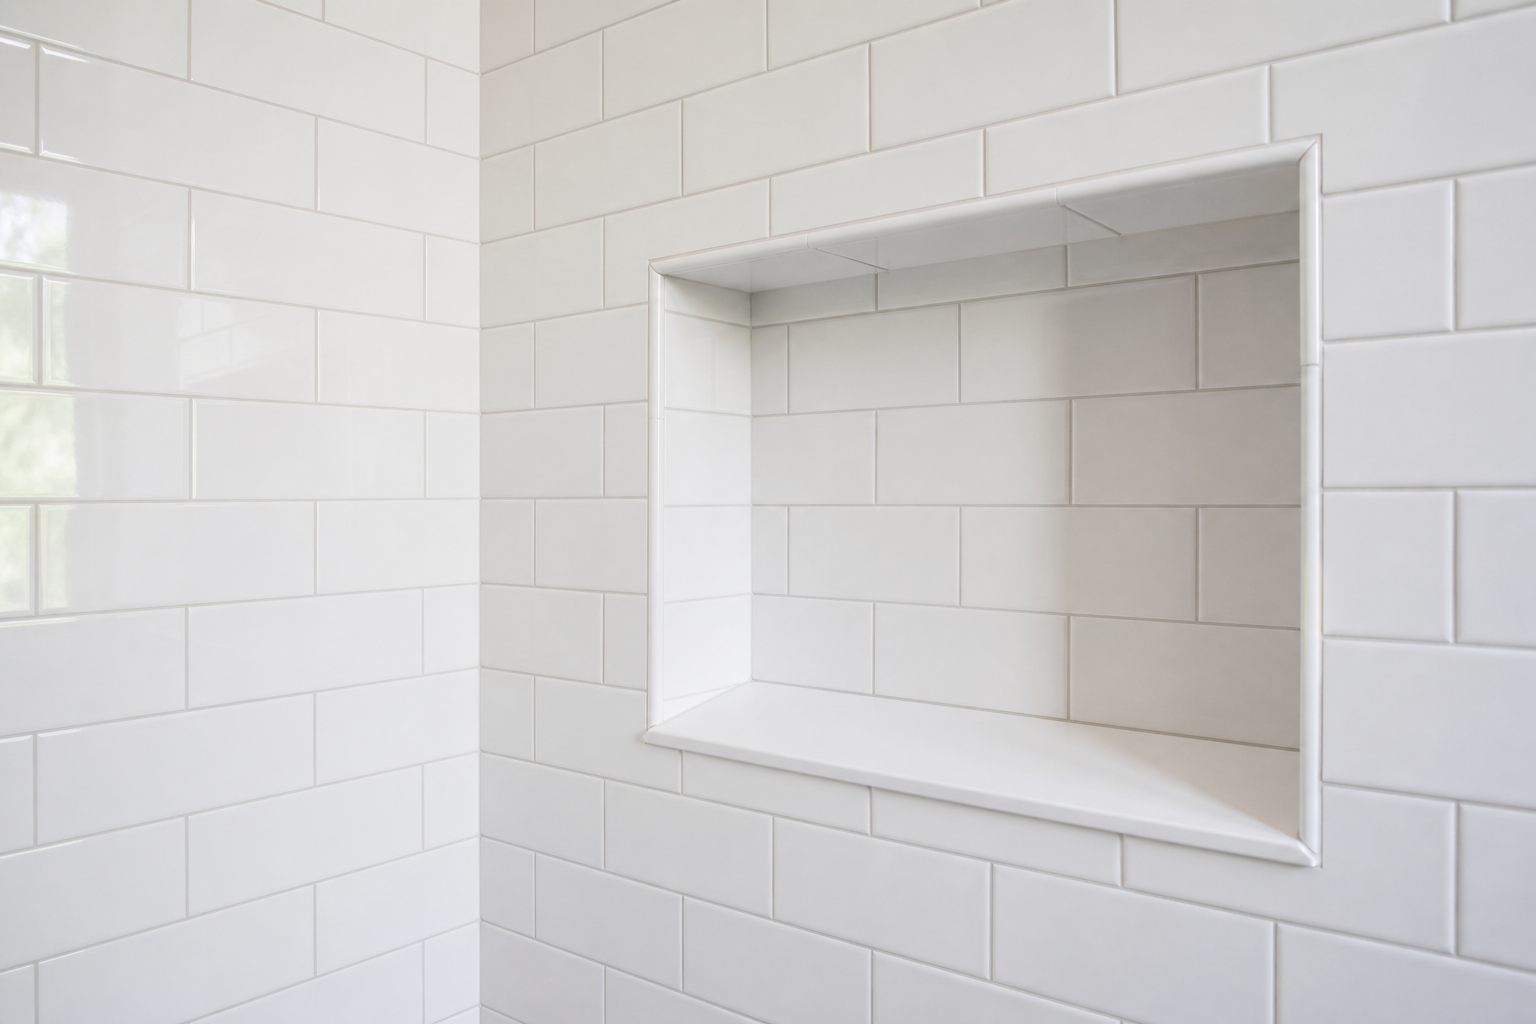
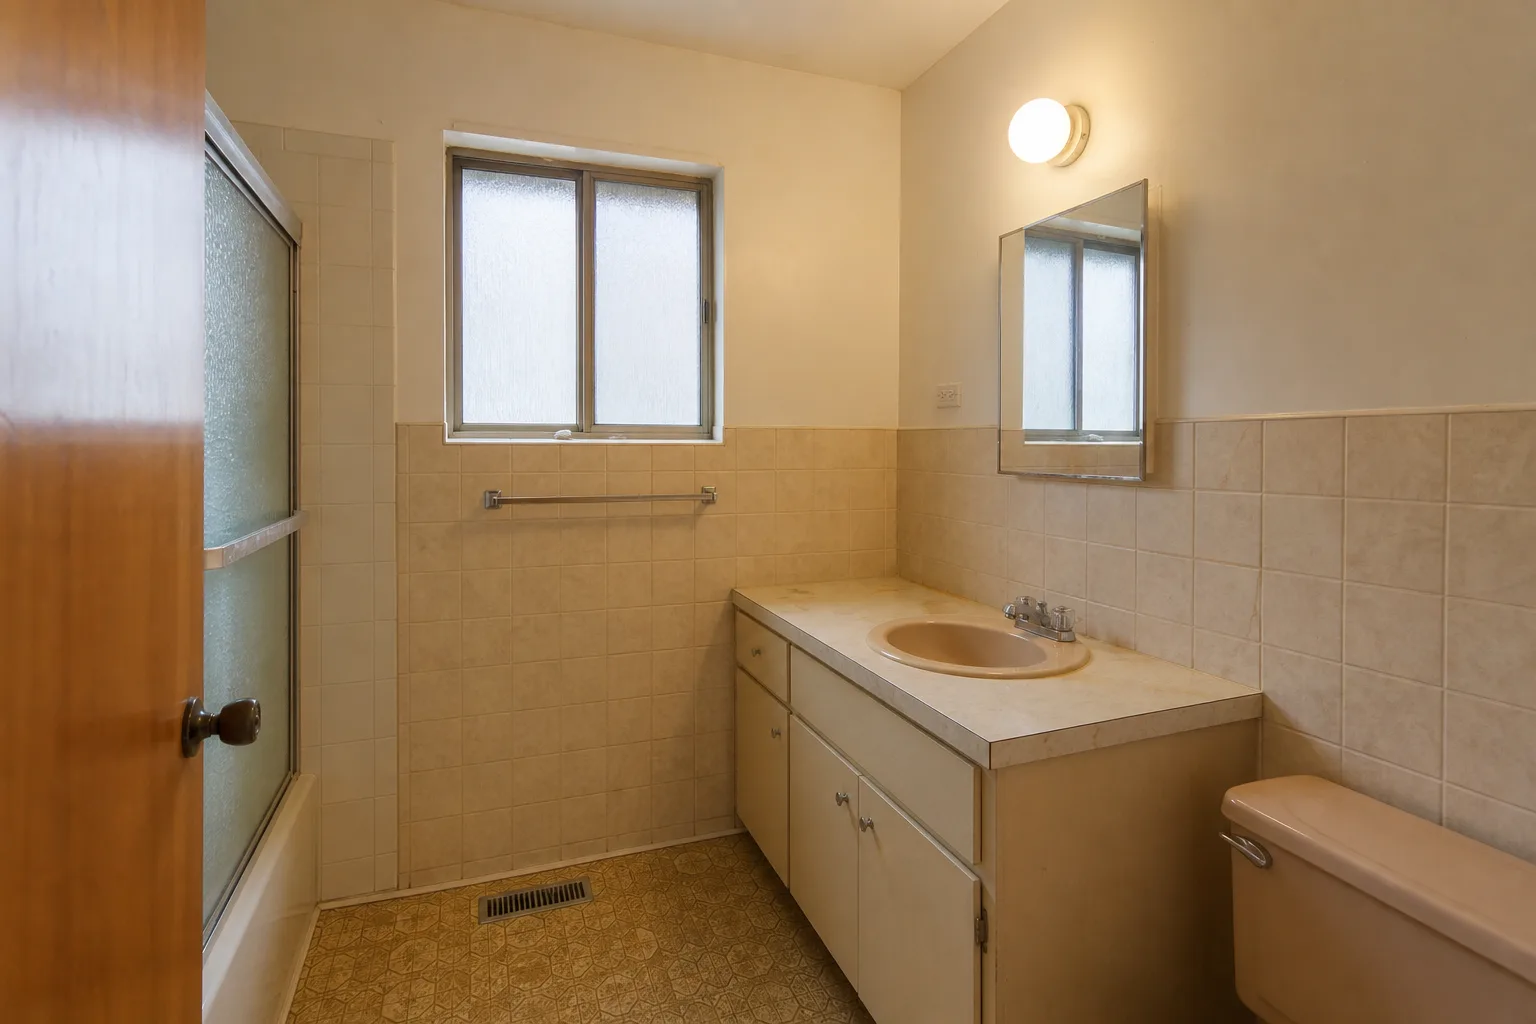
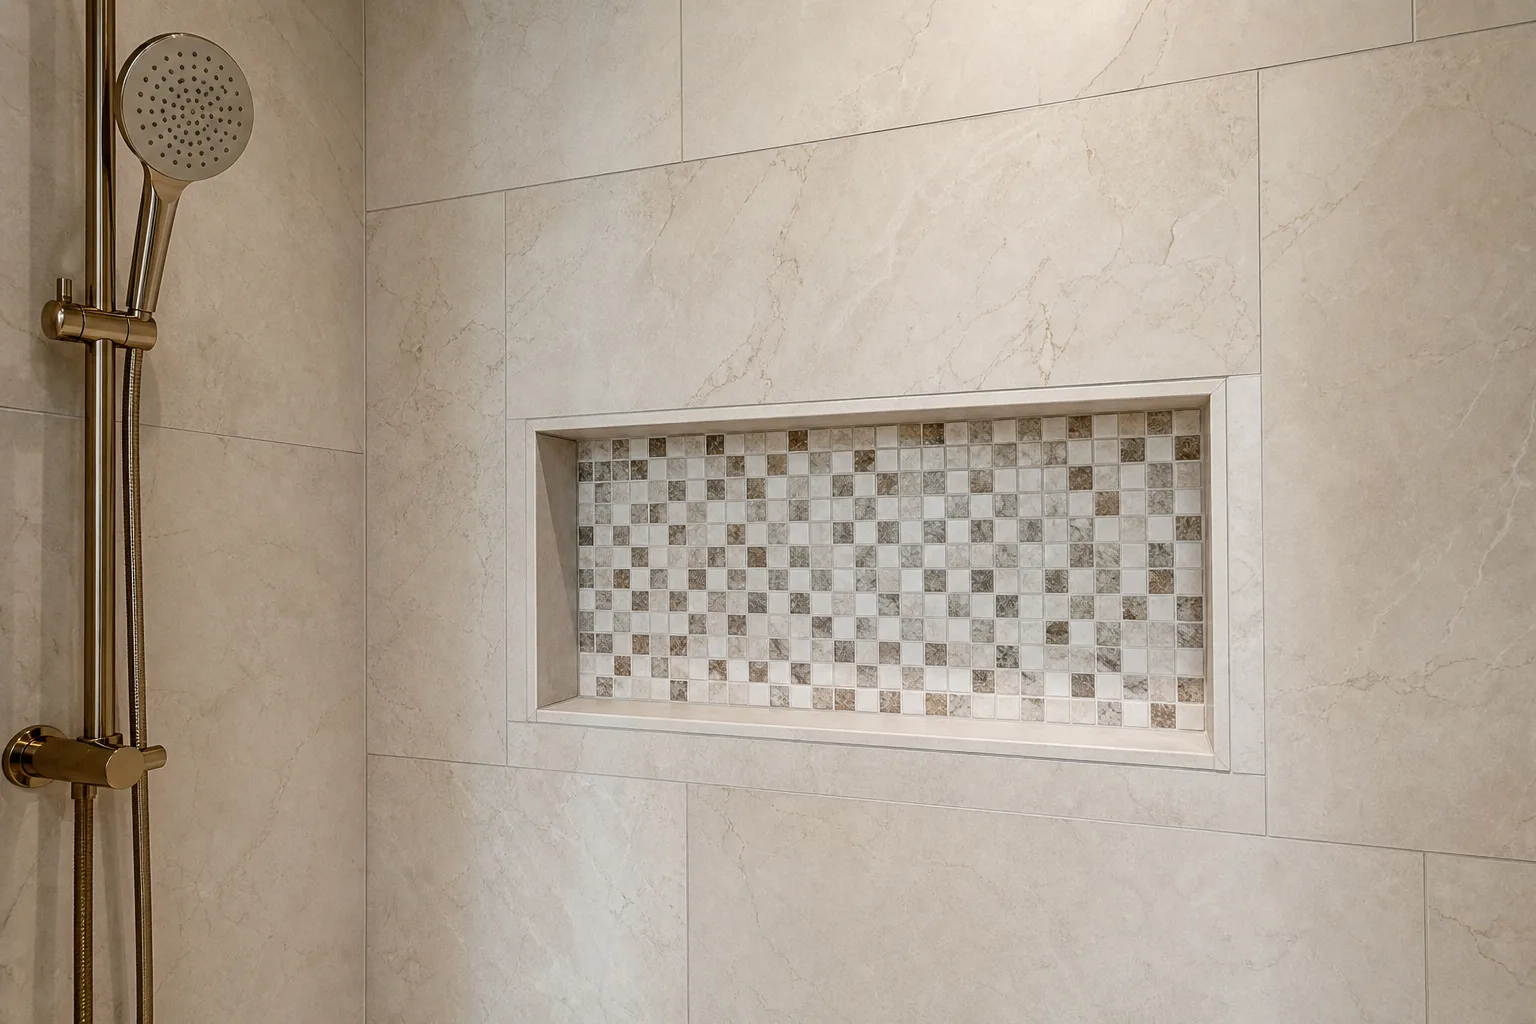
Caulk and grout serve different functions and fail in different ways. Grout fills the joints between tile units on a single plane. It is rigid, cement-based or epoxy-based, and designed to compress slightly but not flex significantly. Caulk fills joints at changes of plane: where the tub meets the wall, where the shower floor meets the wall, where the countertop meets the backsplash, where the toilet base meets the floor. These locations move. The tub flexes when filled with water. The wall expands and contracts with temperature and humidity. The joint between them must accommodate that movement without cracking.
Silicone caulk is an elastomer. It stretches and compresses with the surfaces it bonds to. It adheres to tile, porcelain, acrylic, and most common bathroom materials. It repels water. Mold-resistant formulations include biocides that inhibit fungal growth on the caulk surface. These properties make silicone the correct product for wet-area changes of plane. They do not make it permanent.
Acrylic latex caulk, sometimes labeled as paintable caulk or siliconized acrylic, is a different product. It is water-soluble during application, paintable after cure, and less expensive than silicone. In dry interior applications like sealing baseboard to drywall, acrylic caulk performs adequately. In shower and tub environments, acrylic caulk absorbs moisture, loses flexibility faster, and provides a porous surface that supports mold growth. The standard guidance from caulk manufacturers and building professionals is consistent: silicone for areas that get water, acrylic for areas that get painted.
Using acrylic caulk at a shower base is a specification error that produces mold within one to two years regardless of how well the joint was tooled. Using silicone caulk at a shower base is the correct specification that produces a functional seal for three to five years before replacement is needed.
The Three-to-Five-Year Lifespan
Shower and bathtub caulk exposed to constant moisture and temperature cycling has a functional lifespan of approximately three to five years. This estimate comes from multiple manufacturer and industry sources and reflects field performance under normal residential use, not laboratory ideal conditions.
During those three to five years, the silicone elastomer maintains flexibility and adhesion. The joint stays watertight. Surface mold that appears can be cleaned with a mildew remover because it sits on the caulk surface, not in the caulk body. The caulk performs its sacrificial function: it takes the environmental stress so the materials behind it do not have to.
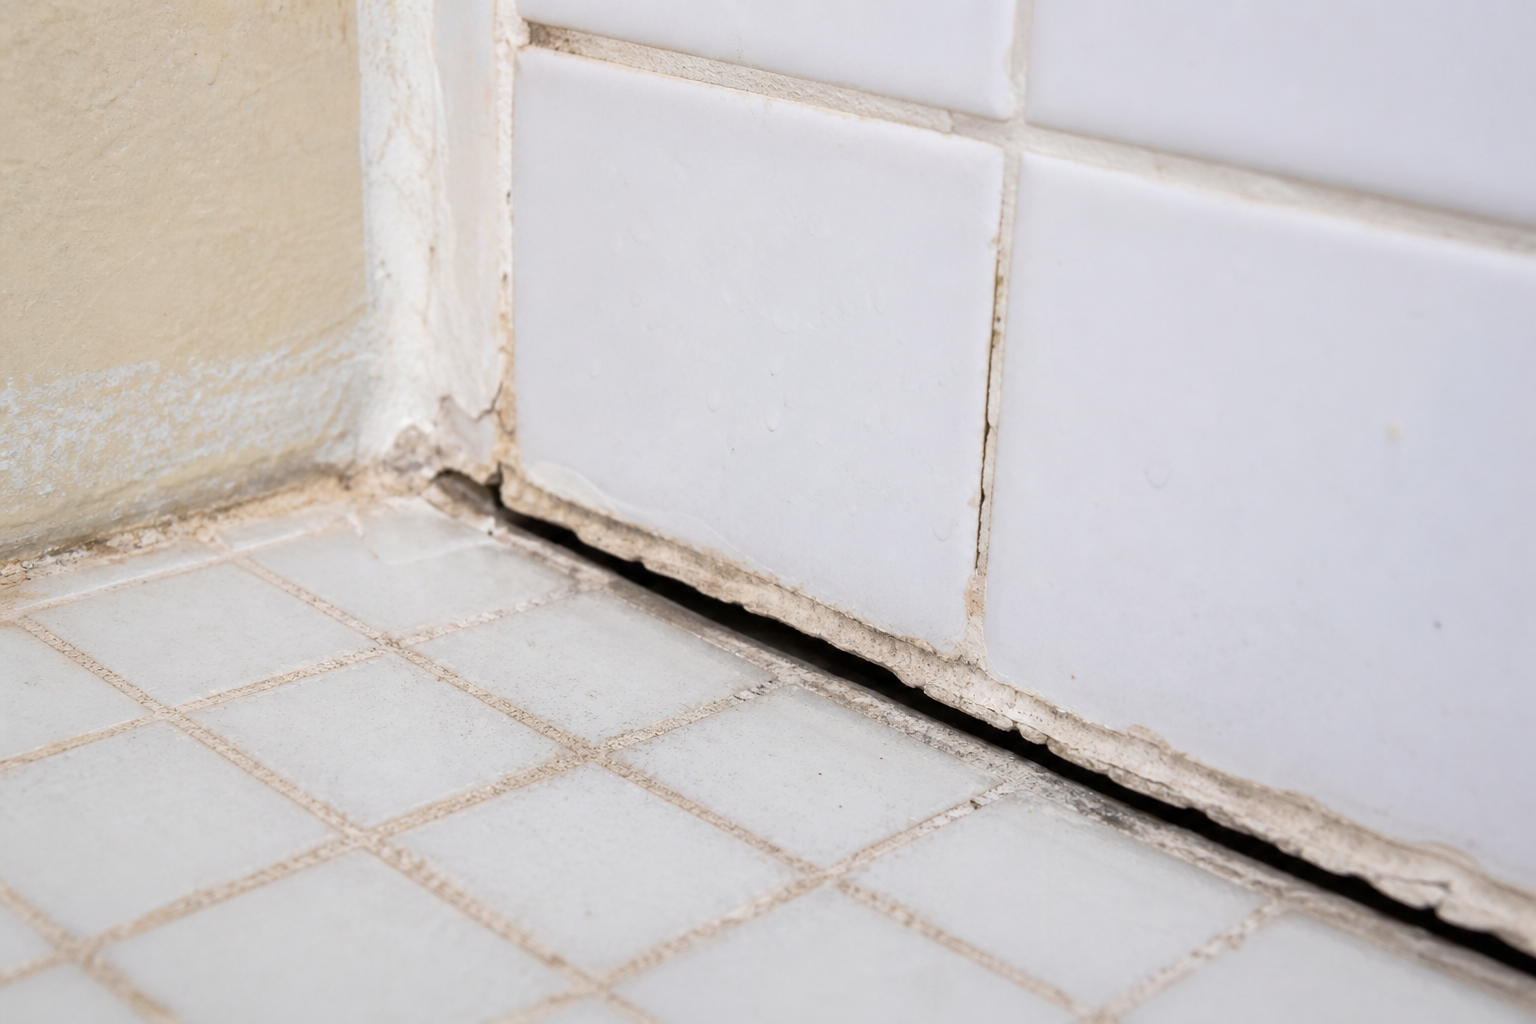
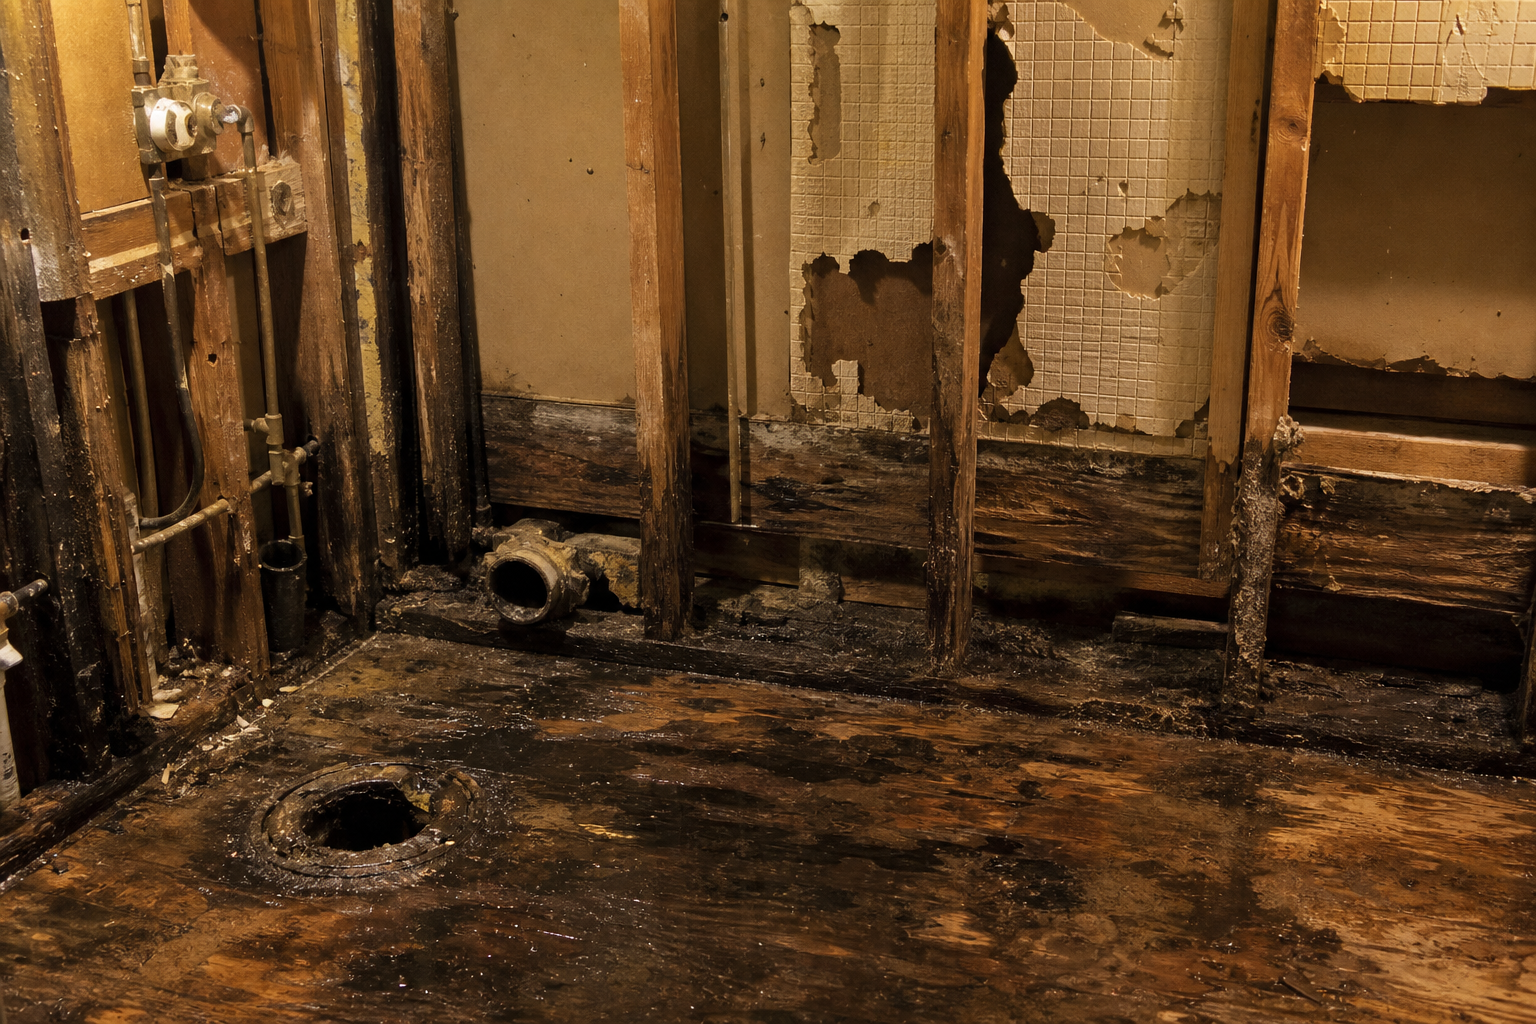
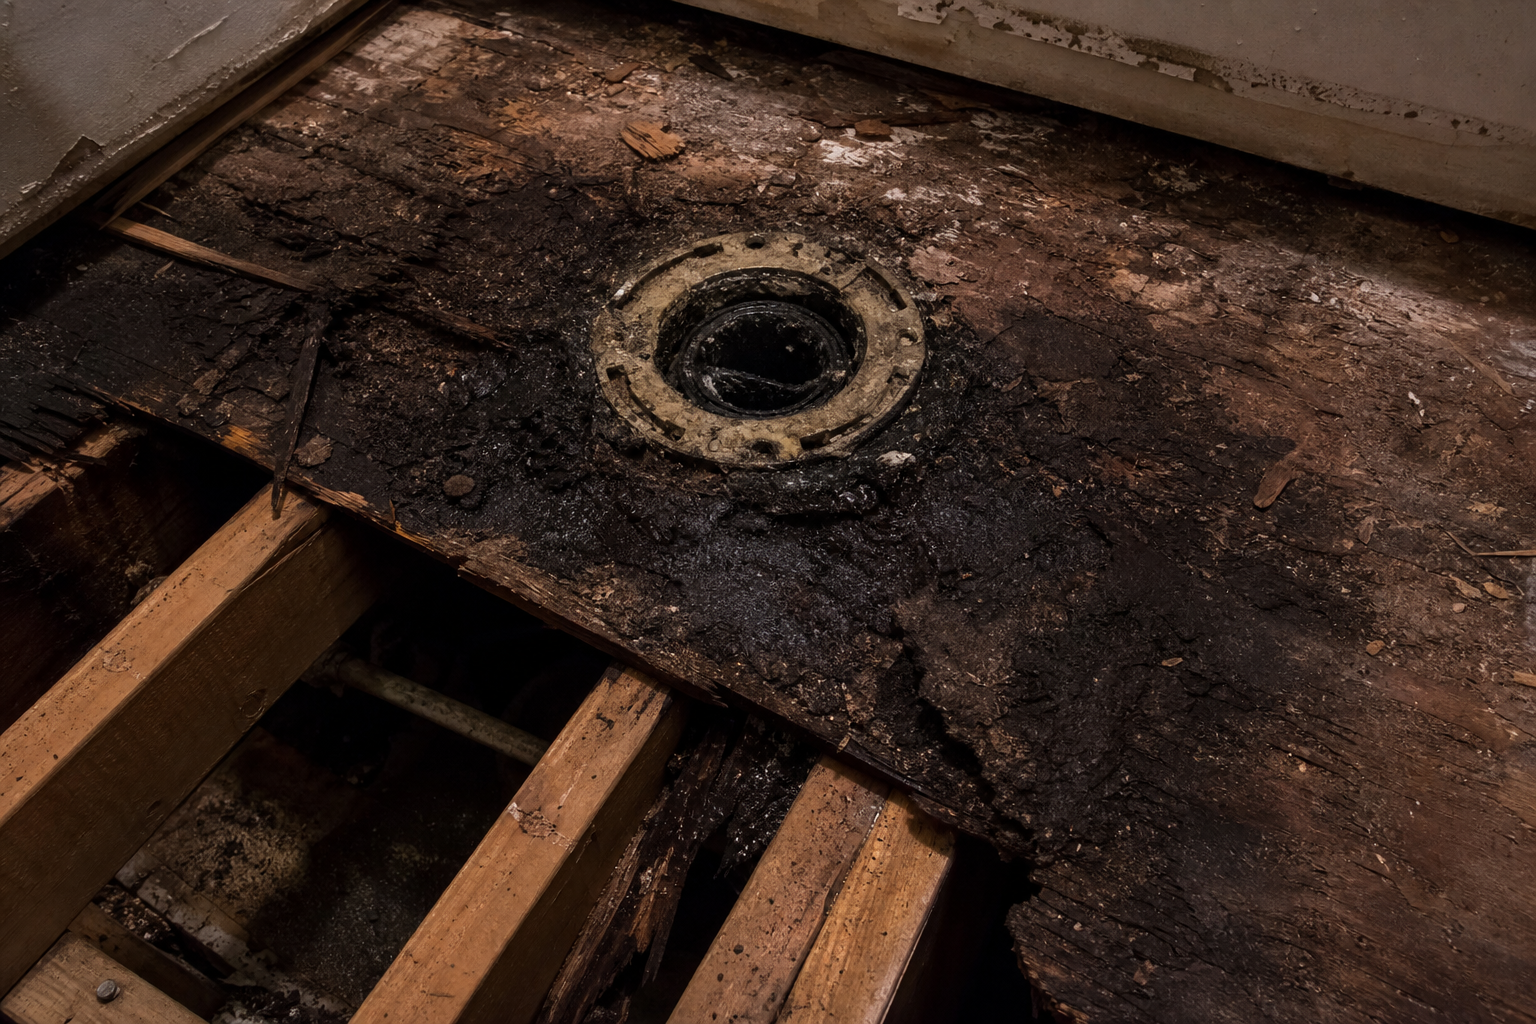
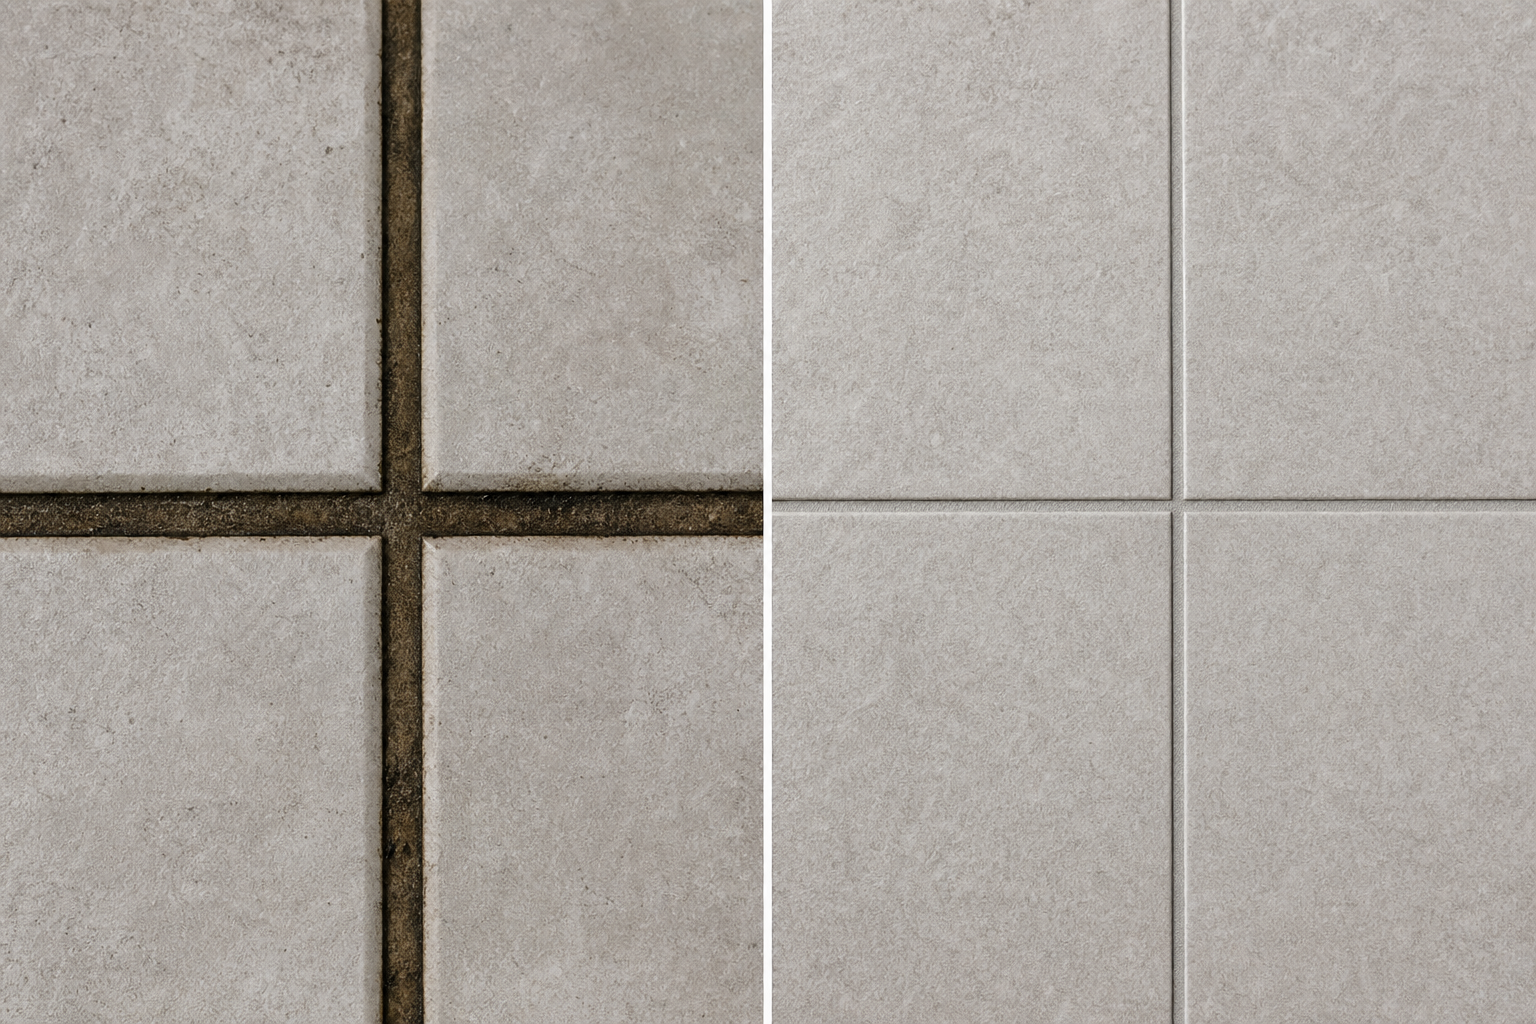
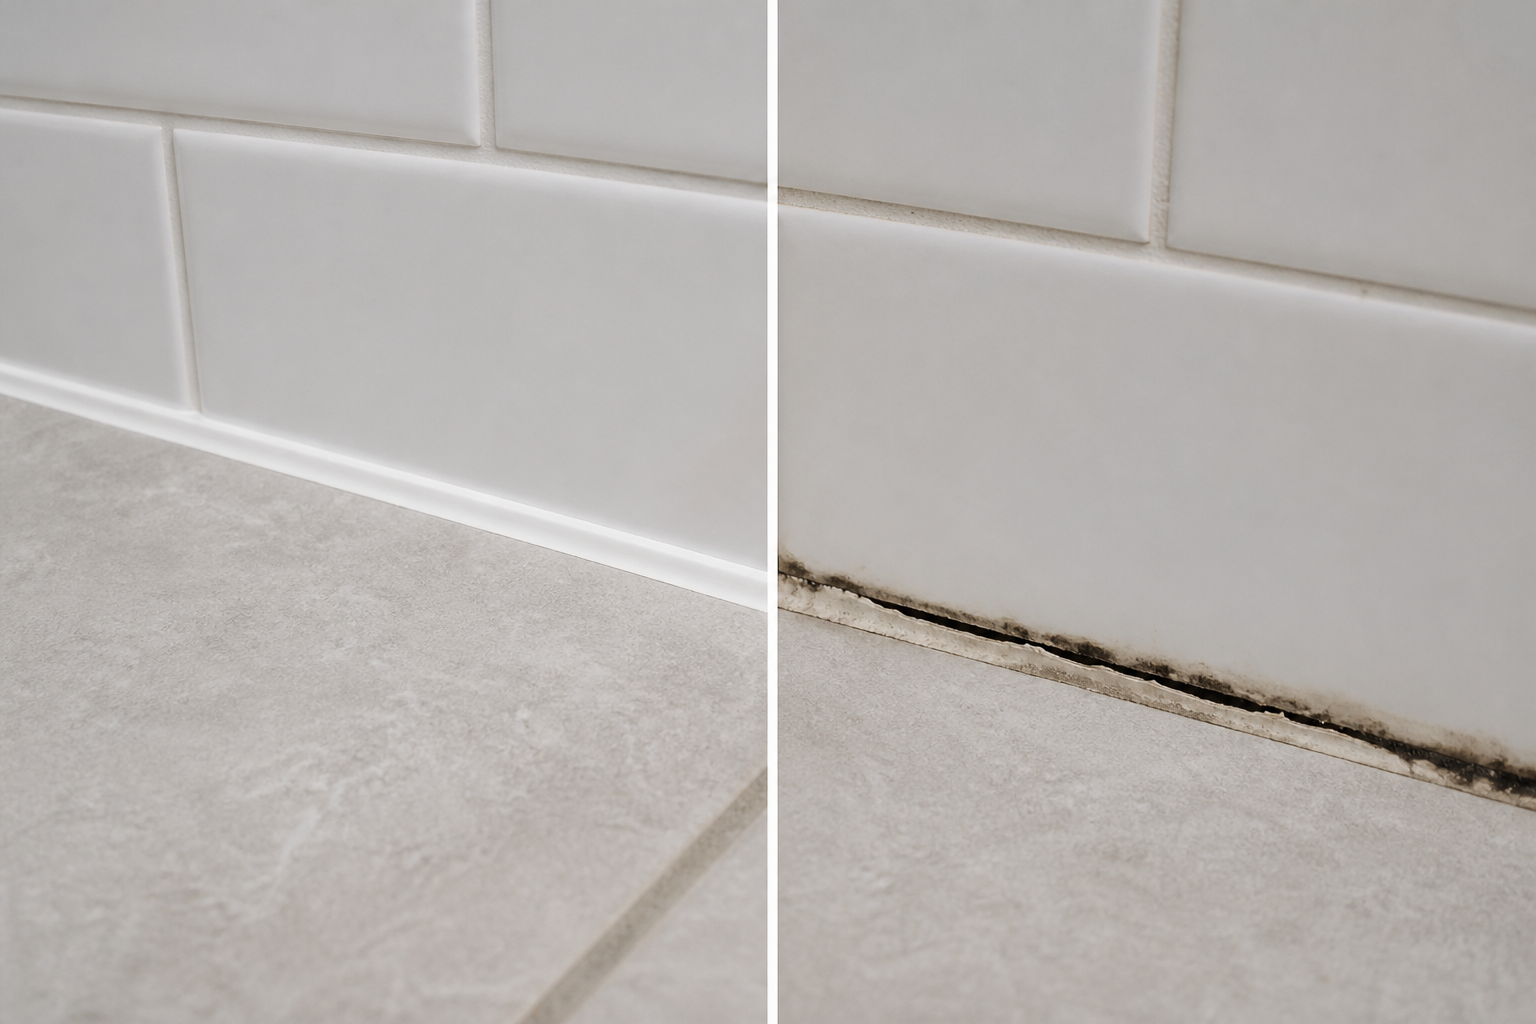
After three to five years, several things happen simultaneously. The elastomer begins to lose flexibility and may crack under movement. The adhesive bond to tile or fixture surfaces weakens, creating gaps that water enters. The biocide in mold-resistant formulations depletes, and mold begins colonizing the caulk body itself, not just the surface. Once mold is inside the caulk matrix, surface cleaning with bleach or mildew remover removes the visible growth but not the colony in the material. The mold returns within days or weeks because the root cause is the contaminated caulk, not surface conditions.
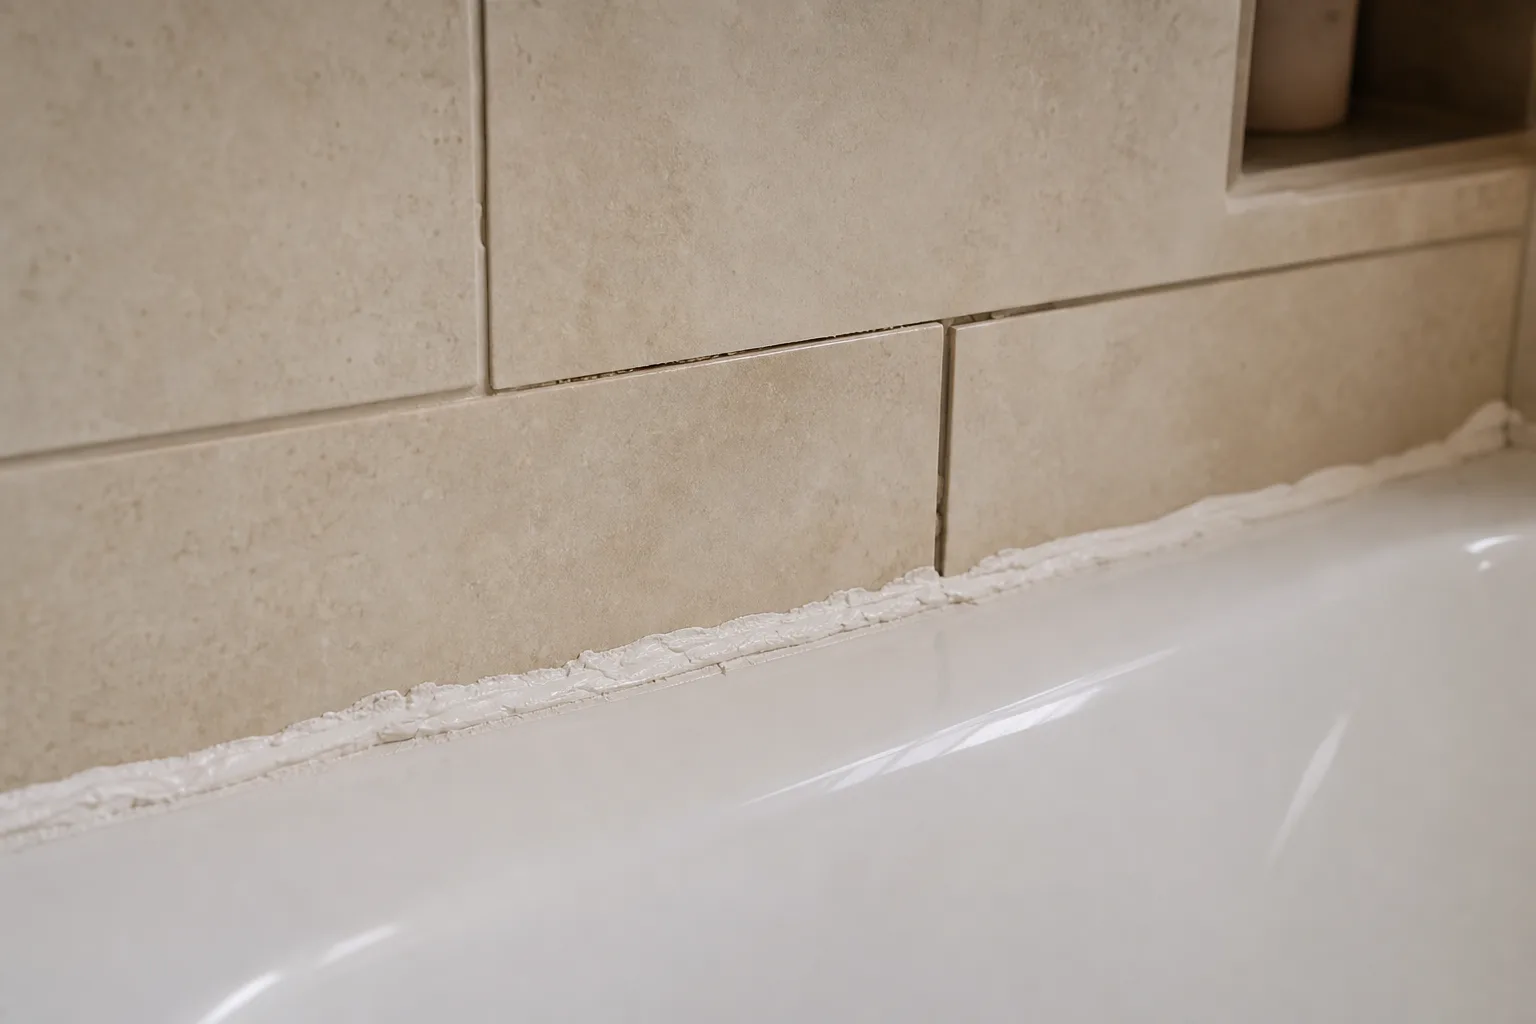
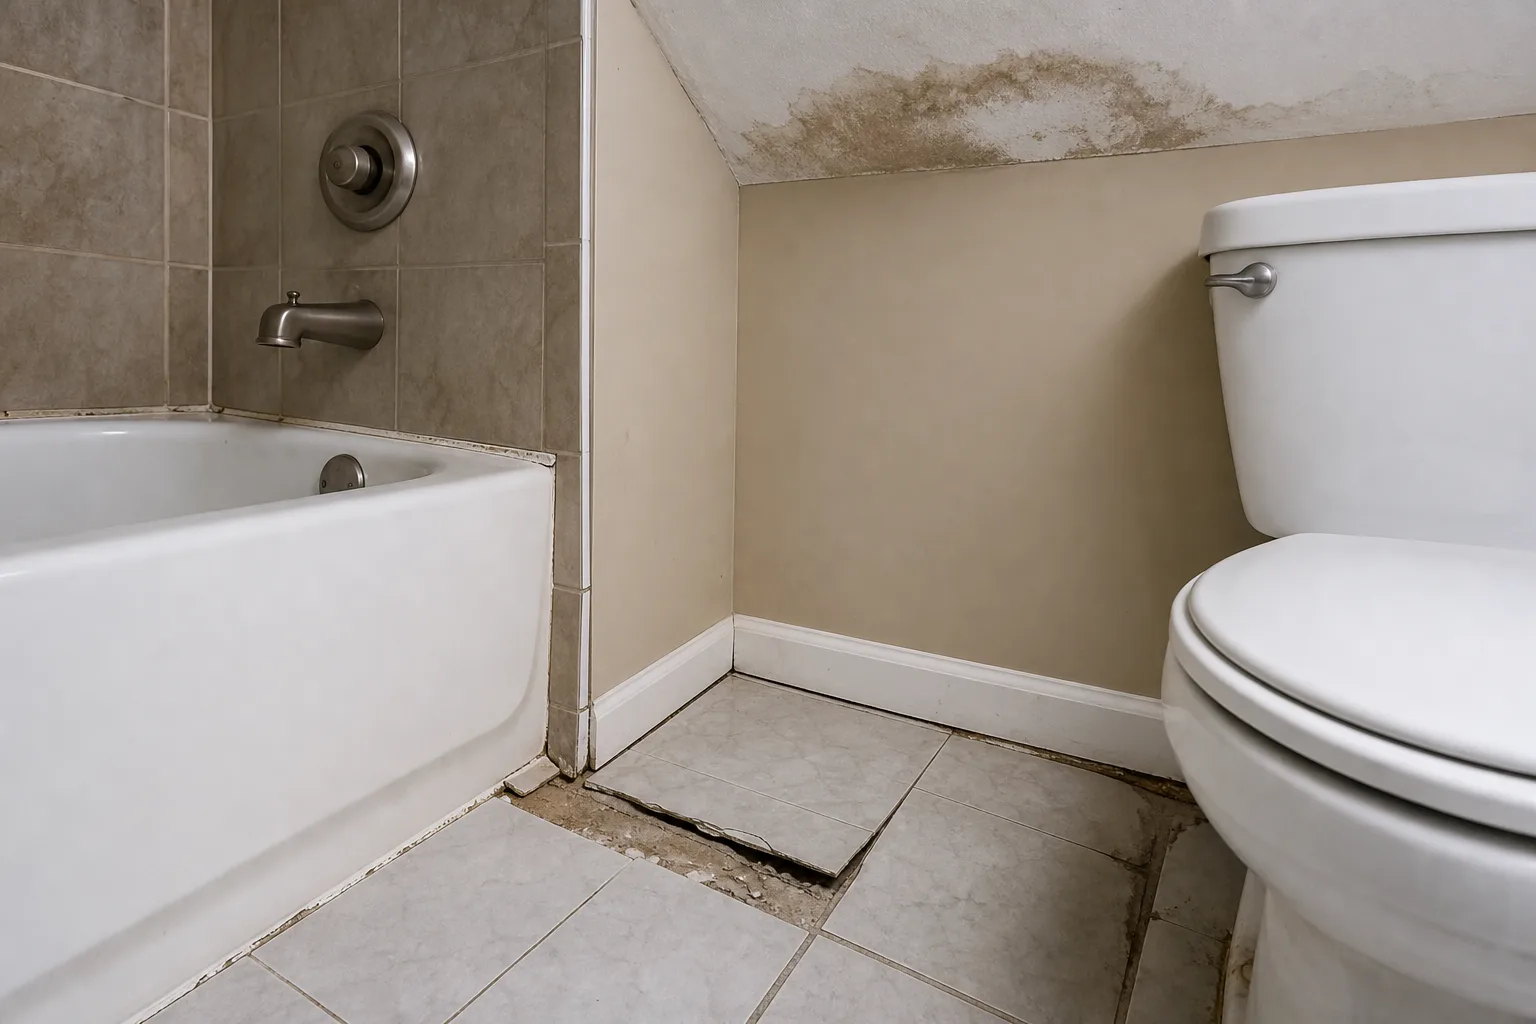
These failure modes are progressive, not sudden. Early-stage failure shows as slight discoloration, a loss of gloss, or minor separation at one end of the joint. Mid-stage failure shows as visible gaps, persistent mold despite cleaning, or caulk that feels stiff rather than rubbery when pressed. Late-stage failure shows as peeling caulk, water penetration behind the joint confirmed by a spray test, and mold staining that extends into adjacent grout or tile.
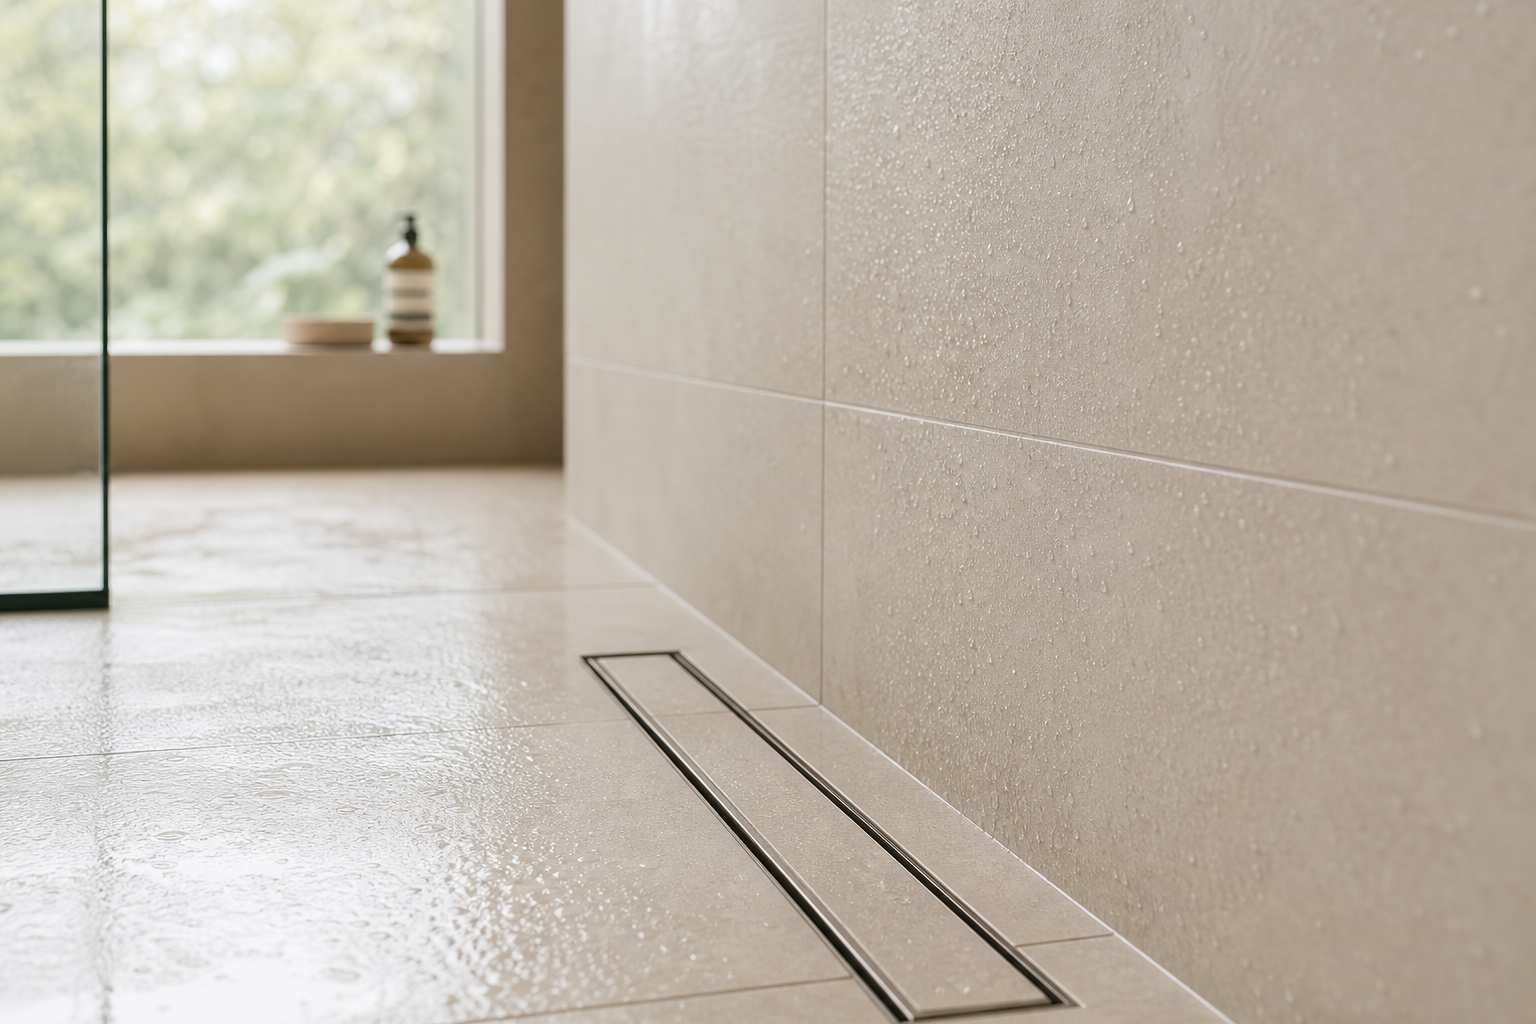
The spray test is simple. Splash water on the caulk joint and observe. If water beads and runs off, the seal is intact. If water disappears into the seam, blot the area with a paper towel. If the towel picks up moisture, the seal has failed and water is entering the joint.
When to Replace, Not Patch
The most common caulk maintenance mistake is applying new caulk over old caulk. This produces a cosmetic improvement that lasts weeks before the underlying failure reappears. New silicone does not bond reliably to old silicone. The old caulk continues to fail beneath the new layer. Mold in the old caulk body continues to grow. Water continues to enter gaps that the new bead covers but does not seal.
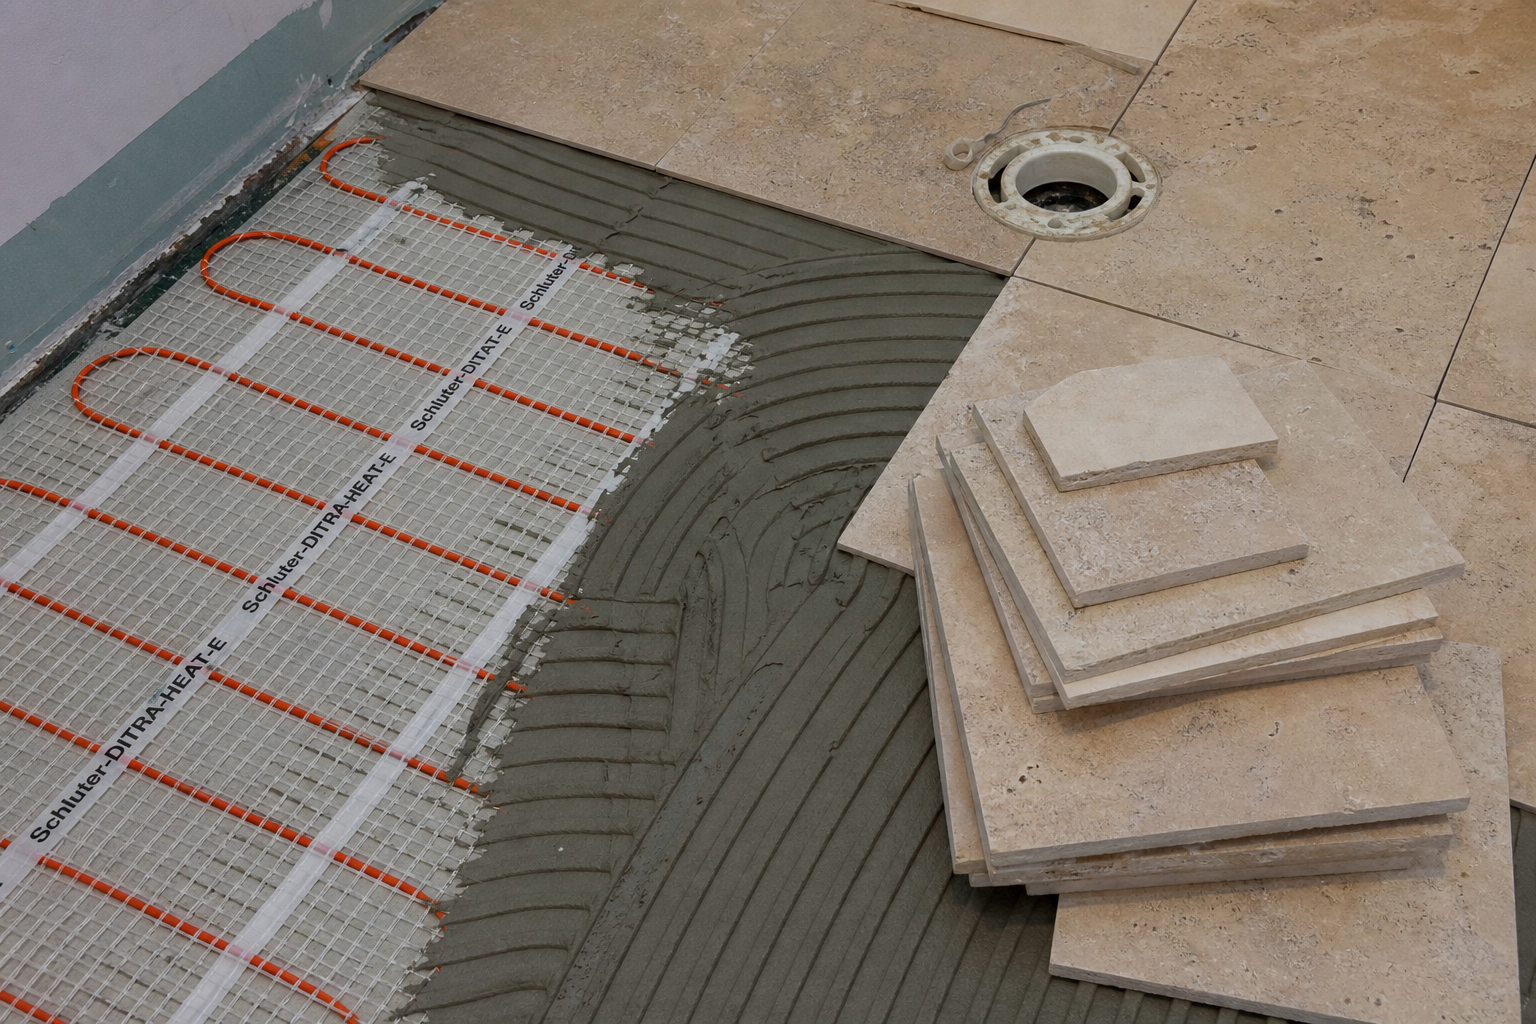
Proper replacement requires complete removal of the old caulk before new caulk is applied. Score both edges of the existing bead with a utility knife. Peel away the bulk material. Remove remaining residue with a silicone caulk remover or mineral spirits on a clean cloth. The surface must be dry, clean, and free of any old caulk, soap film, or mold before the new bead goes down. This preparation takes longer than the application. It is the step that determines whether the replacement lasts three years or three months.
Joint preparation also matters. A caulk joint that is too shallow, too narrow, or filled with debris from the old installation will fail prematurely regardless of product quality. The joint should be clean, dry, and deep enough to accept a bead that contacts both surfaces along its full length. Painter's tape applied parallel to the joint creates clean edges and prevents excess caulk from spreading onto tile faces.
Application technique: load a quality 100 percent silicone caulk into a caulk gun. Cut the nozzle at a 45-degree angle sized to the joint width. Apply a continuous bead with steady pressure. Tool the bead with a wet finger, smoothing tool, or soapy water on a cloth within the product's working time. Remove tape before the caulk skins. Allow full cure per manufacturer instructions, typically 24 to 48 hours, before exposing the joint to water.
Products labeled as caulk renewal or caulk overlay, designed to be applied directly over existing caulk, are convenience products for cosmetic refresh of intact caulk. They are not replacements for caulk that has failed structurally or been colonized by mold.
What to Use for Replacement
For shower and tub applications, the specification is 100 percent silicone, mold and mildew resistant, formulated for bathroom use. Not siliconized acrylic. Not paintable caulk. Not hybrid products marketed as multi-surface sealants unless the manufacturer explicitly rates them for continuous wet exposure.
The distinction matters because 100 percent silicone maintains flexibility and water repellency in sustained moisture environments. Acrylic and hybrid products do not. Loctite, GE, DAP, and other major manufacturers all produce bathroom-specific silicone formulations with mold inhibitors and labels indicating shower and tub suitability.
Color selection is secondary to product type but not irrelevant. White caulk on white tile shows mold and discoloration earliest. Clear silicone yellows slightly over time but hides better on varied surfaces. A caulk color matched to the tile or fixture reduces the visual impact of the joint and makes early-stage discoloration less noticeable. The maintenance schedule is the same regardless of color.
Premium silicone products with enhanced mold inhibitors and longer-rated lifespans may extend the replacement interval toward the five-year end of the range. They do not eliminate the need for replacement. No consumer caulk product produces a permanent wet-area seal. Planning for replacement at year three to five is the realistic maintenance schedule.
Mold in Caulk: When Cleaning Stops Working
Surface mold on intact caulk is a cleaning problem. Mold inside failed caulk is a replacement problem. The distinction is visible and tactile.
Surface mold appears as dark specks or patches on the caulk face. It removes with a mildew cleaner, bleach solution, or vinegar application. The caulk beneath remains flexible, adheres to both surfaces, and passes the spray test. Clean it and monitor.
Body mold appears as persistent darkening that returns within days of cleaning, discoloration that extends below the caulk surface, or caulk that feels porous or crumbly when probed. The mold has colonized the elastomer. No surface treatment reaches the colony. The caulk must come out completely.
The health concern is real but often overstated. Mold in shower caulk is typically surface mold species, not the black mold associated with wall cavity contamination. It is unsightly, produces musty odor, and indicates a failed seal that is allowing moisture where it should not go. It is not, in most cases, a structural emergency. It is a maintenance signal that the sacrificial layer has served its term and needs replacement before moisture reaches the waterproofing or framing behind the tile.
Replacing mold-contaminated caulk requires the same complete removal process as any caulk replacement, with additional attention to cleaning mold residue from the tile and fixture surfaces beneath the old bead. A diluted bleach solution applied to the exposed joint after caulk removal kills remaining spores on the tile surface. The area must dry completely before new silicone is applied.
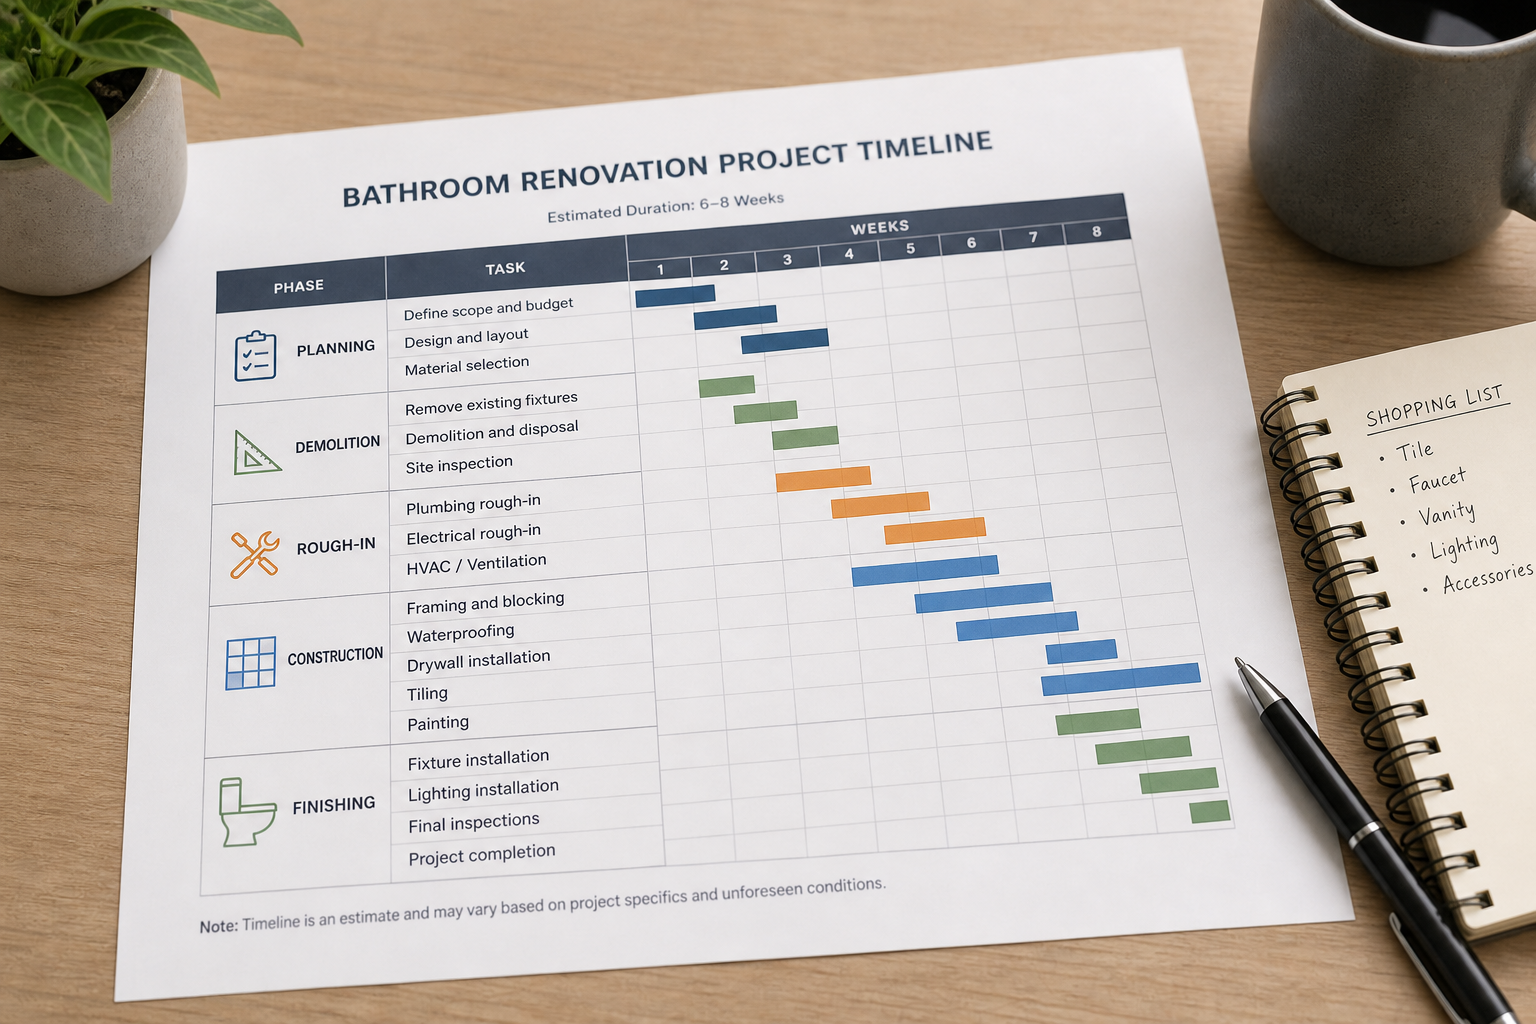
We include caulk maintenance schedules in every project closeout: which joints to inspect annually, which products to use, and how to remove old caulk completely rather than patching over it. The shower base joint, the tub-to-wall transition, the countertop-to-backsplash seam, and the toilet base are the four locations most homeowners will encounter. Each has the same three-to-five-year replacement cycle in a wet or splash-exposed location. Knowing that cycle before the renovation is complete prevents the surprise of discovering mold in caulk that was assumed to be permanent.