Rectified tile and non-rectified tile of the same nominal size are not the same product. The label on the box may say 24 by 24 inches for both. The manufacturing process, the dimensional tolerance, the grout joint you can specify, and the substrate preparation required to install them successfully are entirely different. Rectification is a post-firing mechanical process that trims all four edges to a precise facial dimension. That precision is what makes joints as narrow as 1/16 inch achievable. It is also what makes every substrate irregularity visible in the finished surface.
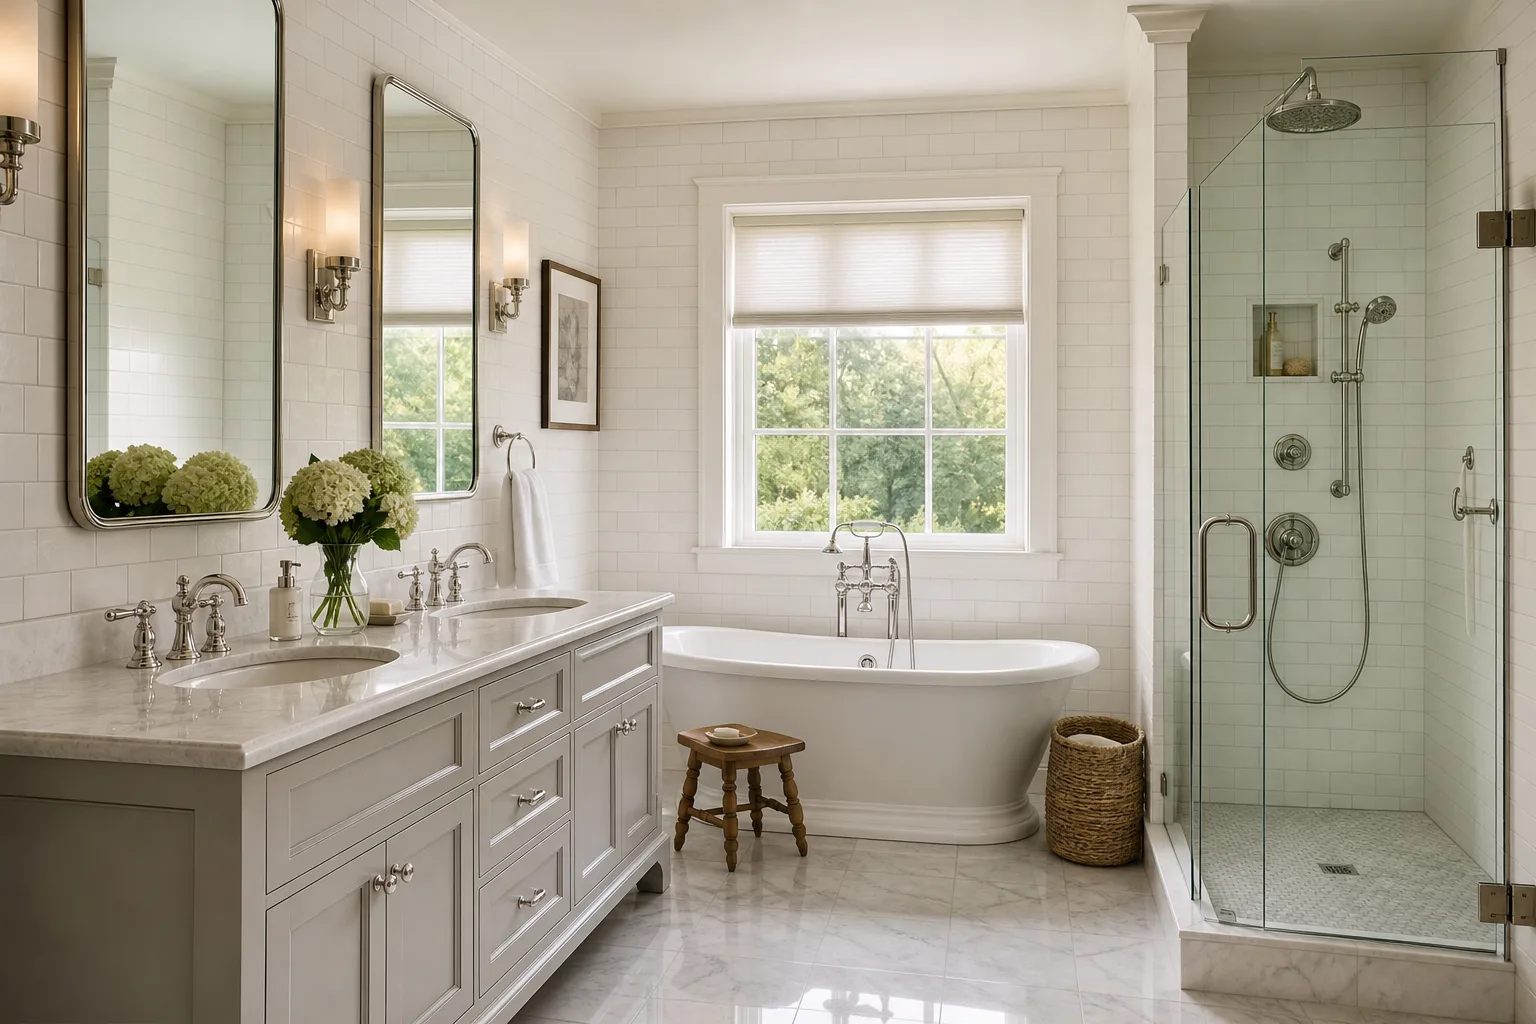
Understanding the difference matters because rectified tile has become the default specification in contemporary bathroom design. Showrooms display large-format porcelain with hairline joints. Inspiration photos show floors that read as continuous slabs. The aesthetic is real and achievable. But the product that produces it demands a different installation standard than the calibrated tile it replaced, and most homeowners selecting rectified tile are not told that until something goes wrong on the wall.
What Happens During Rectification
Ceramic and porcelain tile begins as clay pressed into a mold, dried, glazed if applicable, and fired at high temperature. Firing changes the material permanently. It also changes the dimensions. Heat causes shrinkage. Mold wear introduces variation. Even within a single production run, individual tiles exit the kiln at slightly different sizes with slightly different edge profiles.
Non-rectified tile, sometimes called calibrated tile or pressed tile, is sorted after firing into size groups called calibers. Tiles within a caliber fall within a defined tolerance range. The Ceramic Tile Education Foundation notes that calibrated porcelain tile in the 6-inch-and-larger category carries a nominal size tolerance of up to 3 percent variation and a wedging tolerance of up to 0.08 inch. Wedging is the measure of how square a tile is: whether opposite edges are parallel and adjacent edges meet at 90 degrees.
Rectified tile goes through an additional step. After firing, all four edges are mechanically trimmed, typically with precision saws and grinders, to achieve a tighter facial dimension. The Tile Council of North America defines rectified tile in ANSI A137.1 as tile that has had all edges mechanically finished to achieve a more precise facial dimension. The wedging tolerance for rectified porcelain drops to 0.03 inch. The size tolerance tightens to a maximum of 2 percent above nominal and 3 percent below. In practical terms, rectified tiles within a box are much more uniform in size and much squarer at the edges than calibrated tiles of the same nominal dimension.
That uniformity is the entire point. A manufacturer can produce a single precise size rather than warehousing multiple calibers. An installer can set tiles with minimal spacing between them because the edges align predictably. A designer can specify a floor that reads as a grid of large units with almost no visible joint.
The process does not change the tile face. The glaze, texture, and body composition are identical to what came out of the kiln. Rectification only affects the edges. But edges are what determine grout joint width, lippage tolerance, and how the finished installation reads from standing height.
Why Grout Joint Width Changes
Grout exists because tile is not perfectly uniform and substrates are not perfectly flat. The joint accommodates dimensional variation between adjacent tiles, allows for slight movement during curing and thermal cycling, and provides a path for moisture management in wet environments. The question is not whether grout is required. It is. The question is how wide the joint needs to be for a given tile type and layout pattern.
With calibrated tile, the dimensional variation between tiles in a single box can be significant enough that narrow joints produce visible size inconsistencies across a field installation. Wider joints absorb that variation. A 1/4-inch joint between calibrated 12-by-24-inch tiles is a common specification because it gives the installer room to adjust for tiles that may differ by several millimeters in actual dimension.
Rectified tile compresses that tolerance. Because the edges are cut to a precise dimension after firing, tiles within a box vary much less from one to the next. An installer working with rectified 24-by-24-inch porcelain can specify joints as narrow as 1/16 inch in a straight-stack layout, producing the nearly seamless floor that appears in design magazines.
The ANSI A108.02 installation standard codifies minimum joint widths based on tile type and layout. For running bond or brick-joint patterns using tile with any side longer than 15 inches, the grout joint must average at least 1/8 inch for rectified tile and at least 3/16 inch for calibrated tile. That minimum must be increased by the amount of edge warpage on the longest edge of the actual tiles being installed. A rectified tile with 1/32 inch of warpage on its longest edge requires a minimum average joint of 1/8 inch plus 1/32 inch, or 5/32 inch, in a running bond pattern.
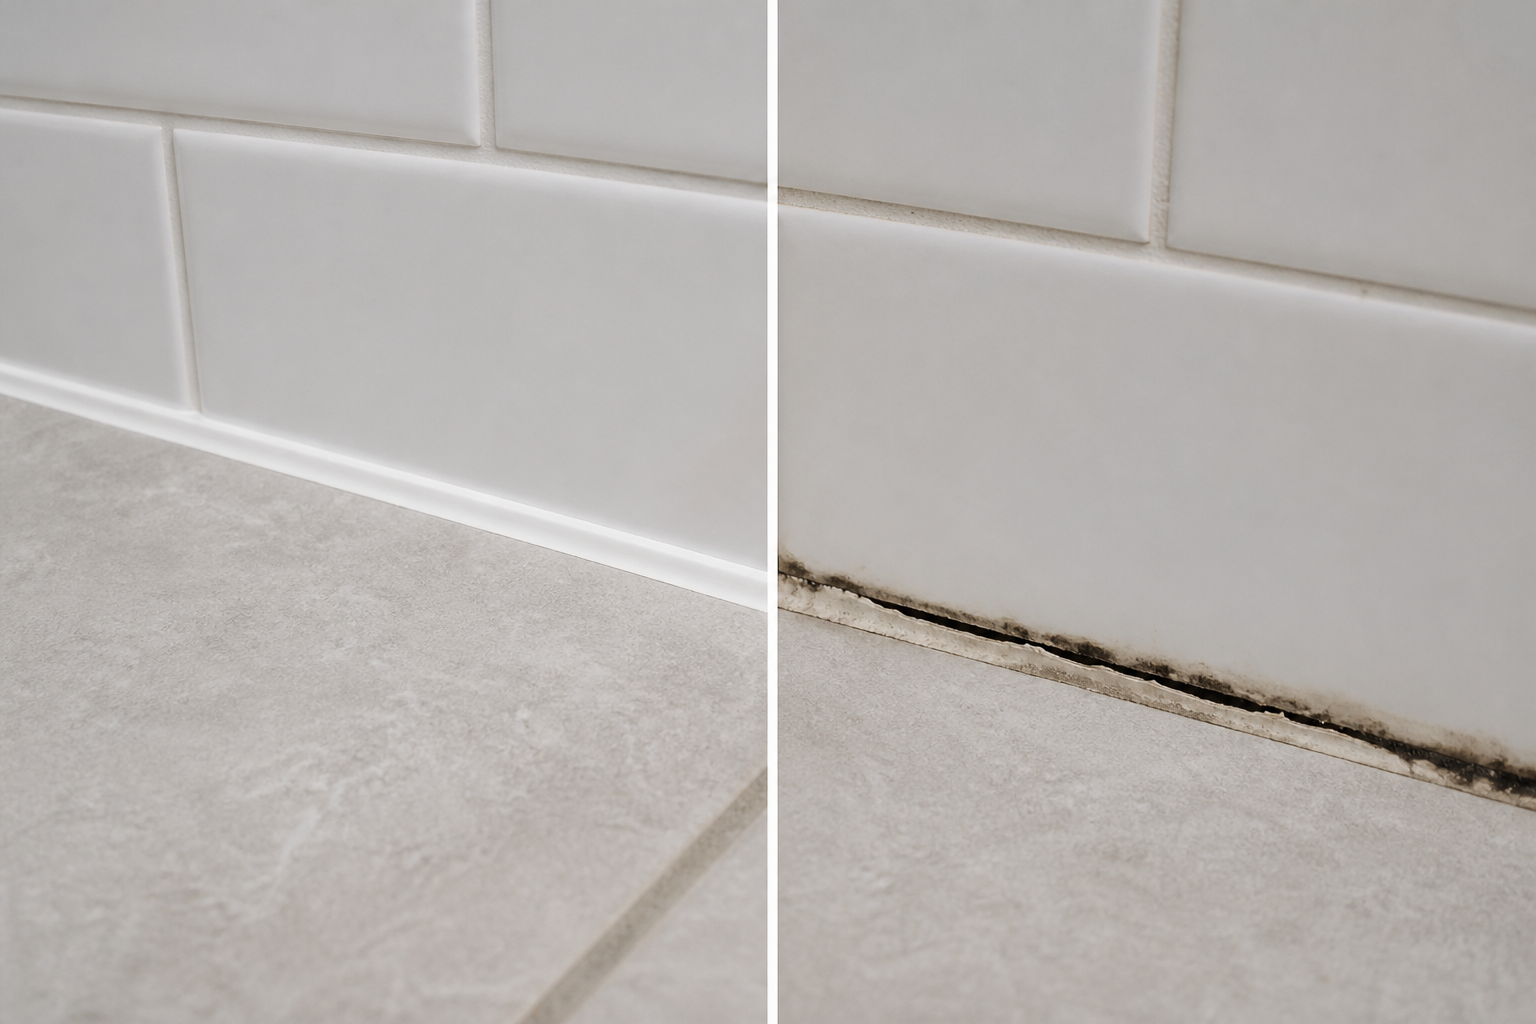
Warpage is the critical variable that rectification does not eliminate. Firing produces bowing in large-format tile regardless of whether the edges are subsequently trimmed. Rectification makes the edges straight and the dimensions consistent. It does not make the tile flat. A tile that bows upward in the center will still produce lippage when set in a narrow joint, and lippage at a 1/16-inch joint is far more visible than lippage at a 1/4-inch joint because there is less visual buffer between adjacent tile faces.
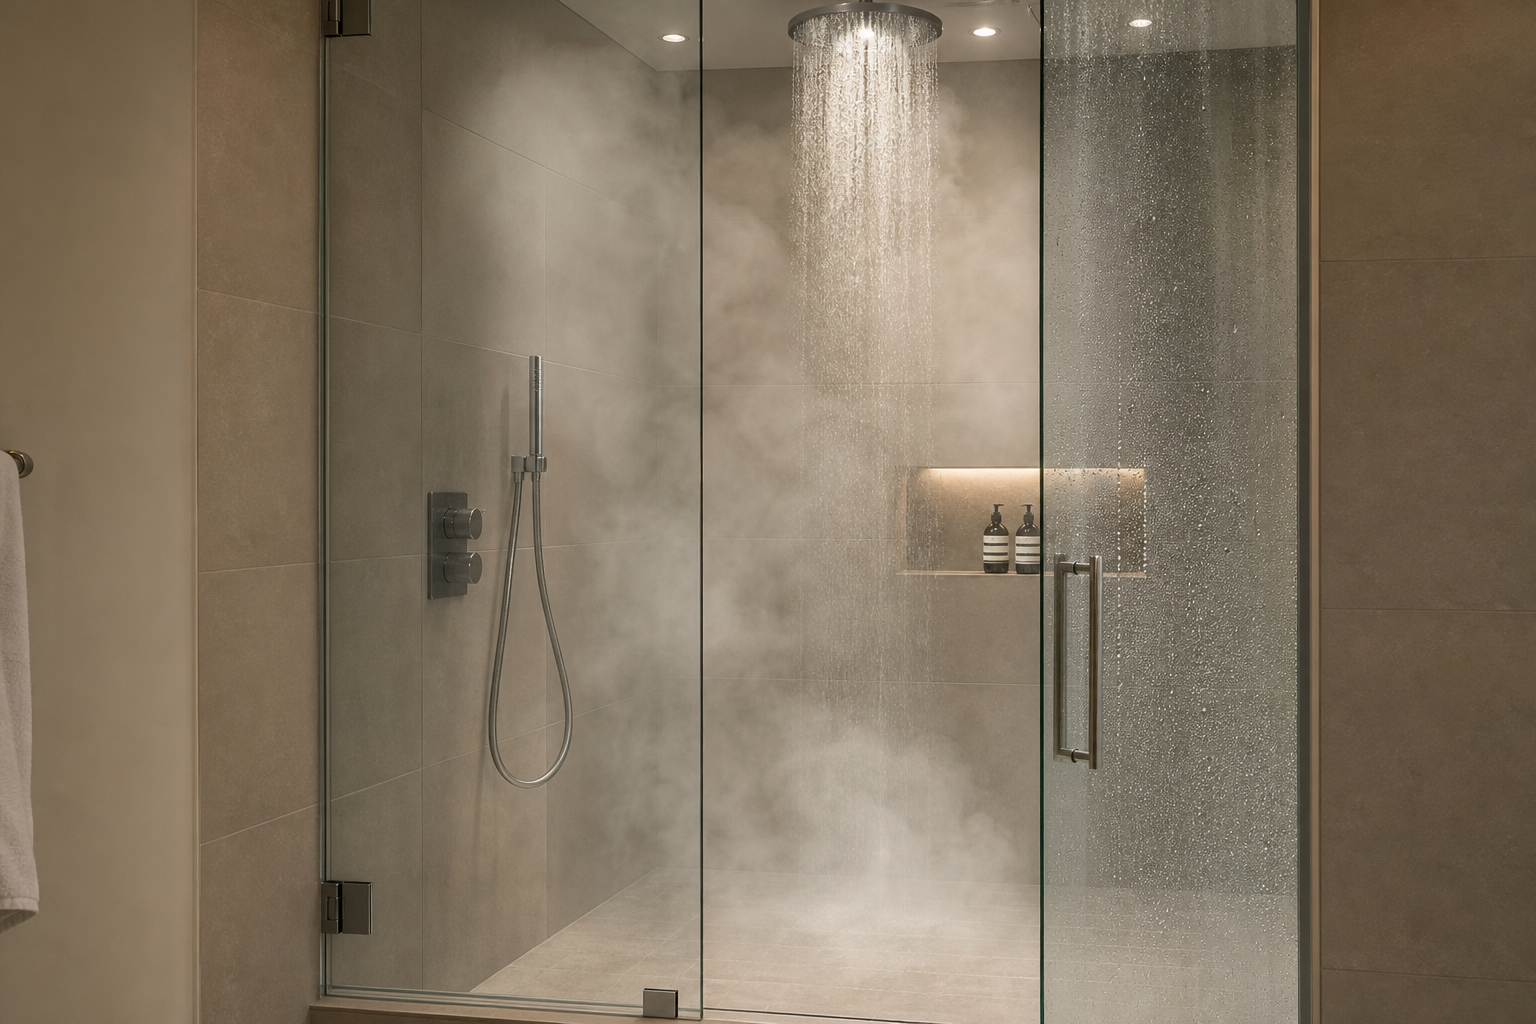
This is the mechanism behind the showroom floor that looks flawless and the installed floor that does not. The showroom sample was set by a skilled installer on a verified-flat surface with careful attention to warpage. The installed floor in a renovation context may be set over a substrate that was never measured, using tiles whose warpage was never checked, in a pattern that amplifies the bowing that rectification left intact.
What the Finished Floor Reads As
Grout joint width changes the visual character of a tiled surface more than almost any other single specification decision.
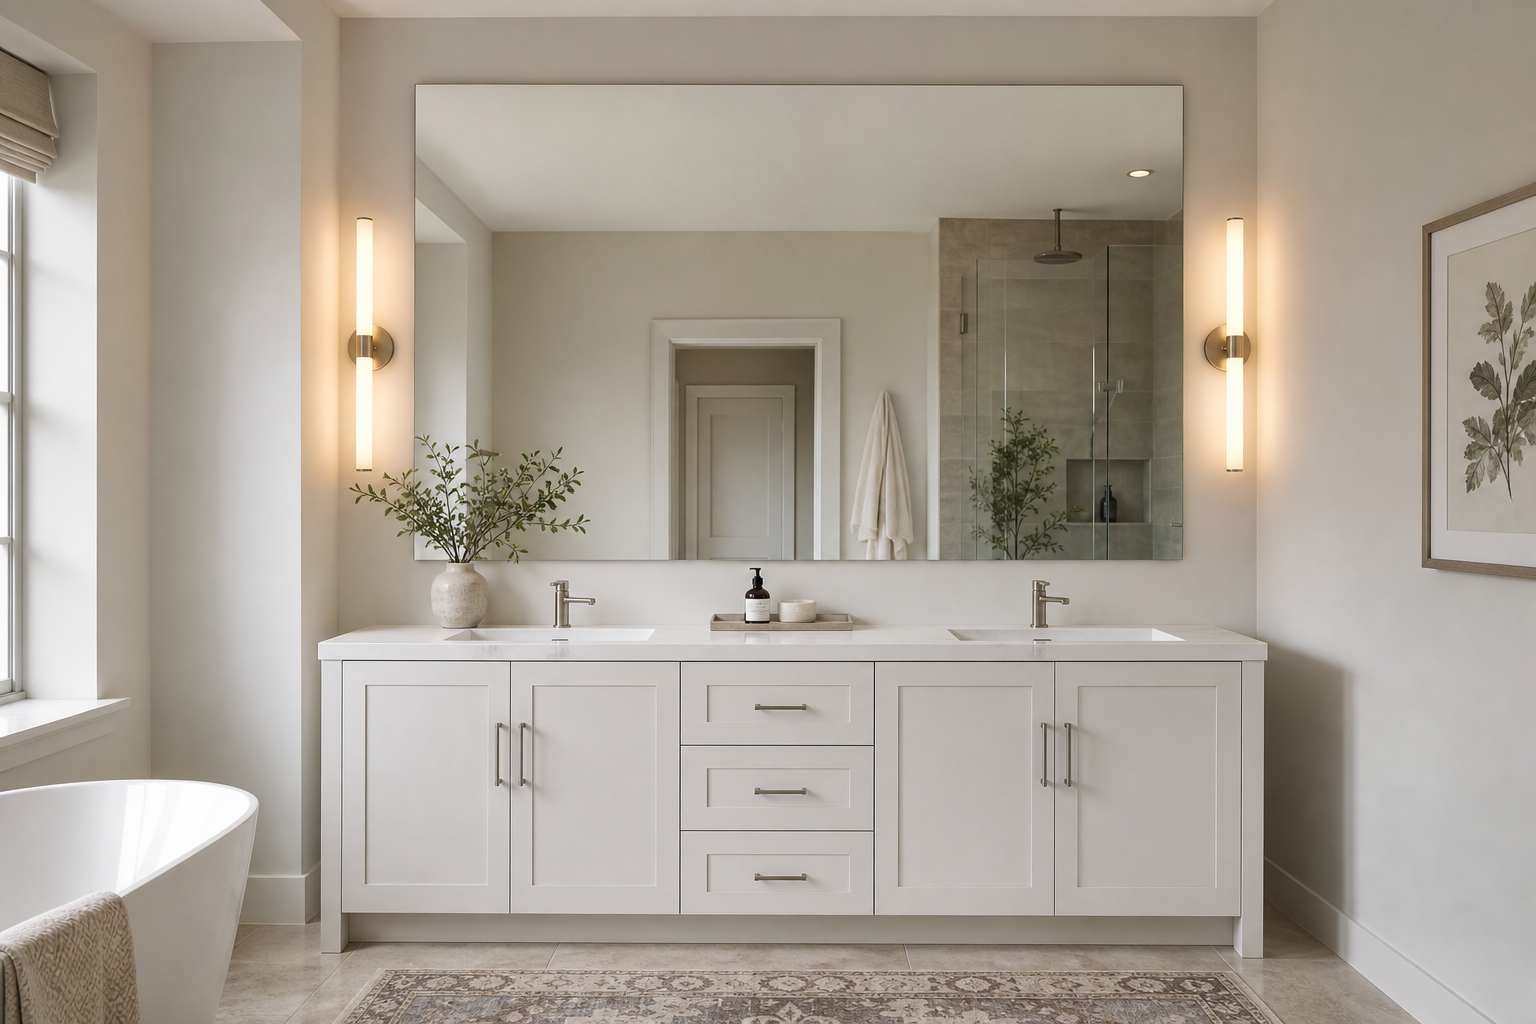
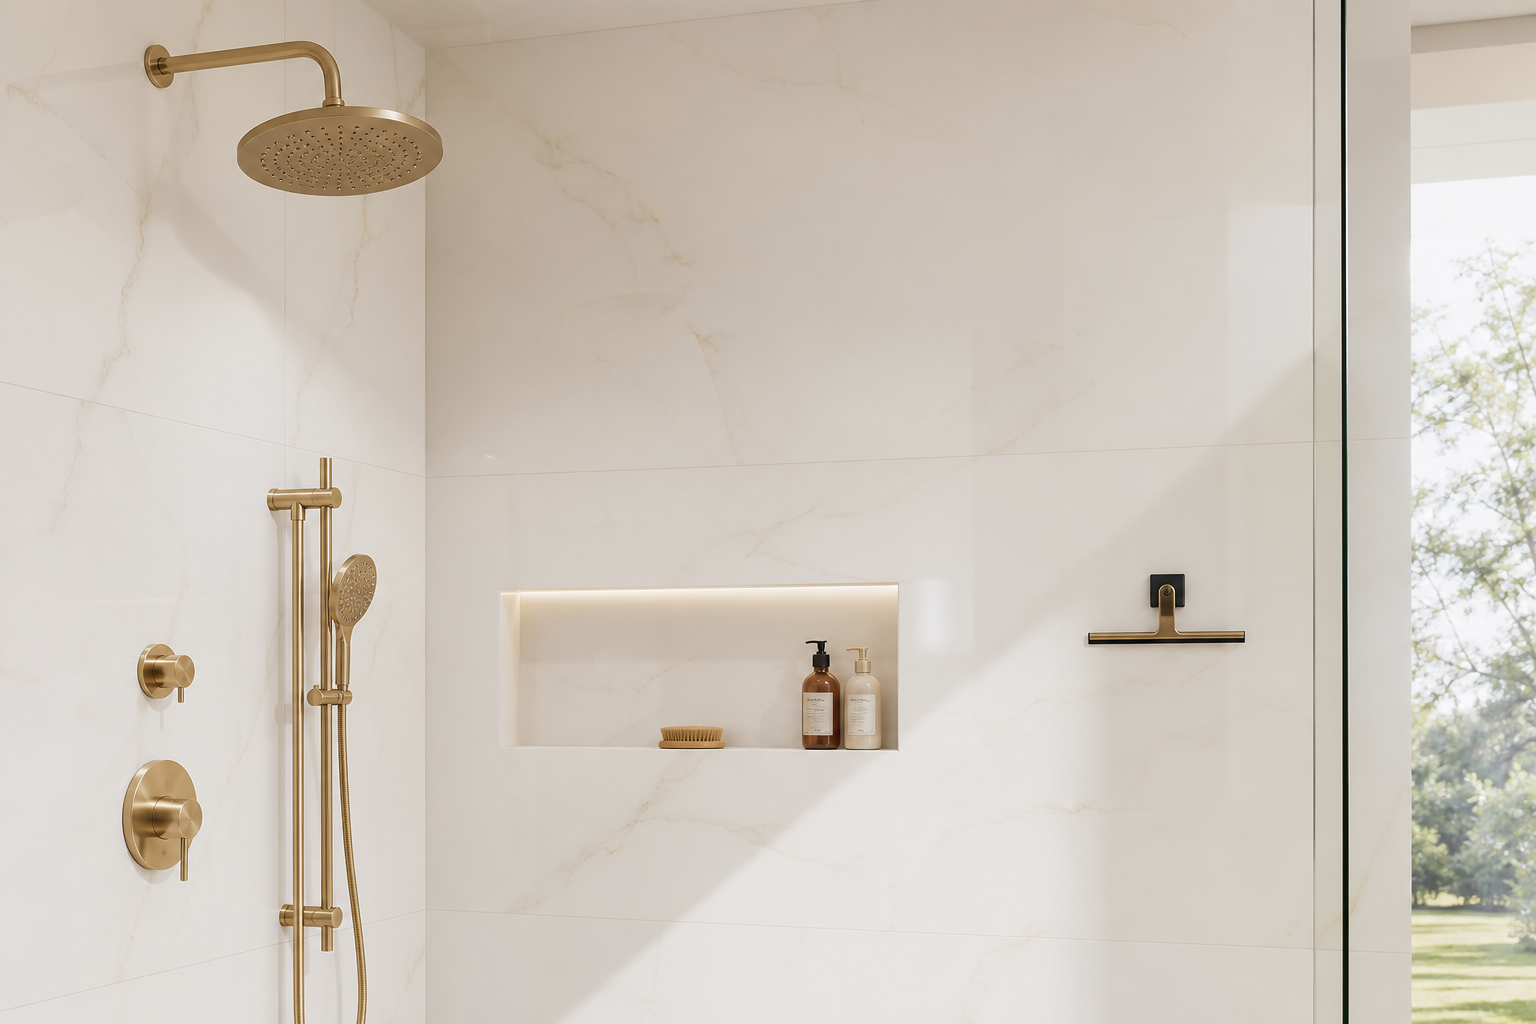
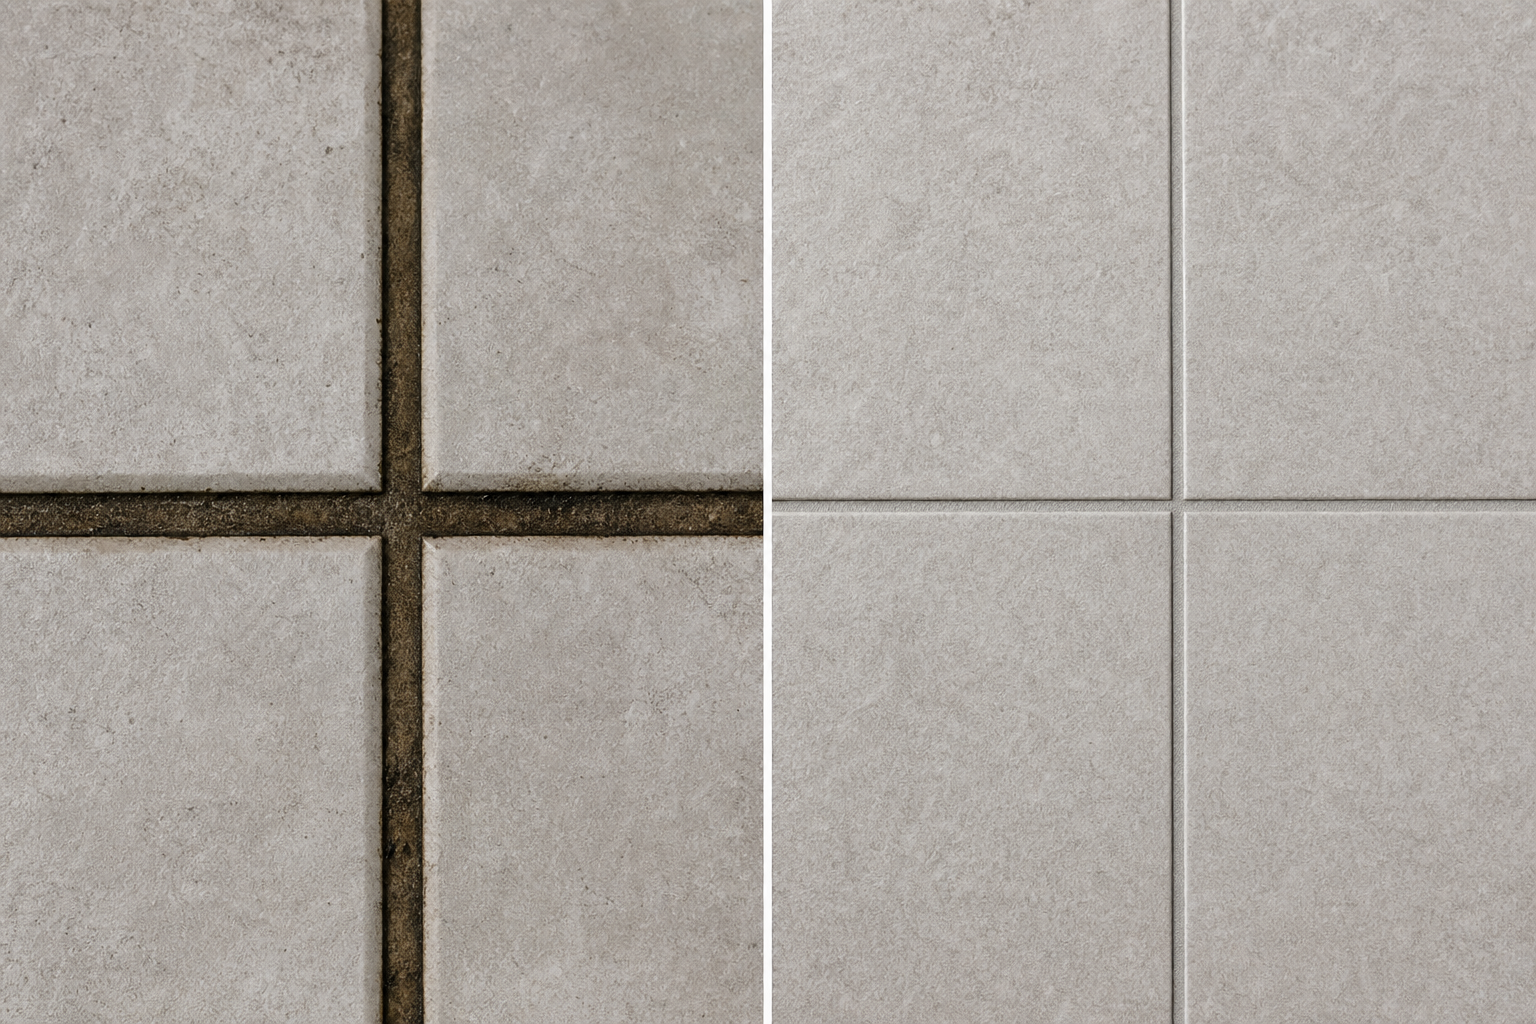
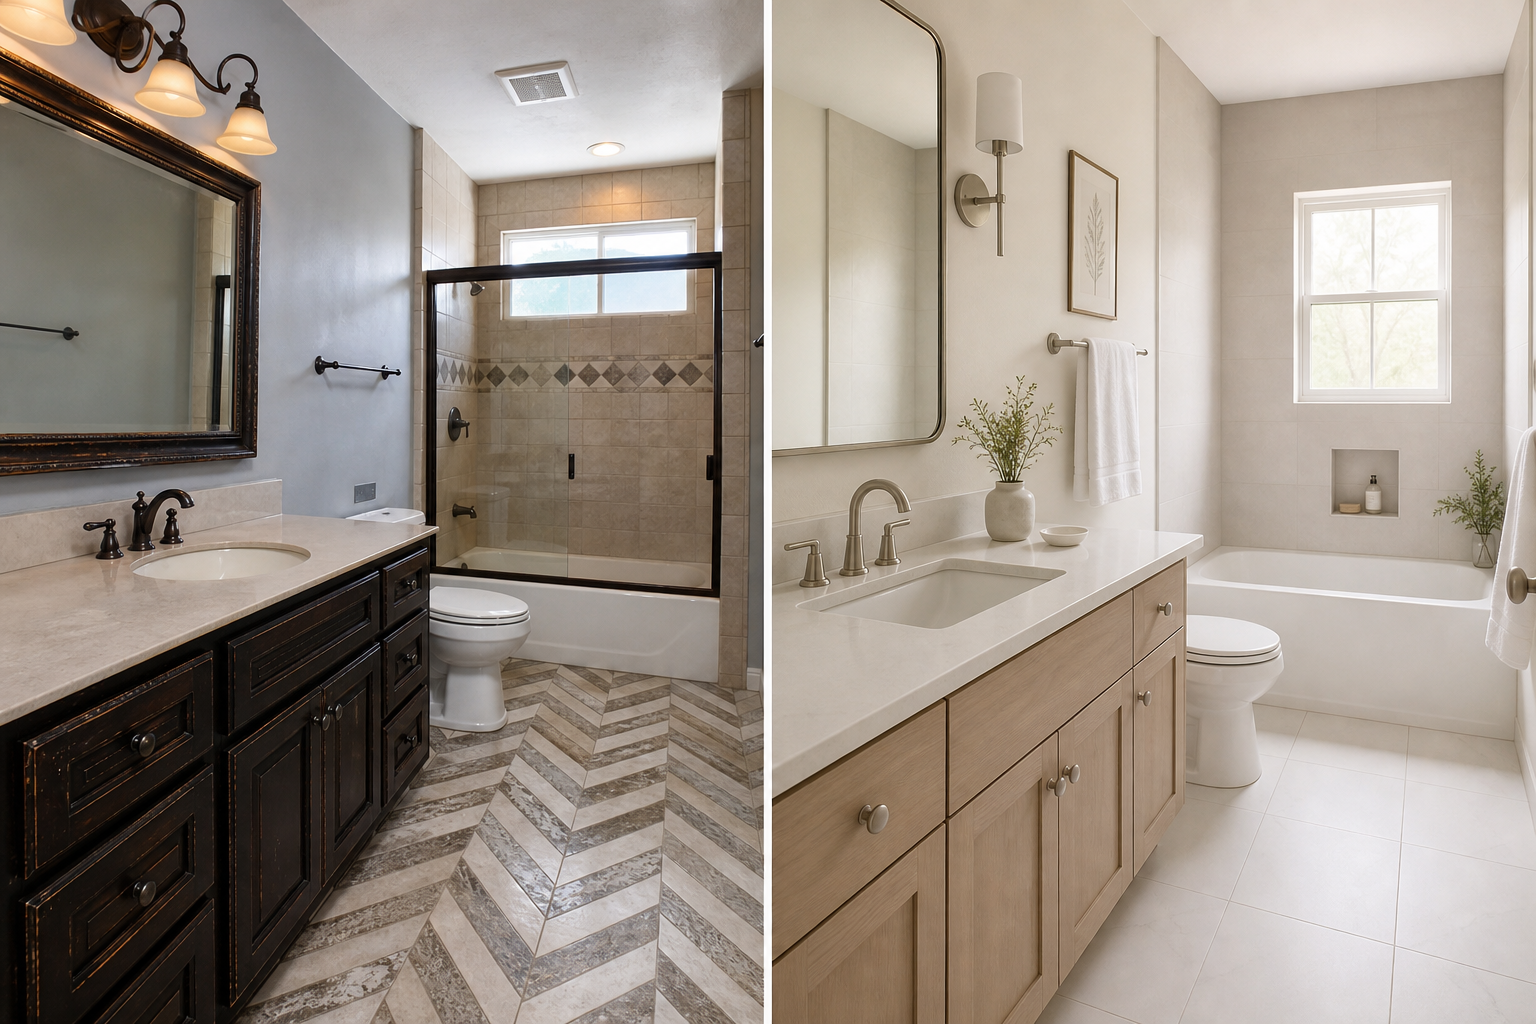
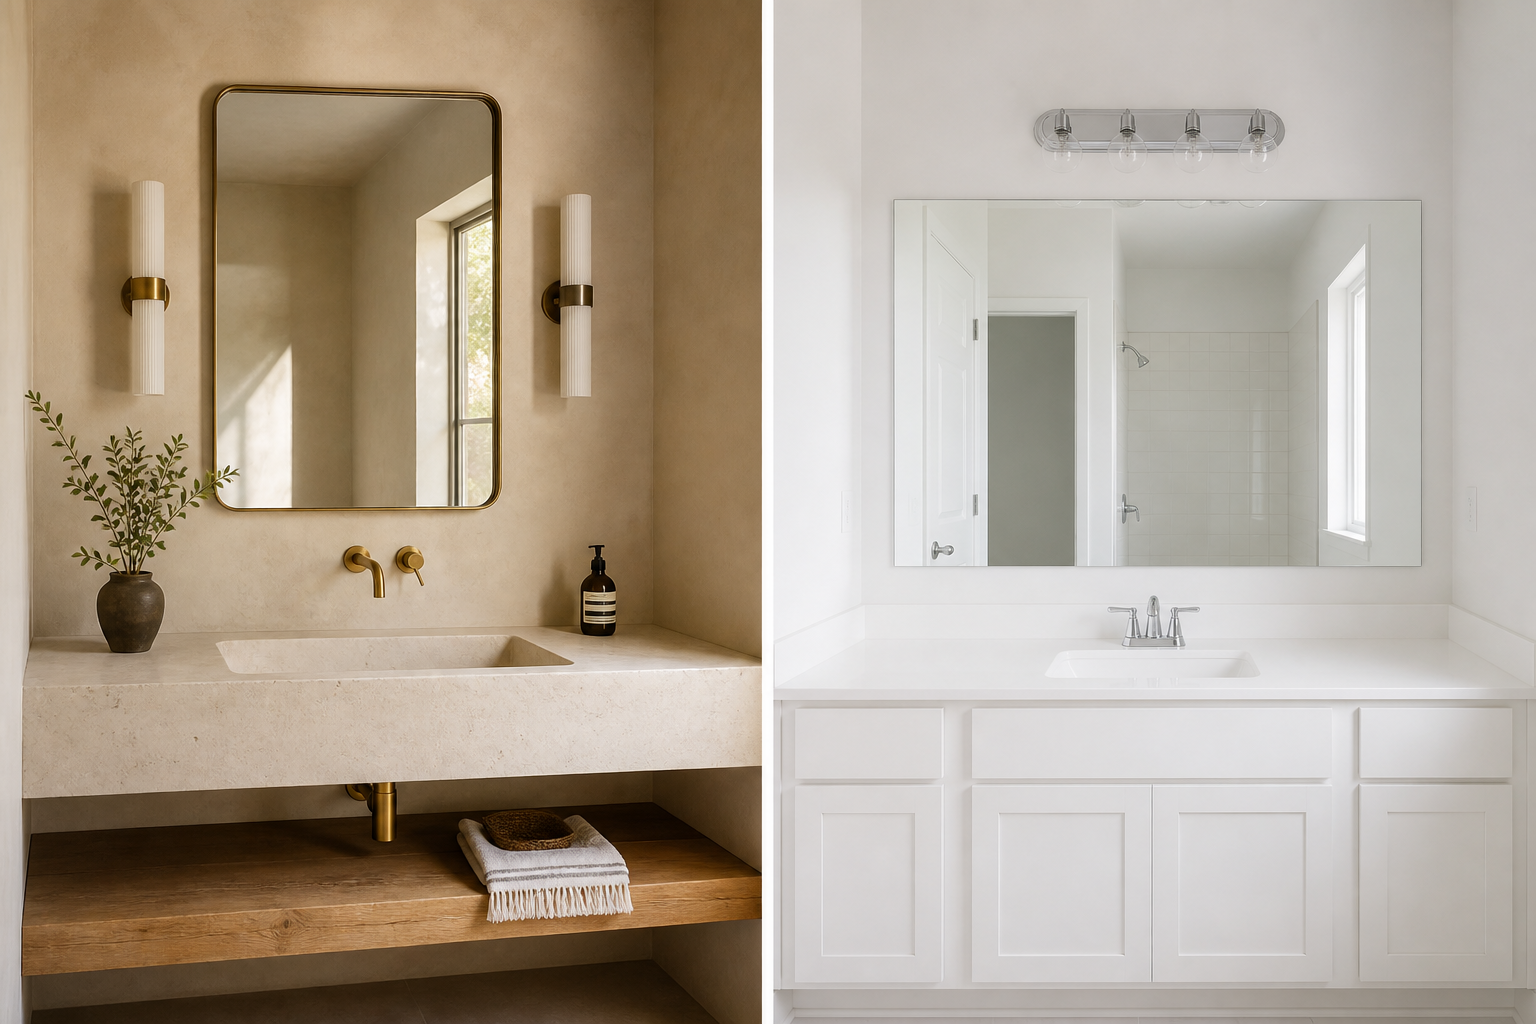
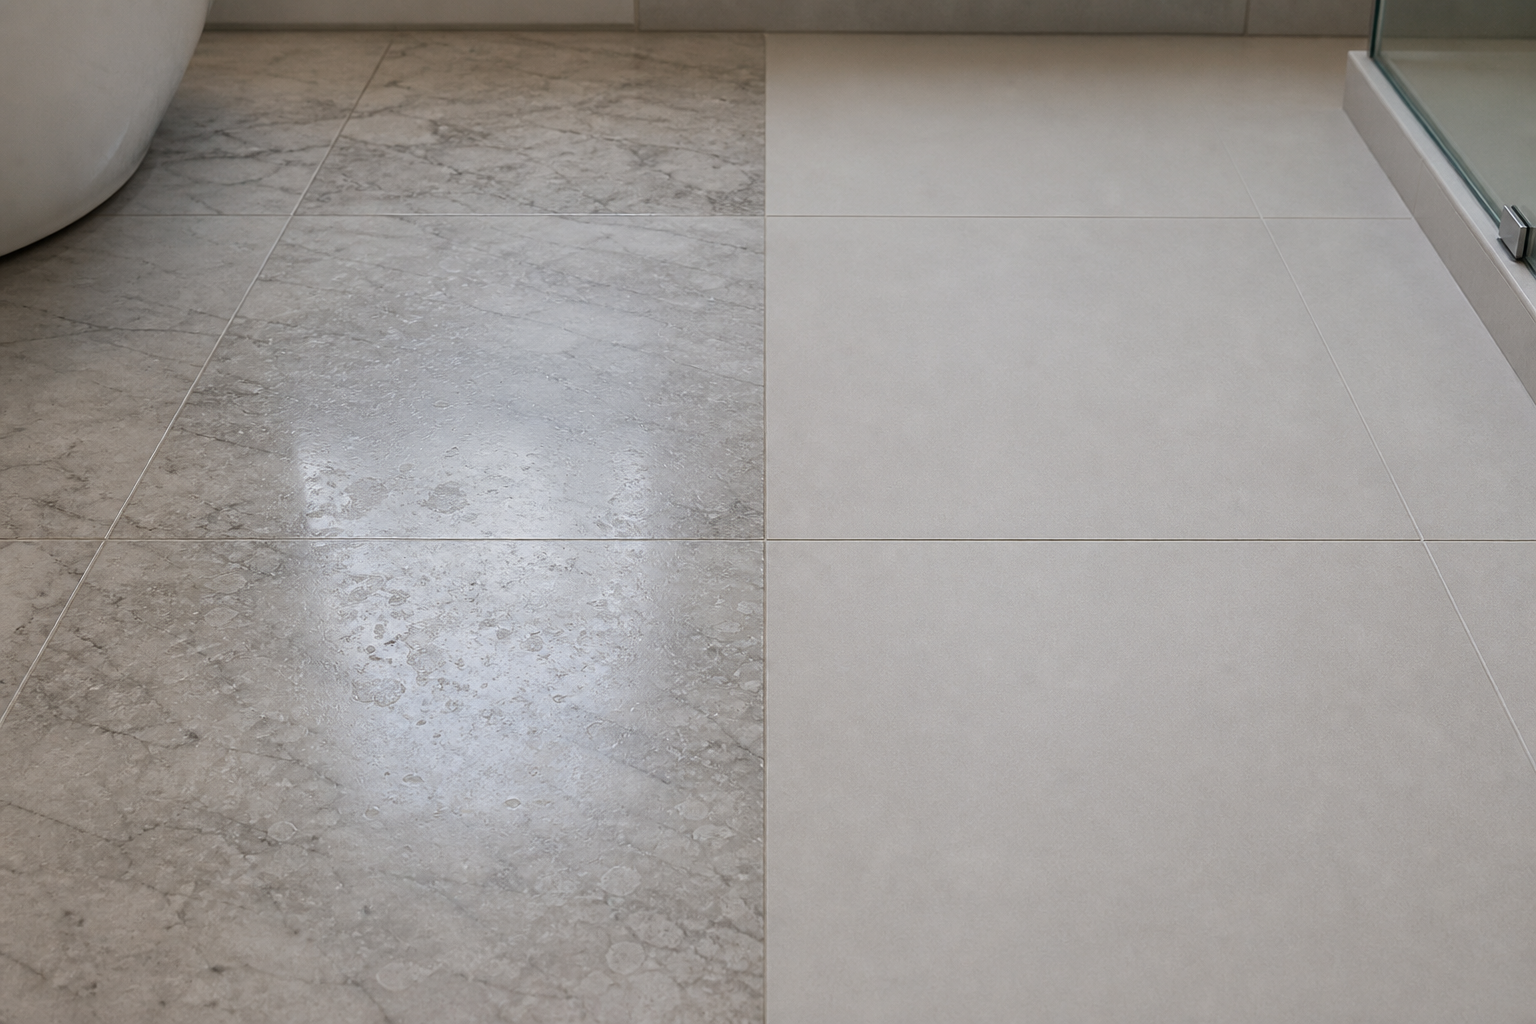
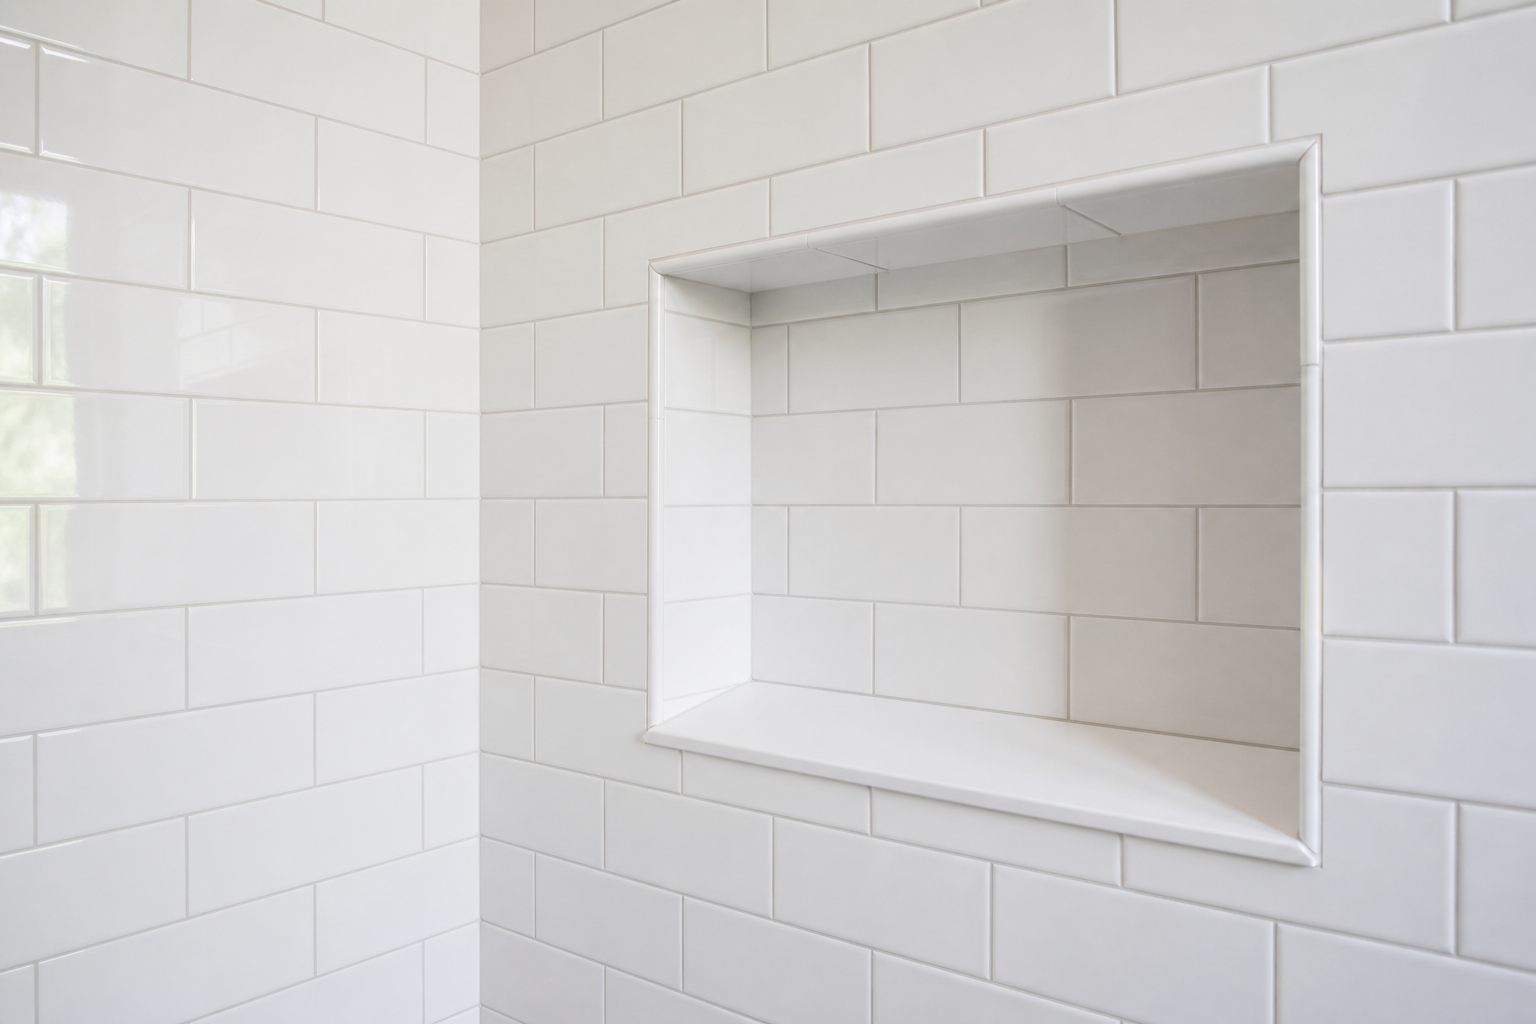
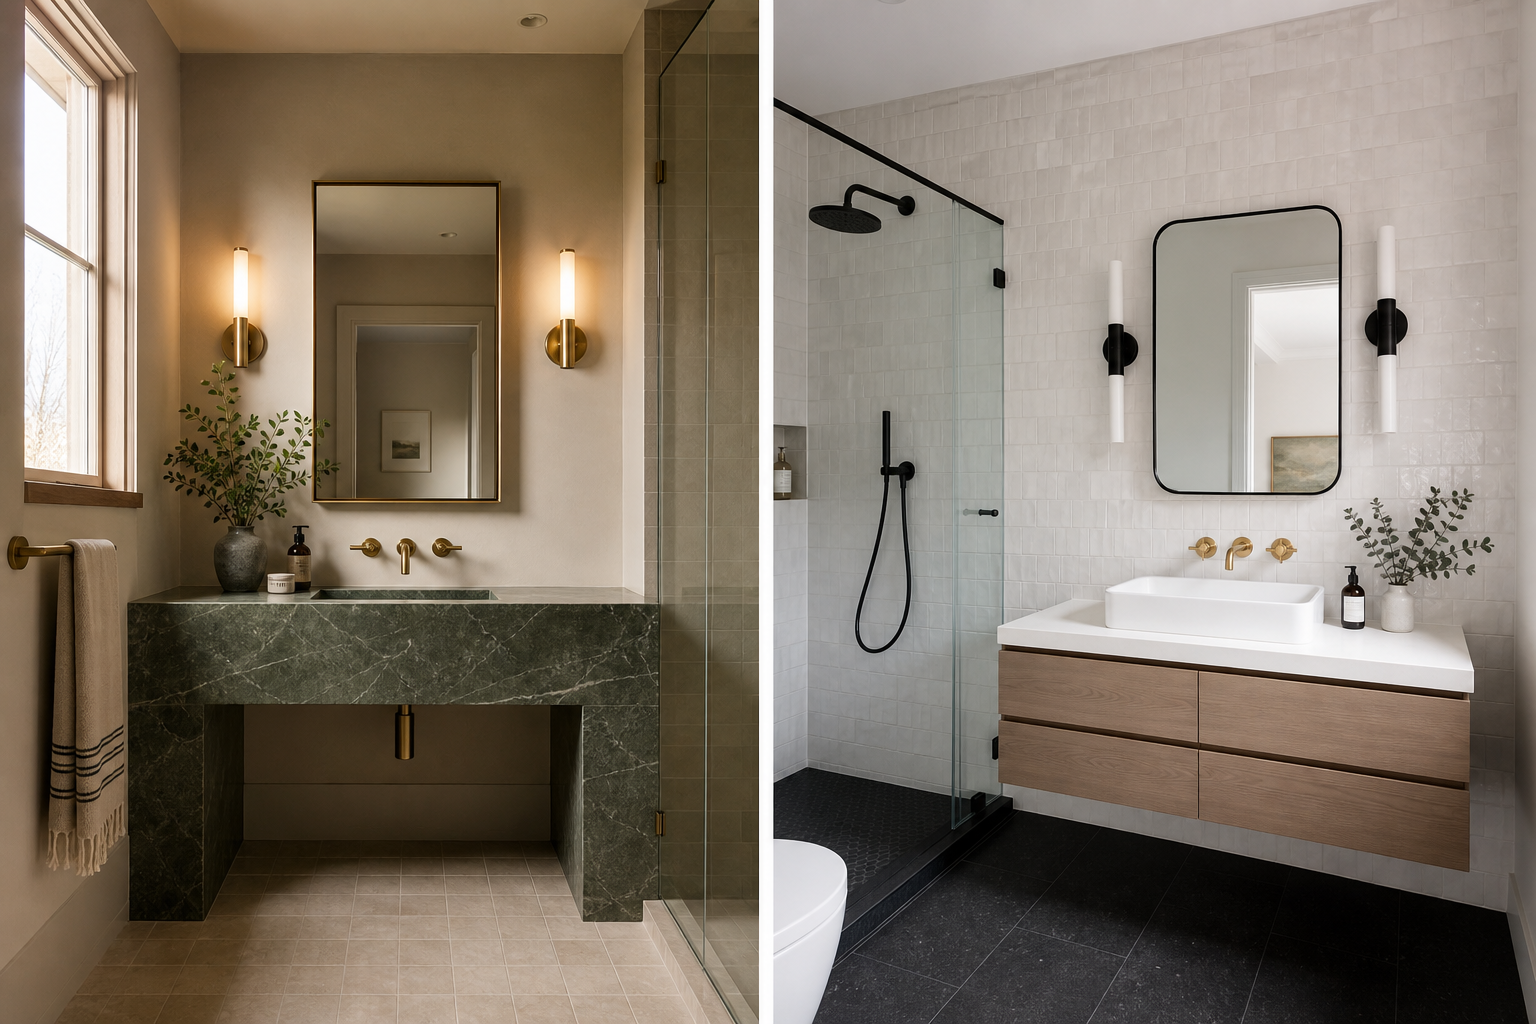
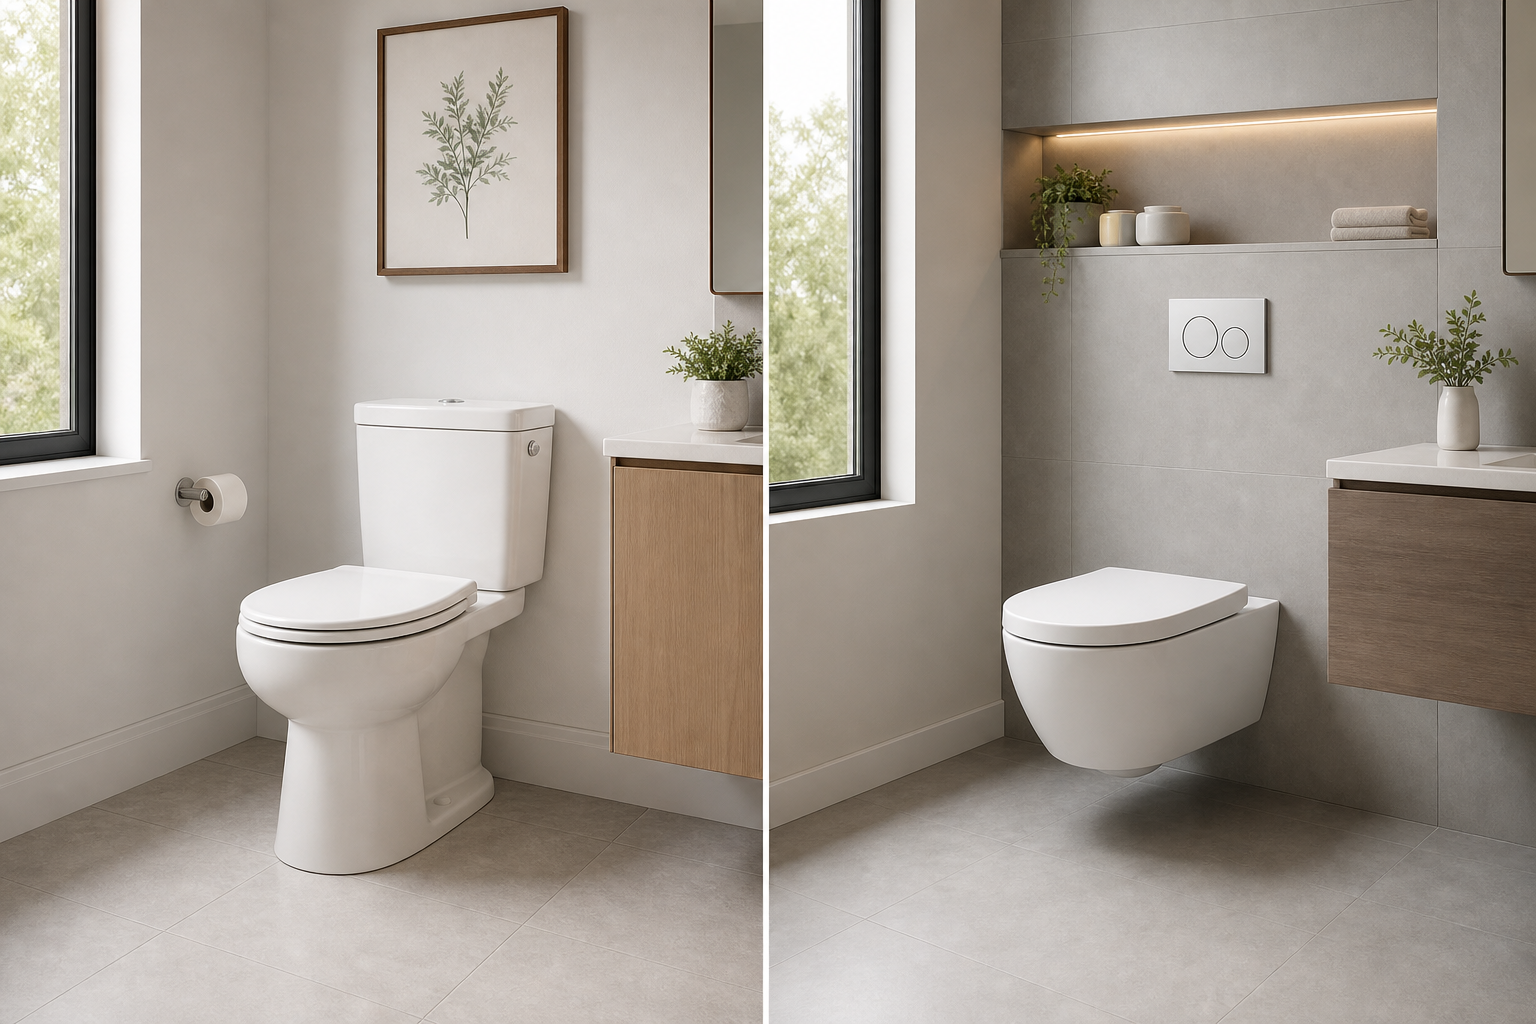
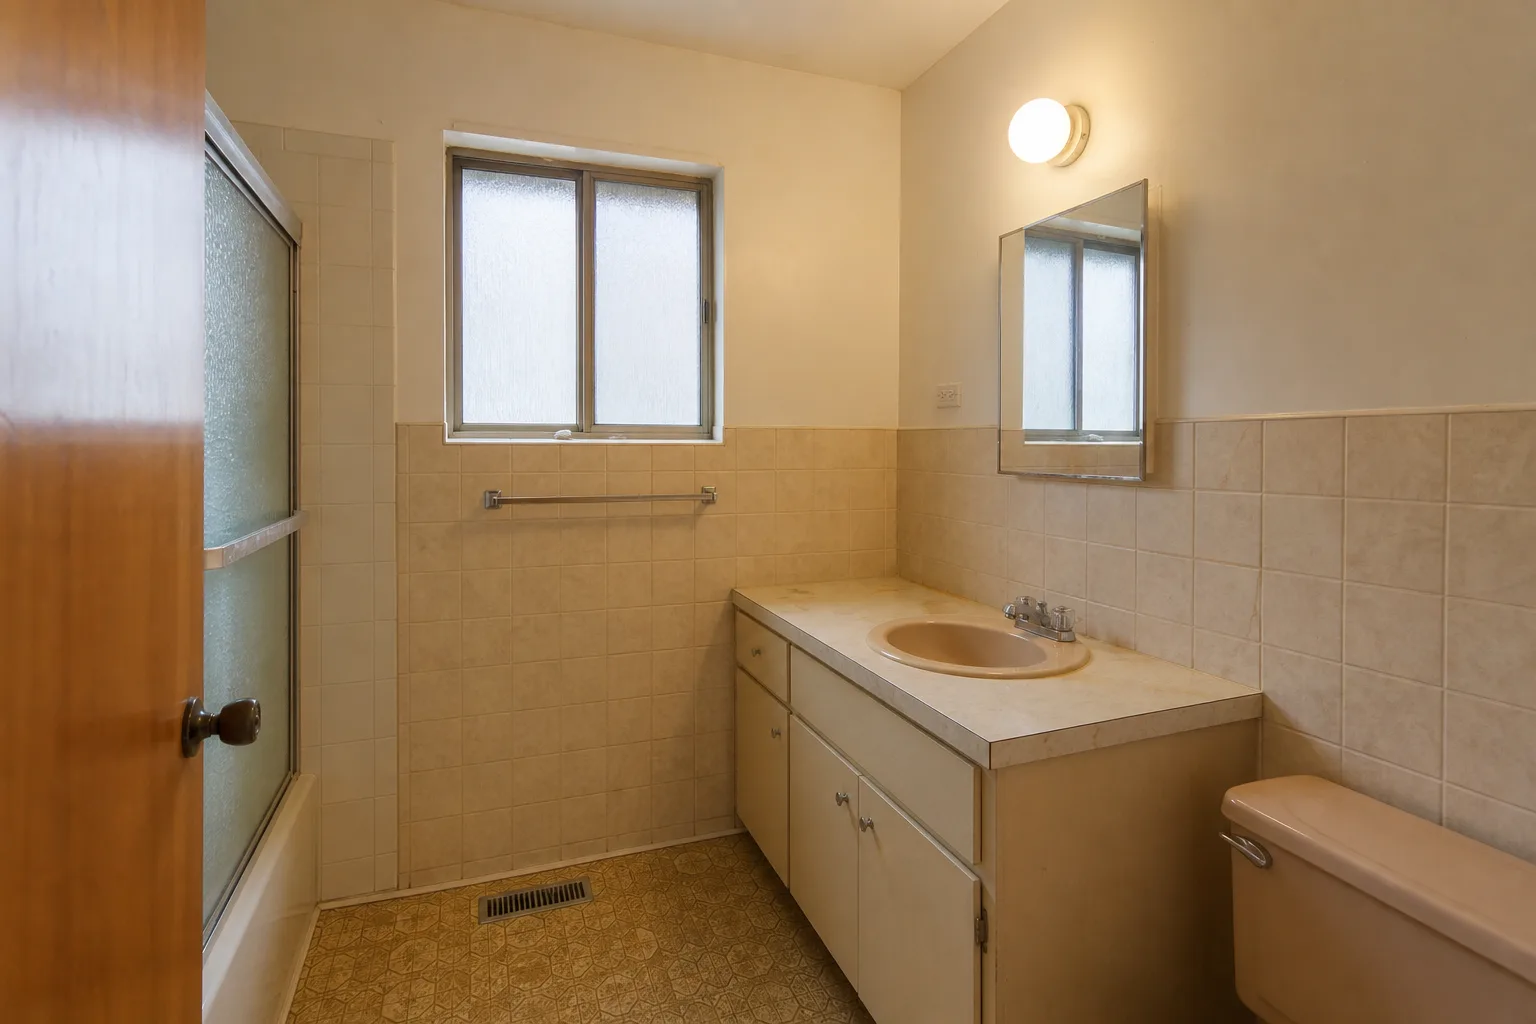
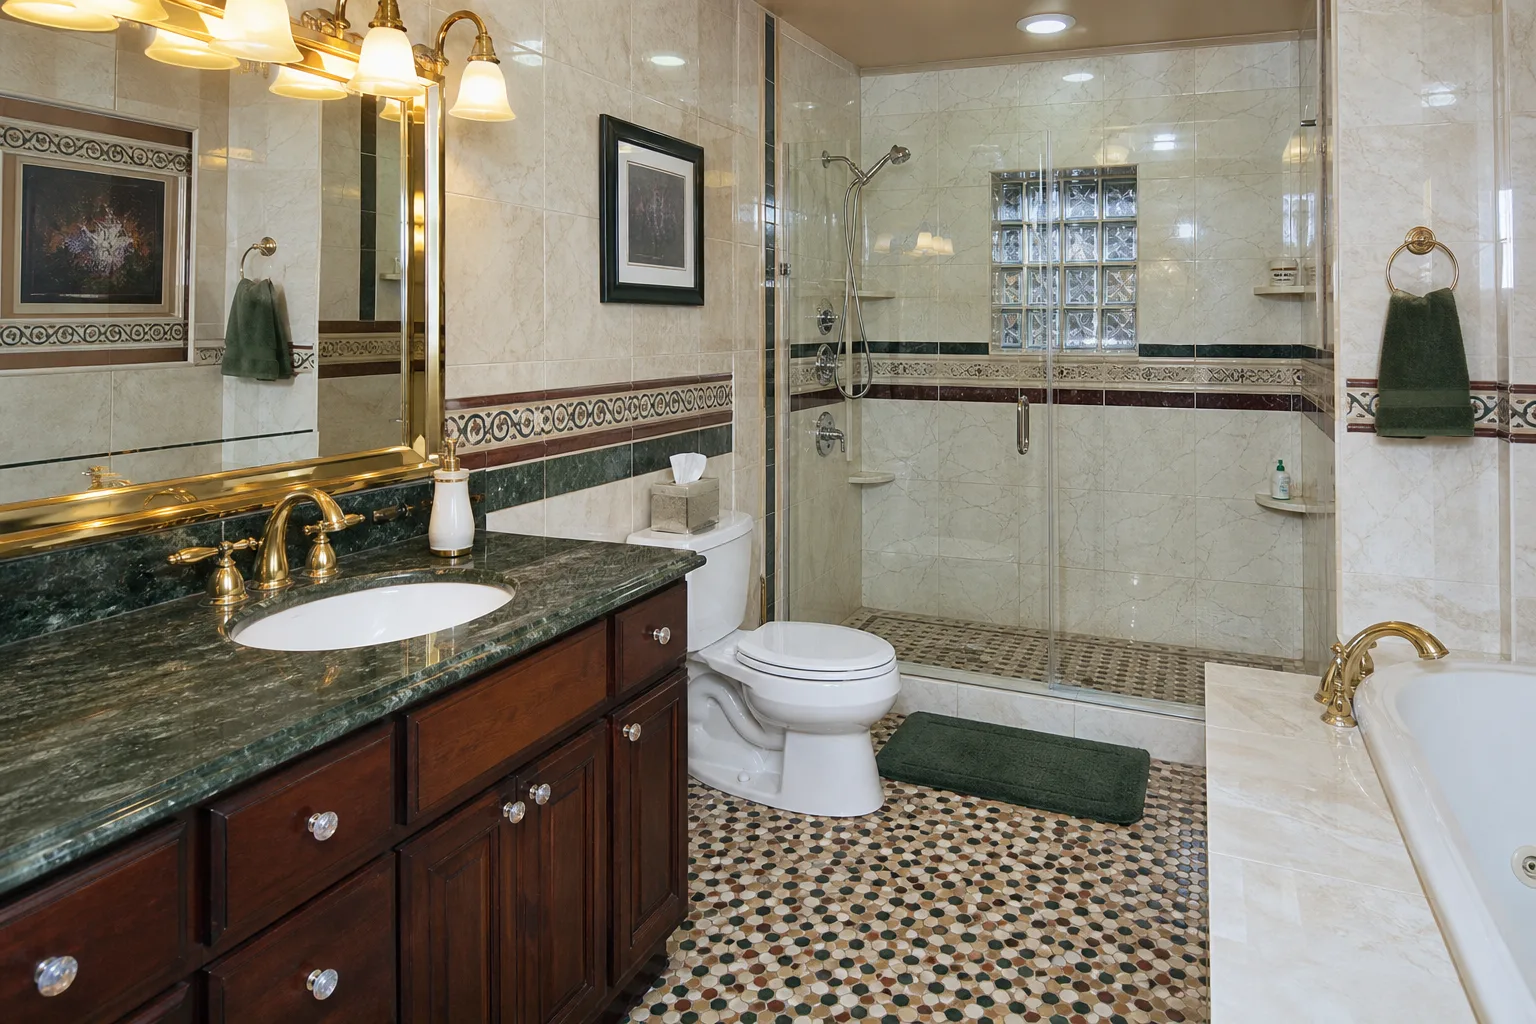
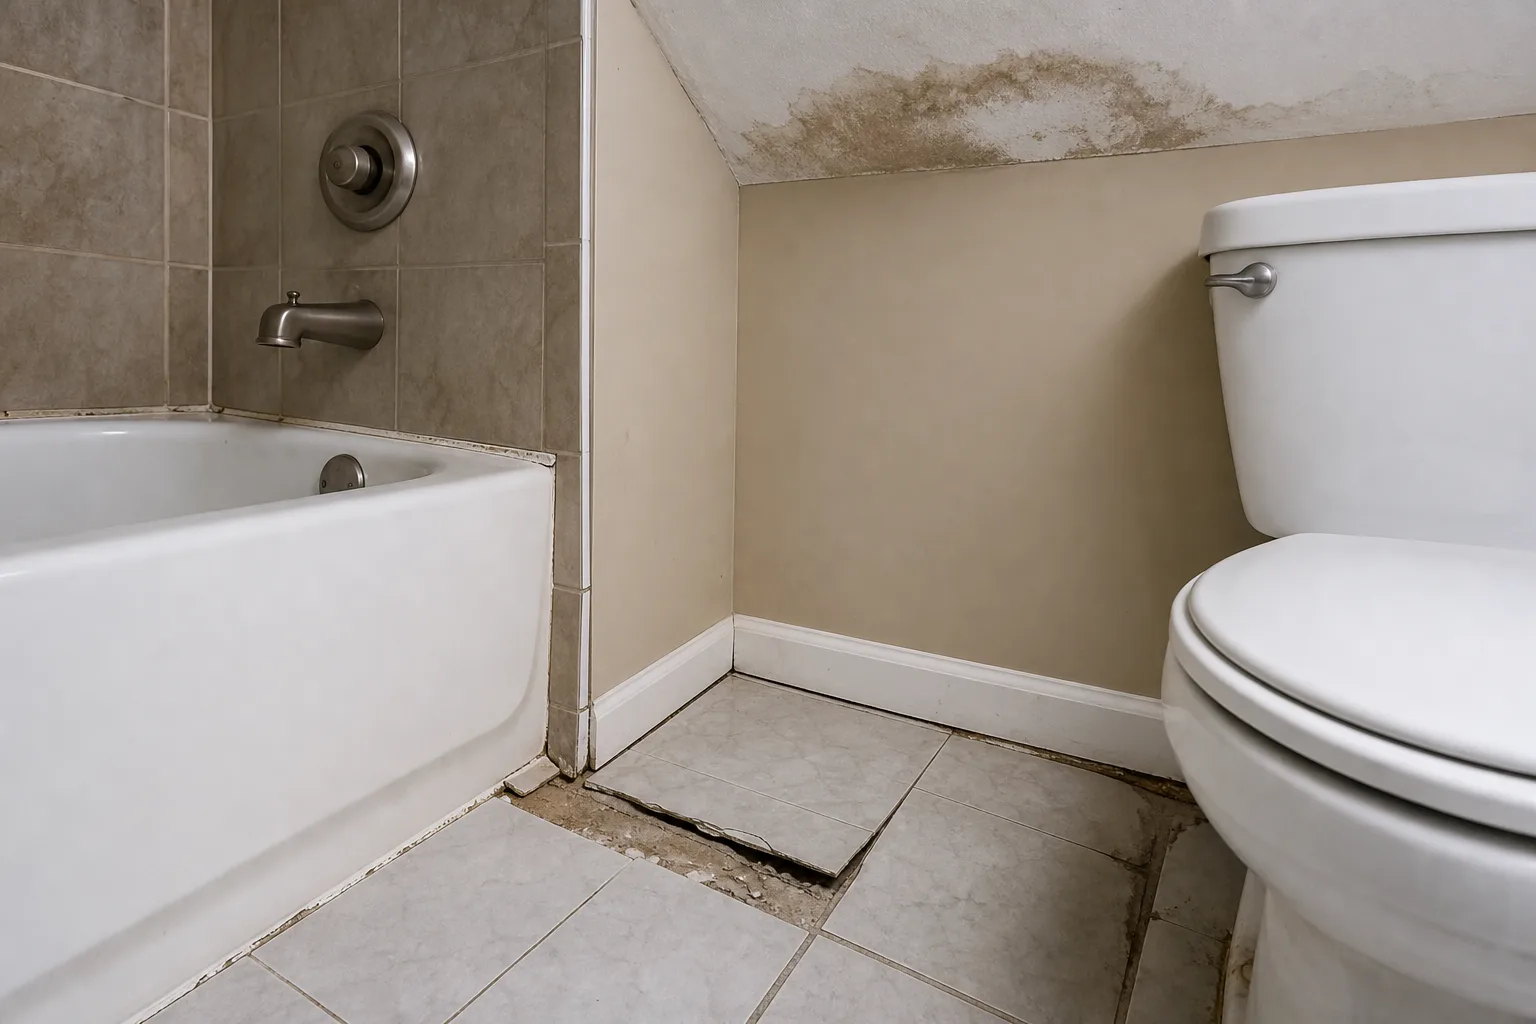
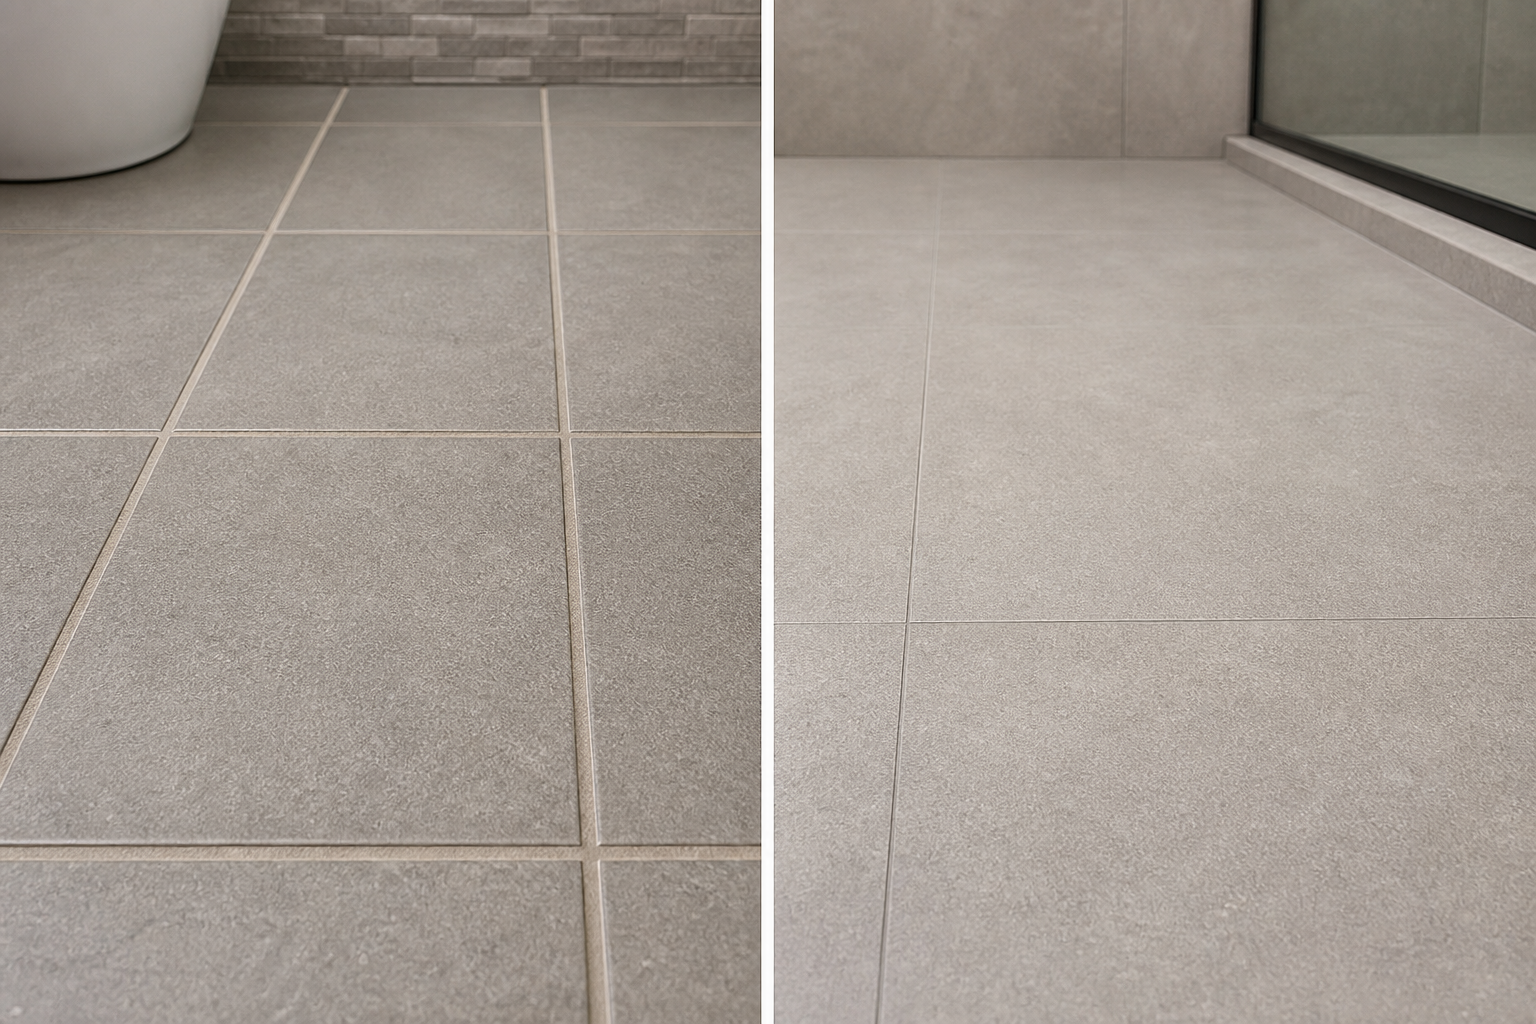
Wide joints, typical of calibrated tile installations, produce a visible grid. The grout lines become a design element. They frame each tile unit. In a bathroom with 12-by-12-inch ceramic floor tile and 1/4-inch grout joints, the floor reads as a pattern of individual squares. The grout contributes to the visual texture of the room.
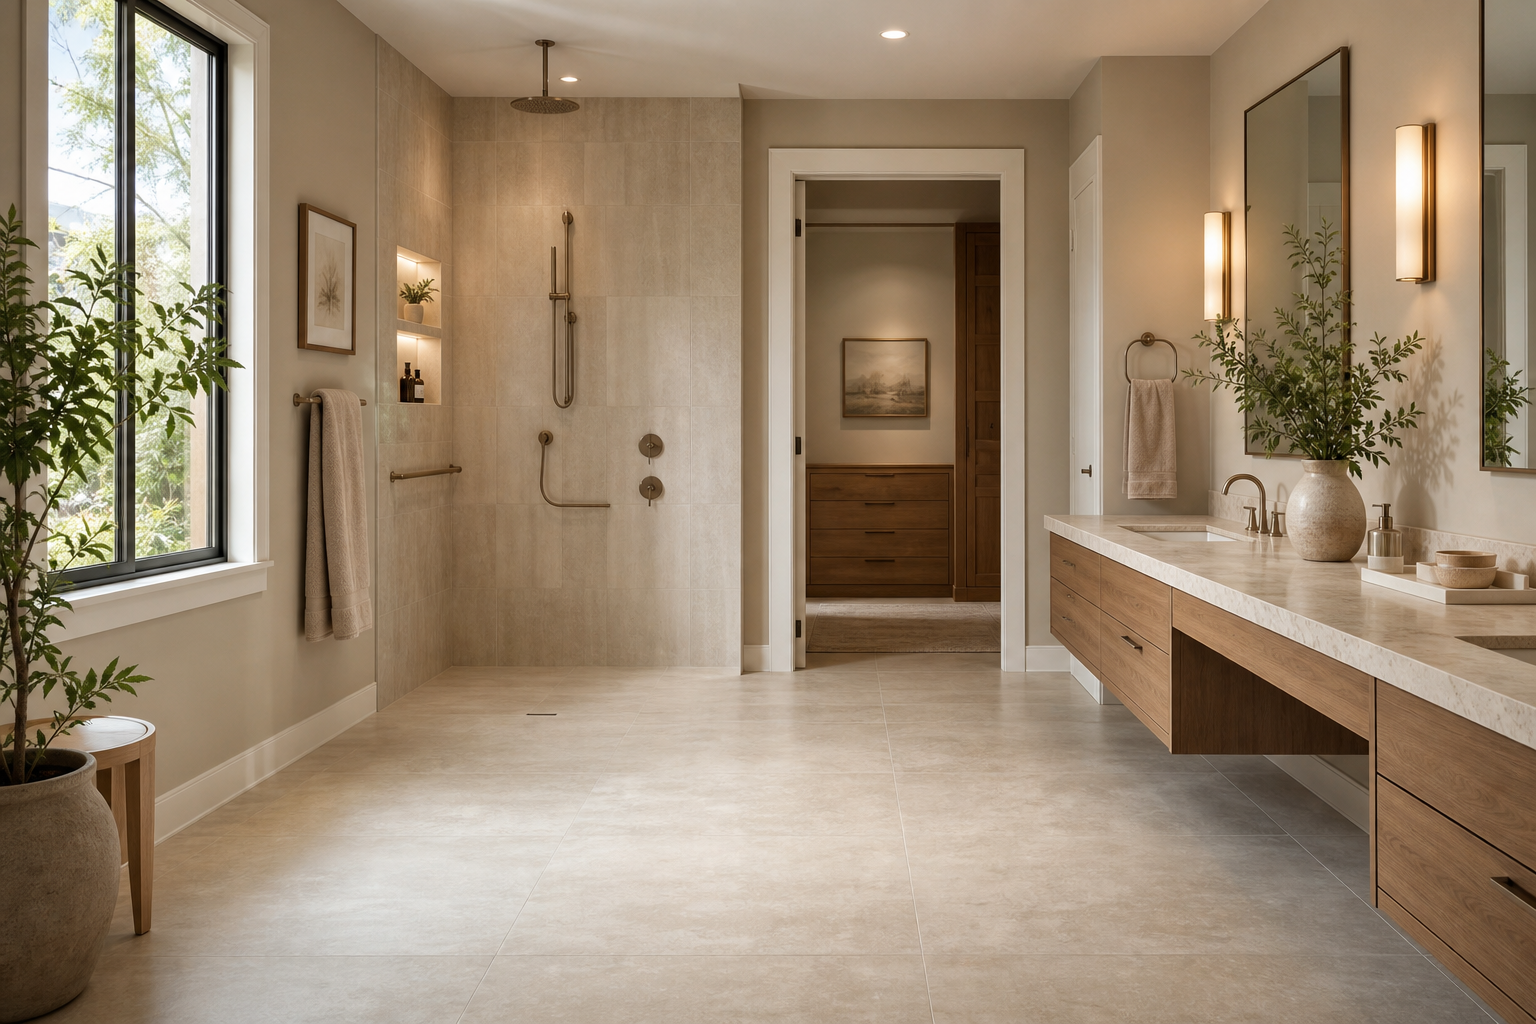
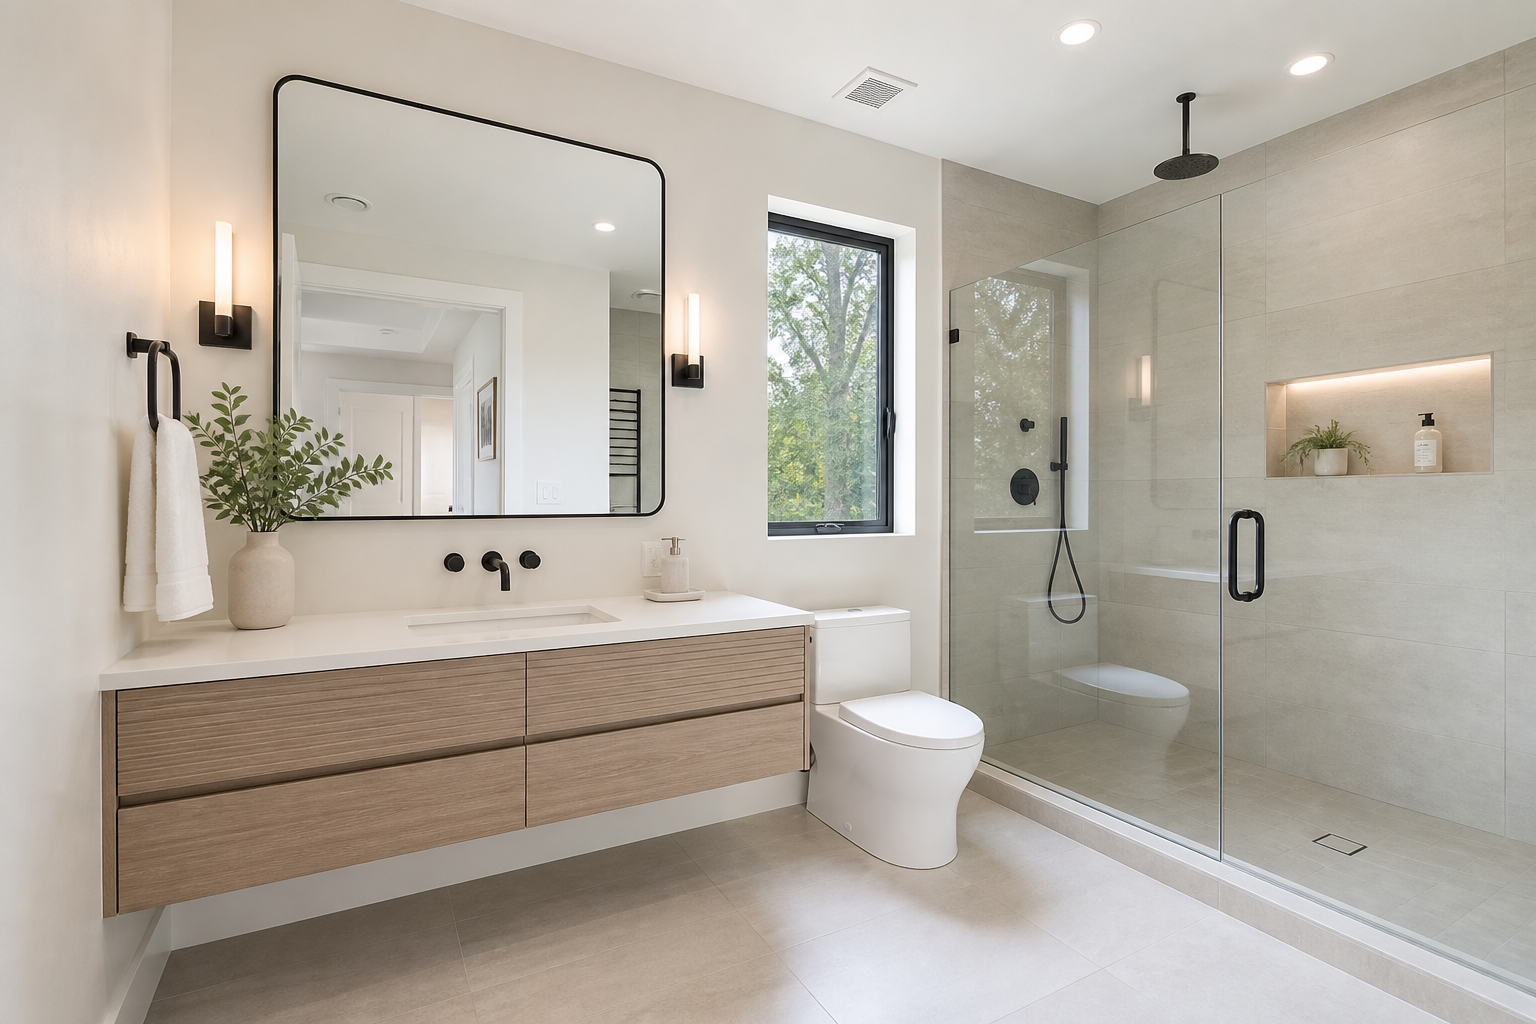
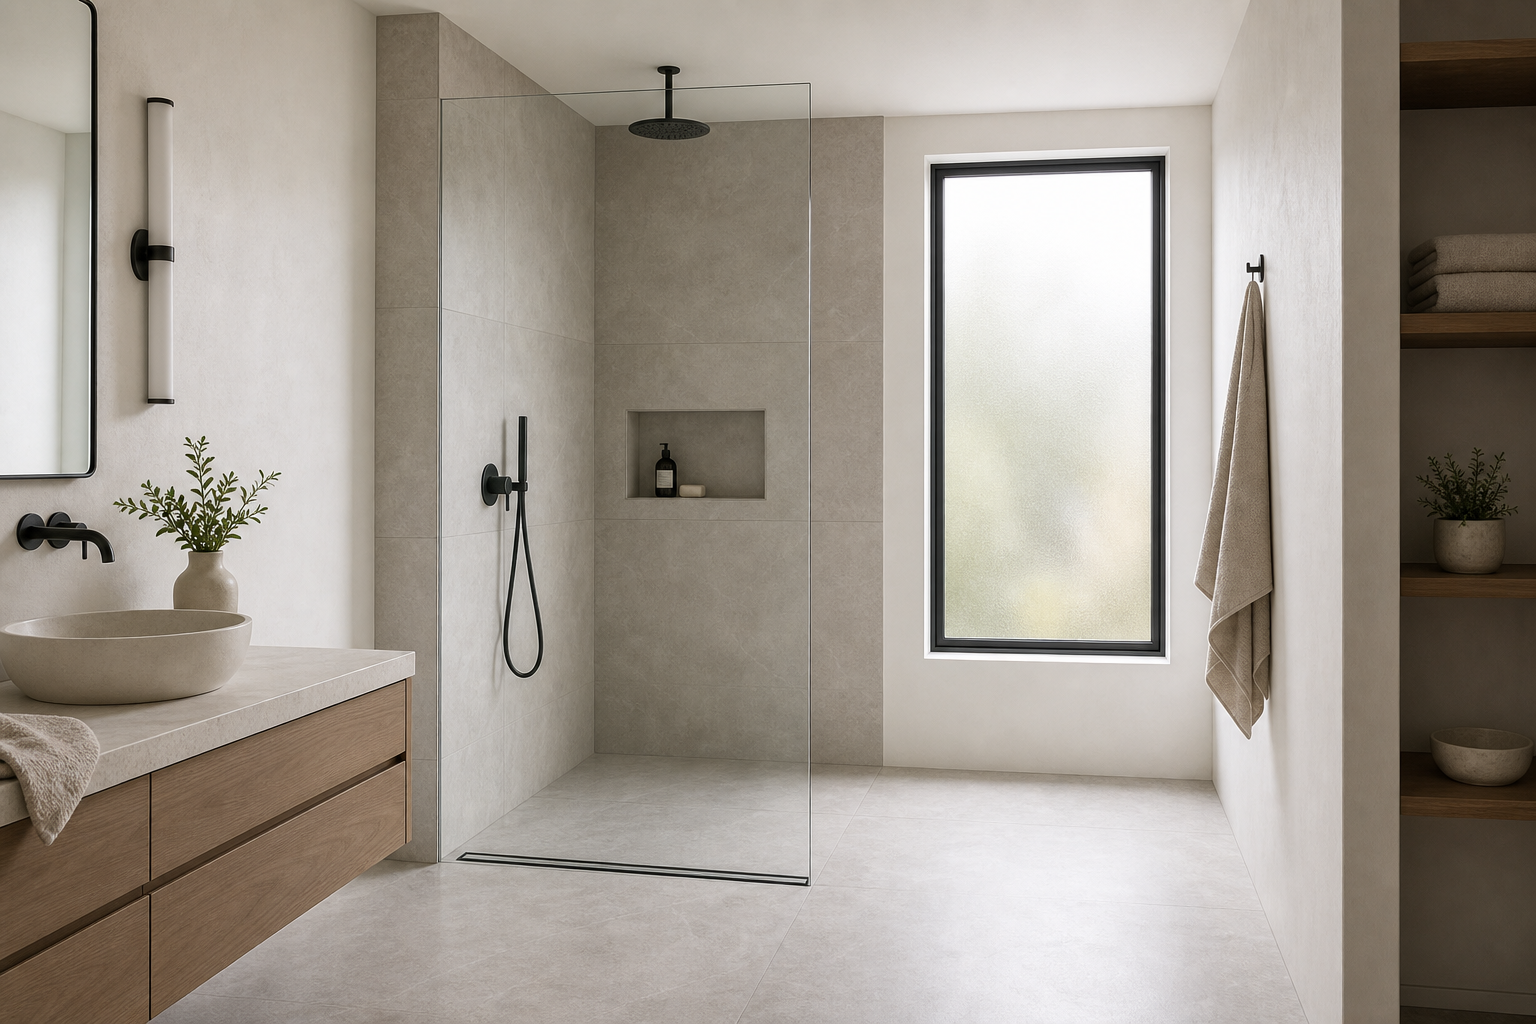
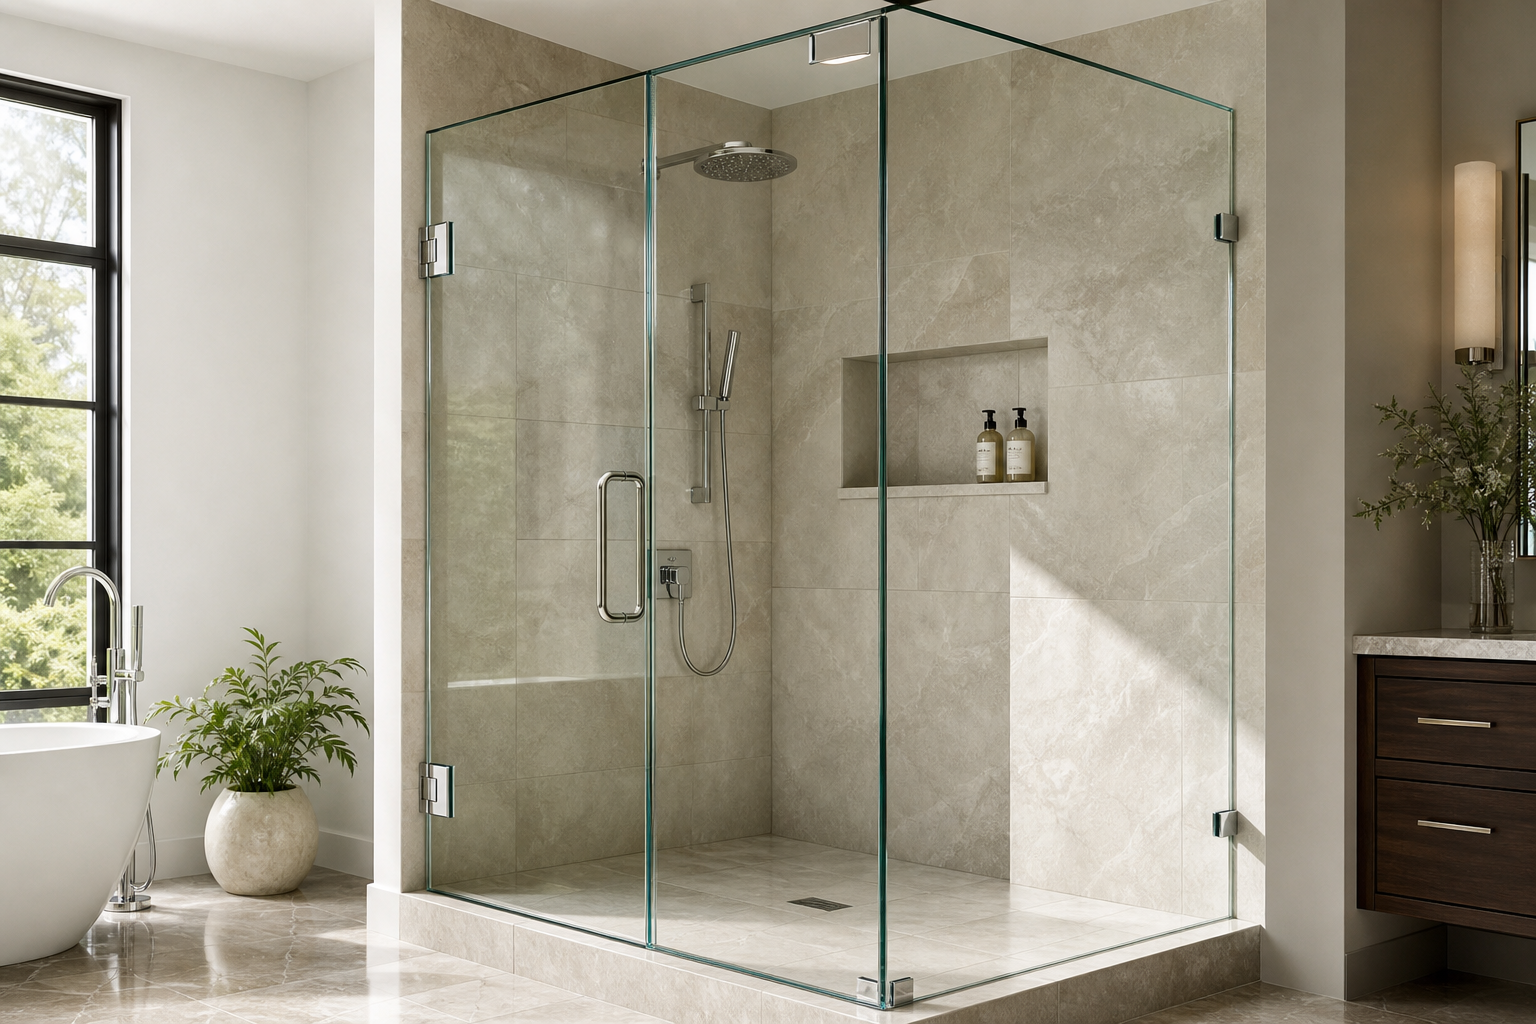
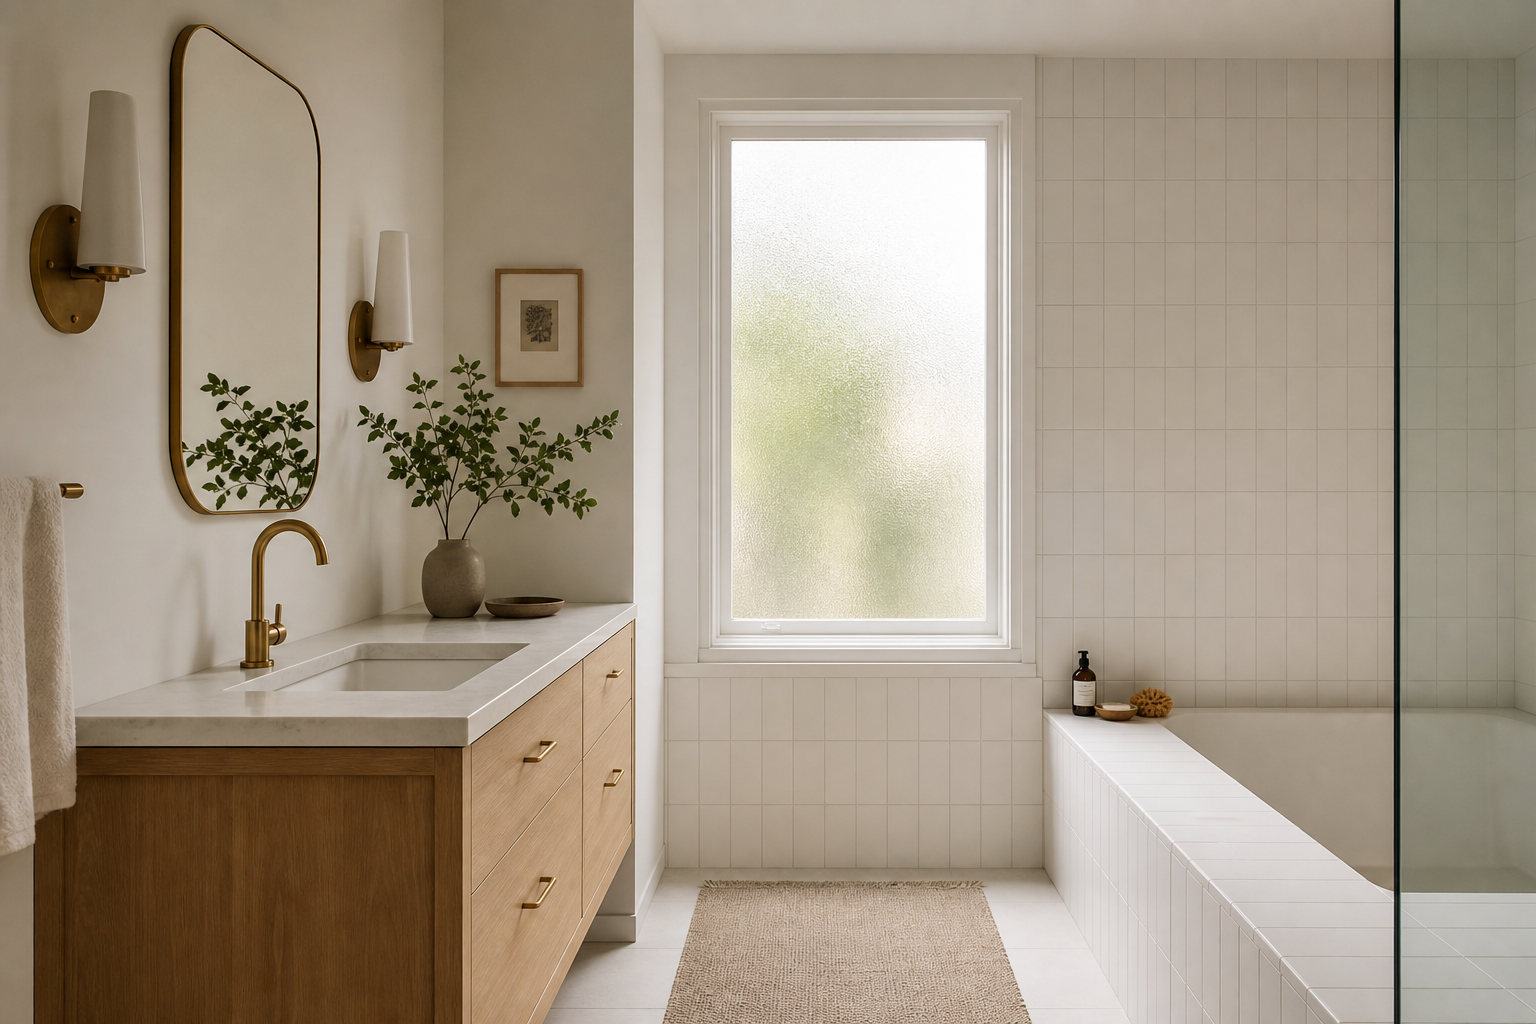
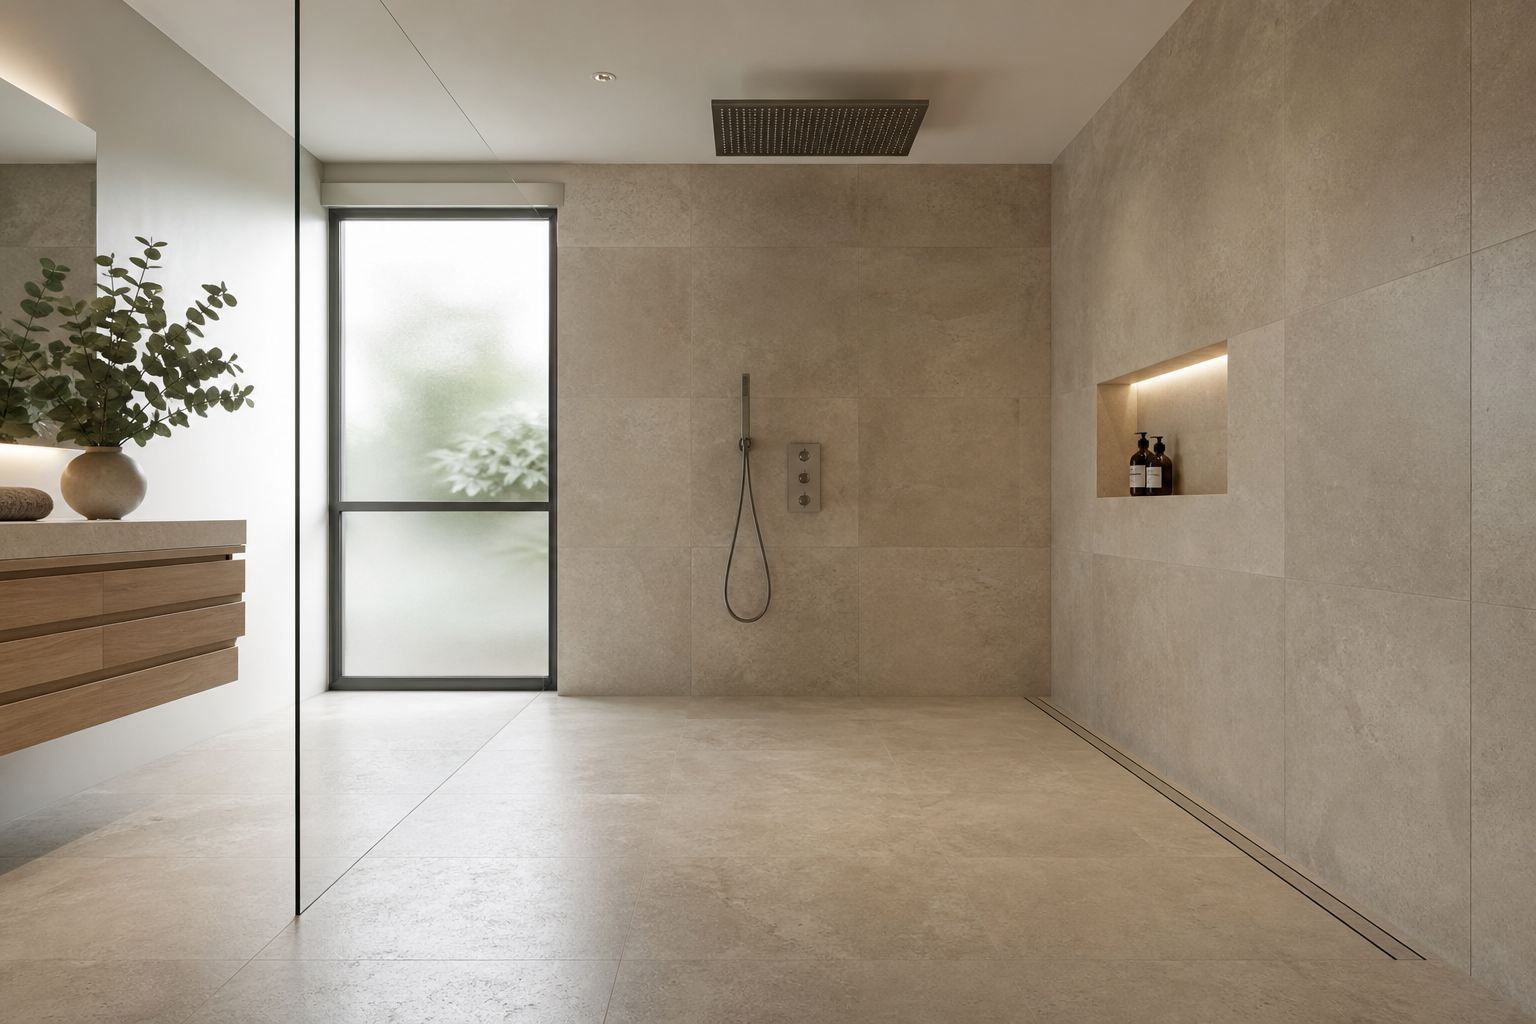
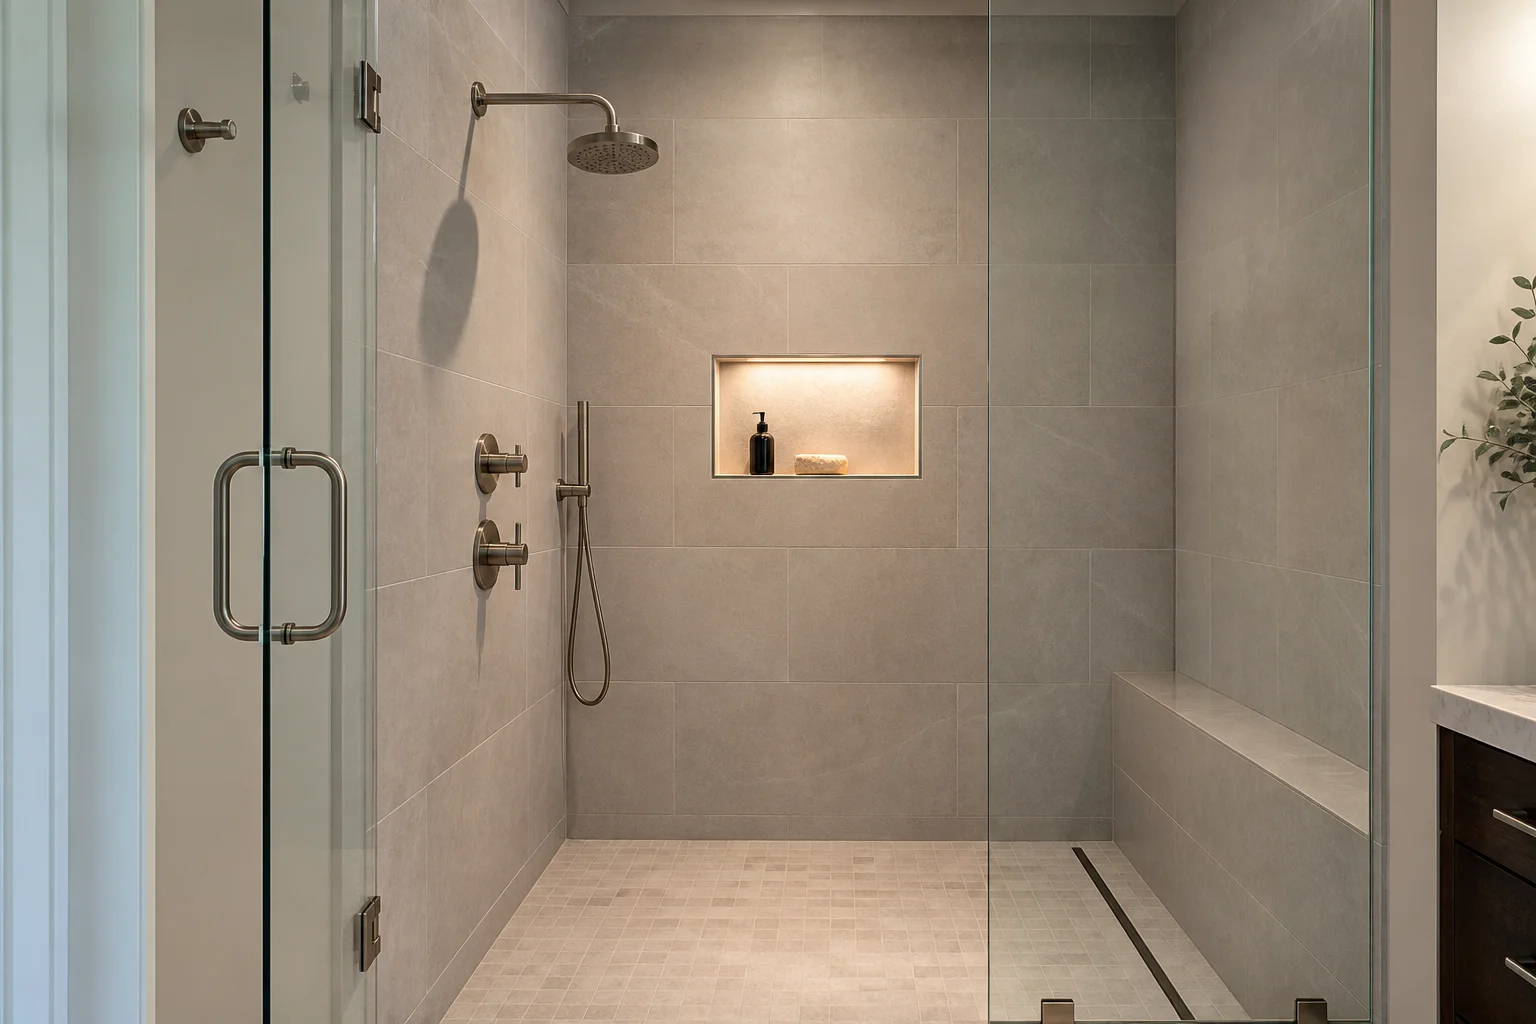
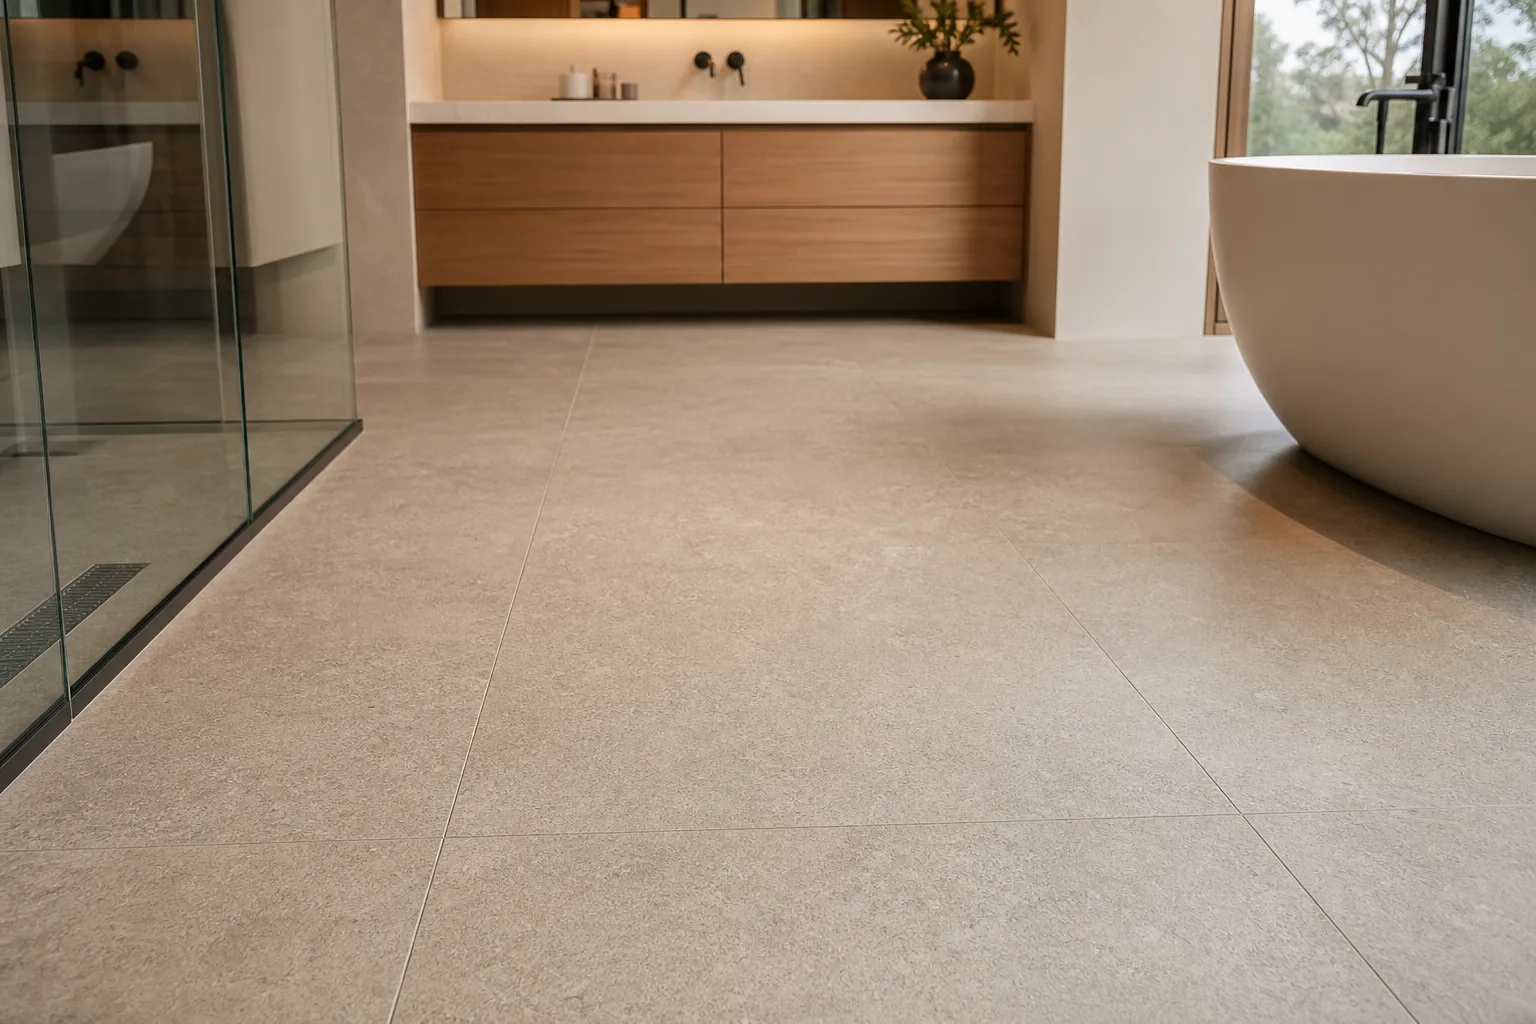
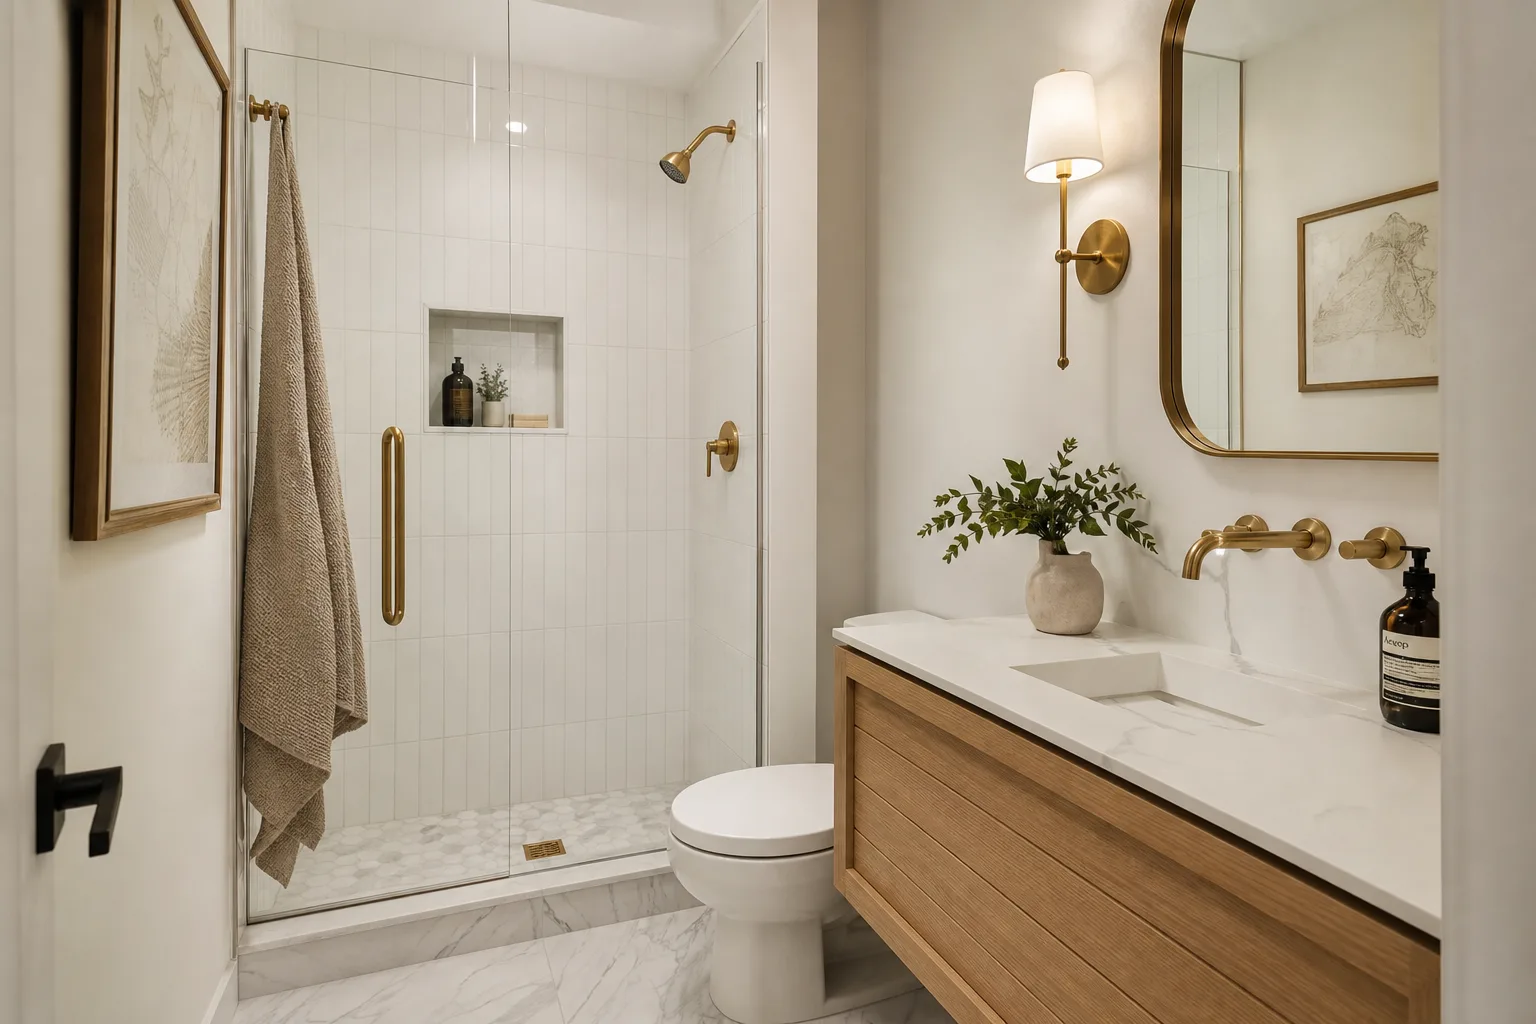
Narrow joints, achievable with rectified tile, suppress the grid. The floor reads as a continuous surface interrupted by faint lines. With rectified 24-by-48-inch porcelain and 1/16-inch joints in a straight-stack pattern, the floor reads as large slabs. The tile dominates; the grout nearly disappears.
Neither reading is inherently better. They are different aesthetic outcomes produced by different products installed to different standards. The mistake is specifying rectified tile because the inspiration photo showed a seamless floor, then installing it with the substrate preparation, joint width, and layout pattern appropriate for calibrated tile. The product cannot compensate for the installation standard.
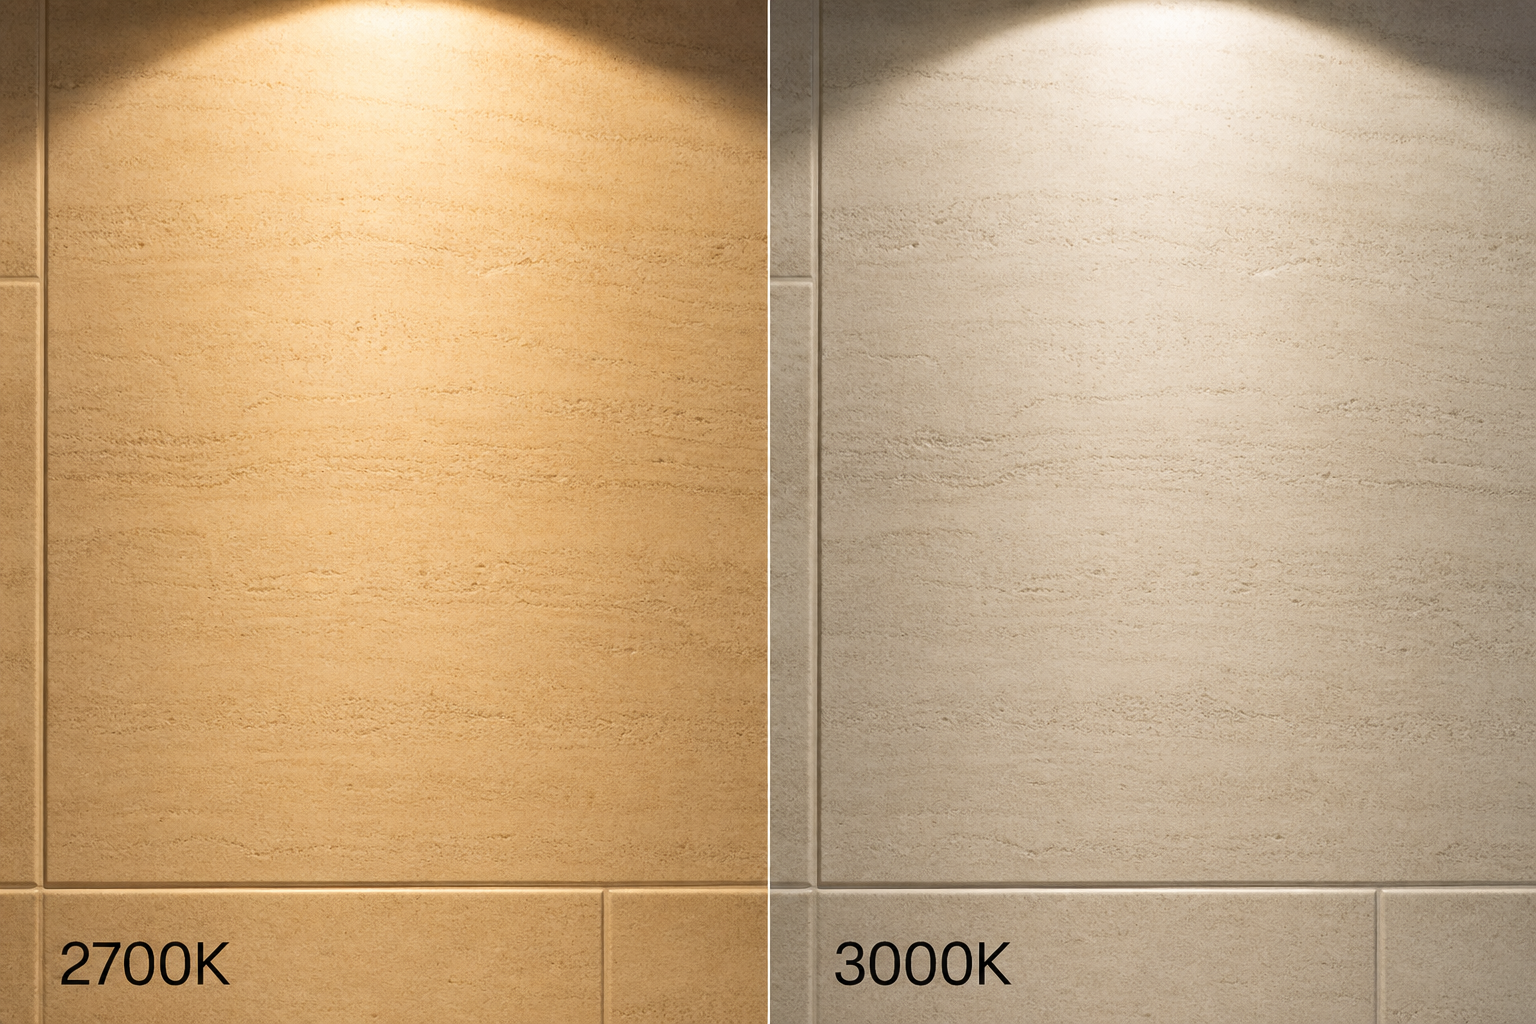
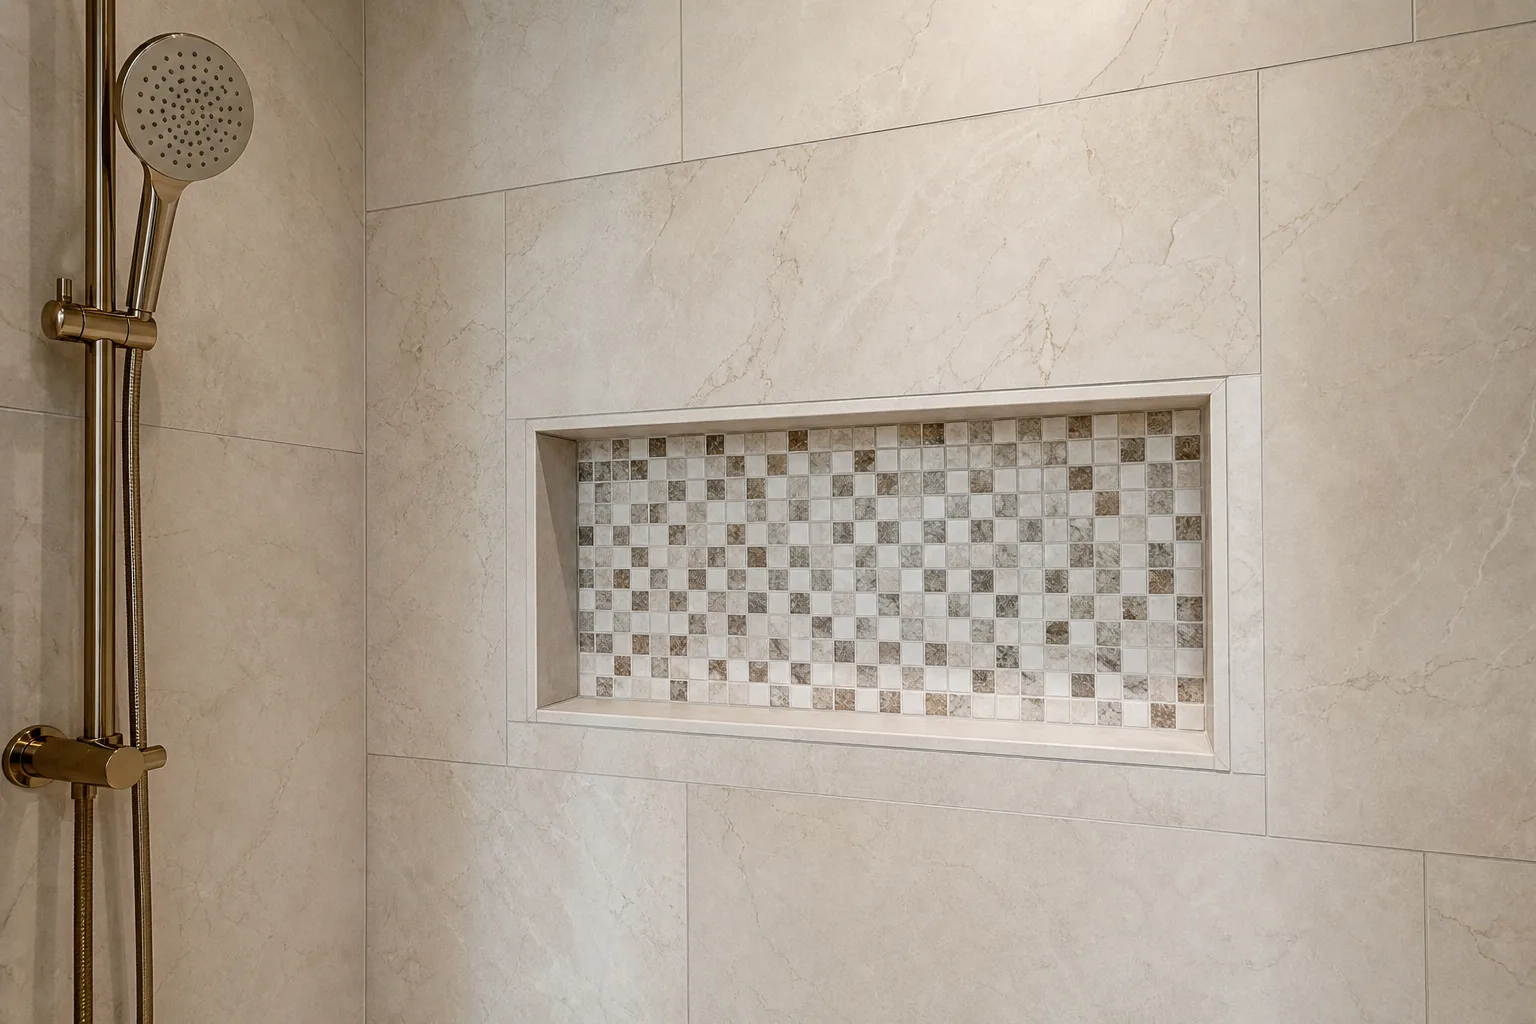
Color amplifies the effect. A grout color matched closely to the tile body makes narrow joints nearly invisible. A contrasting grout color at any joint width makes the grid explicit. Rectified tile with a matched grout in a narrow joint produces the monolithic surface that contemporary bathroom design favors. Rectified tile with white grout at 1/8 inch still reads as a grid, just a tighter one.
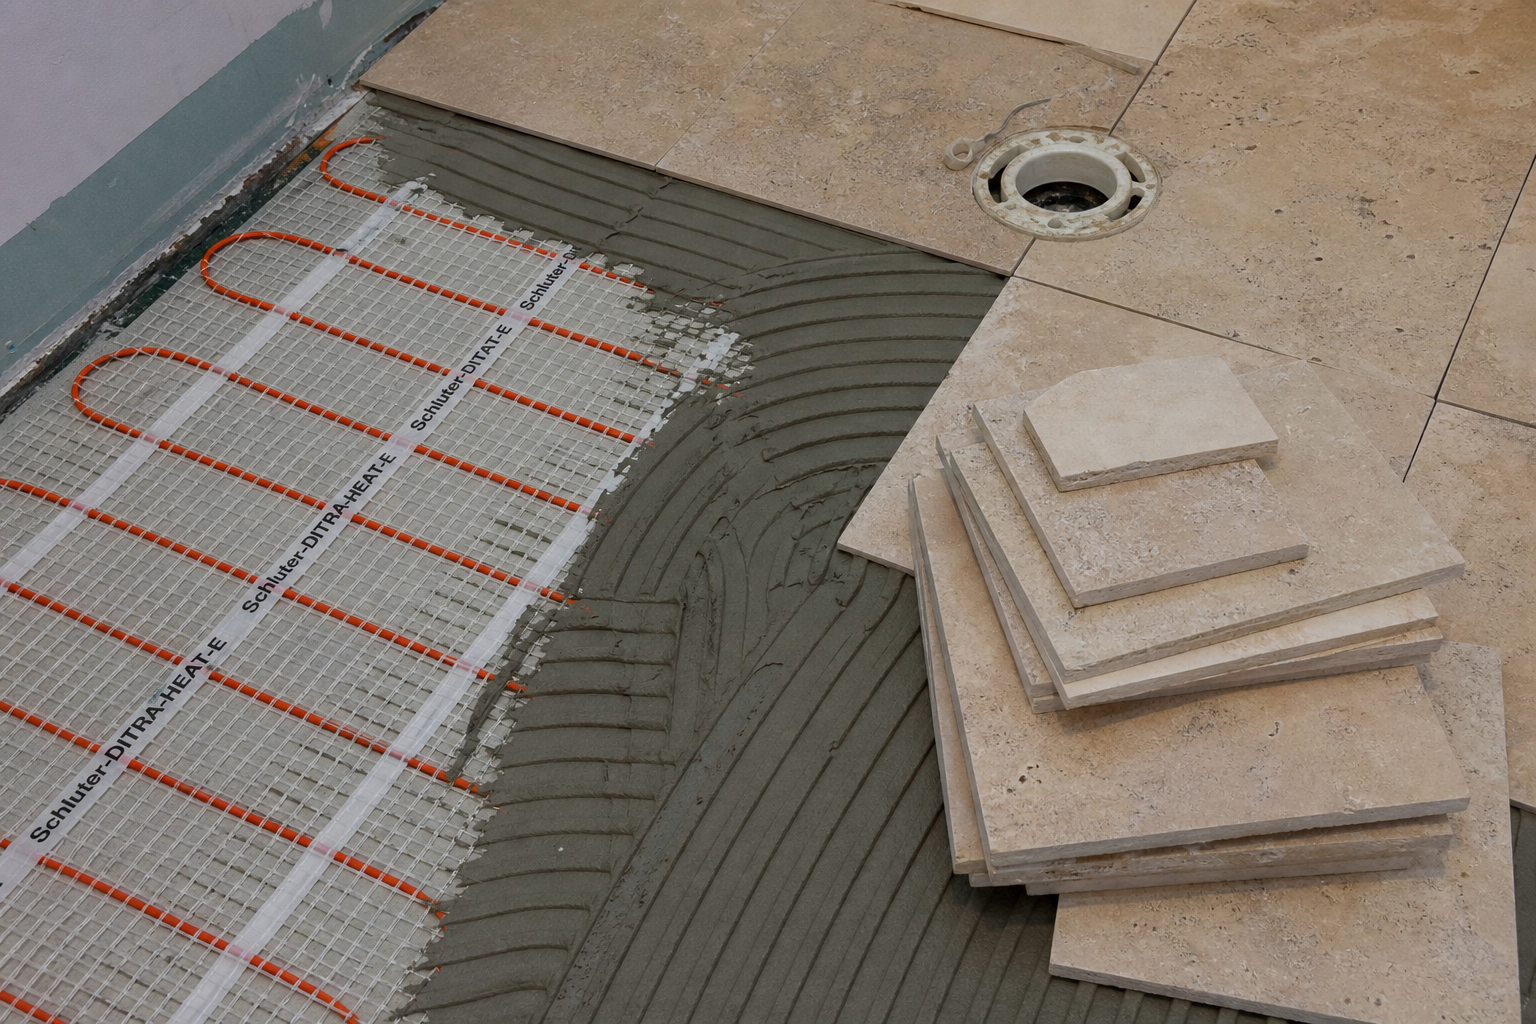
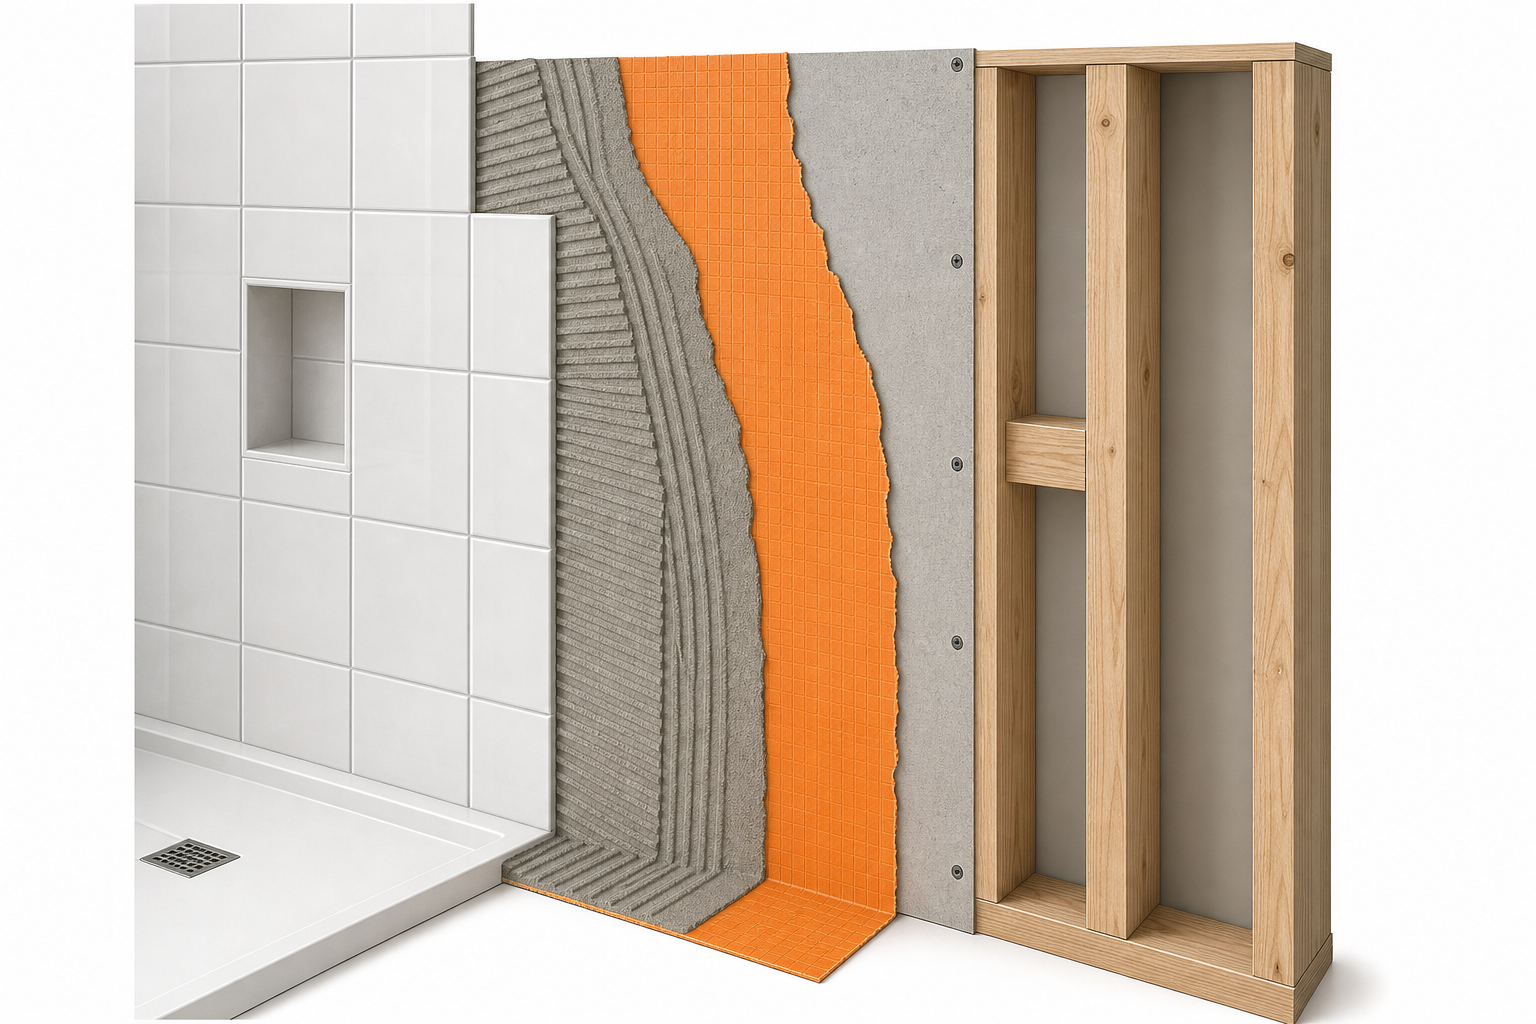
Substrate Requirements and Why They Tighten
Here is where the product difference becomes a construction difference.
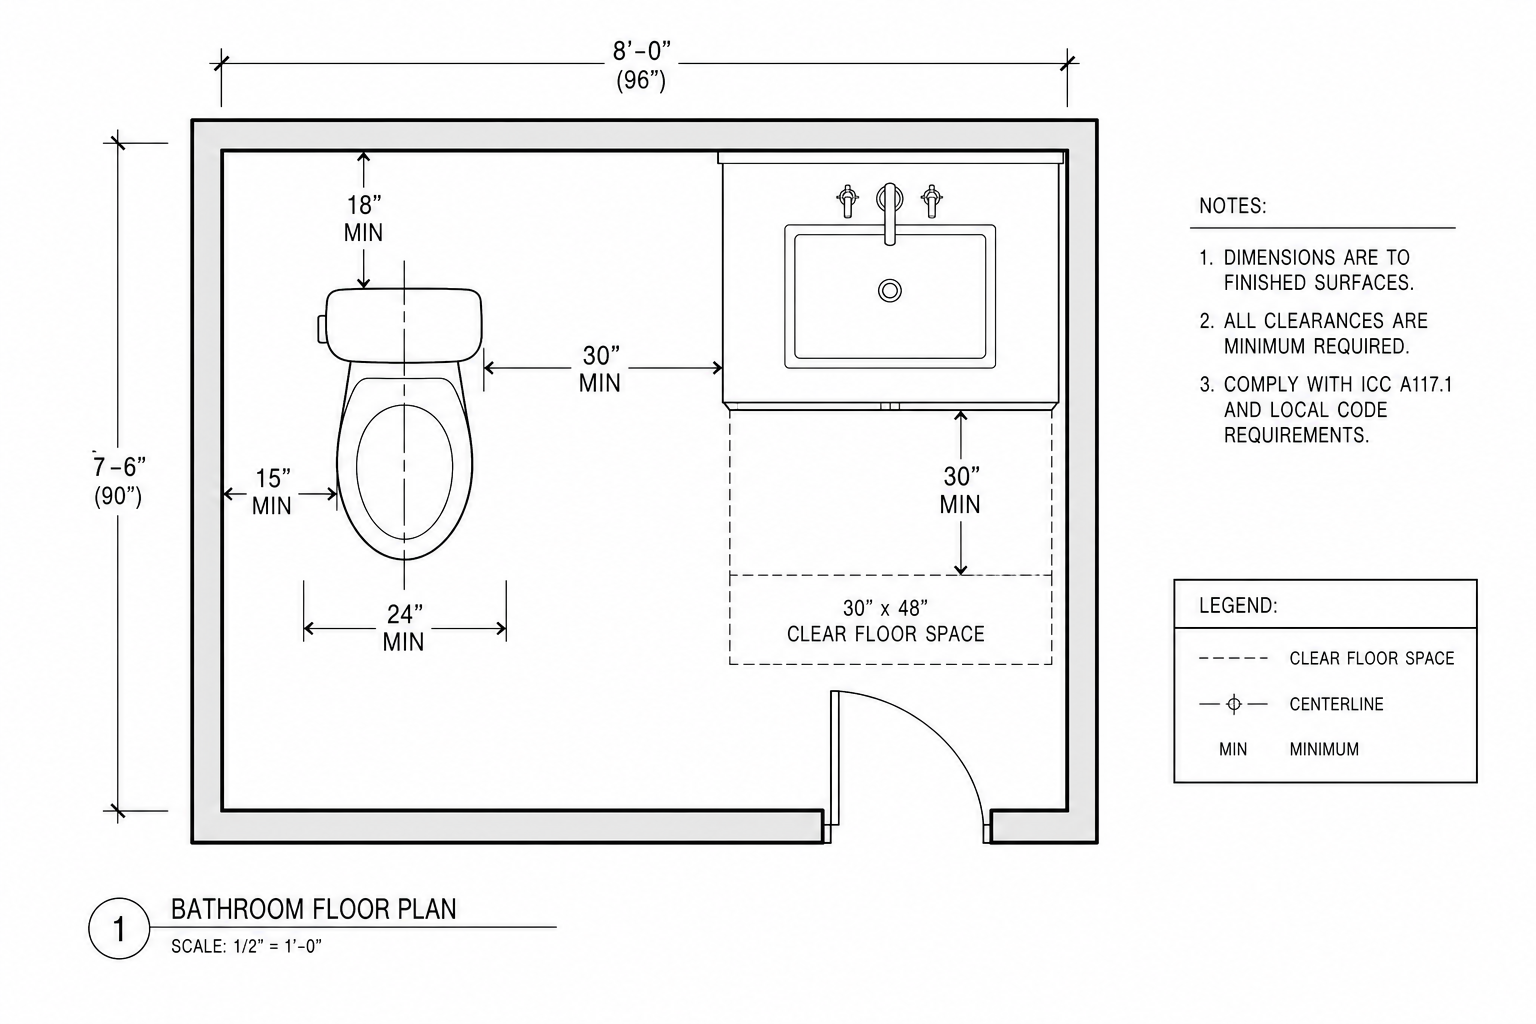
ANSI A108.02 substrate flatness requirements are defined by tile size, not by whether the tile is rectified. For tiles with all edges shorter than 15 inches, the substrate must be flat within 1/4 inch in 10 feet, with no more than 1/16 inch variation in 12 inches measured from high points. For tiles with at least one edge 15 inches or longer, the requirement tightens to 1/8 inch in 10 feet, with no more than 1/16 inch variation in 24 inches.
Most rectified tile sold for bathroom floors and walls falls into the large-format category. A 24-by-48-inch rectified porcelain panel triggers the 1/8-inch-in-10-feet flatness requirement regardless of how precisely its edges were cut. That requirement is the same whether the tile is rectified or calibrated.
The practical difference is what happens when the substrate fails to meet that requirement.
With wide grout joints on calibrated tile, a substrate deviation of 1/8 inch over 10 feet may be partially absorbed by joint width variation and by the installer's ability to adjust mortar bed thickness without producing visible lippage. The rounded, slightly irregular edges of pressed tile also soften the visual transition between tiles at slightly different elevations.
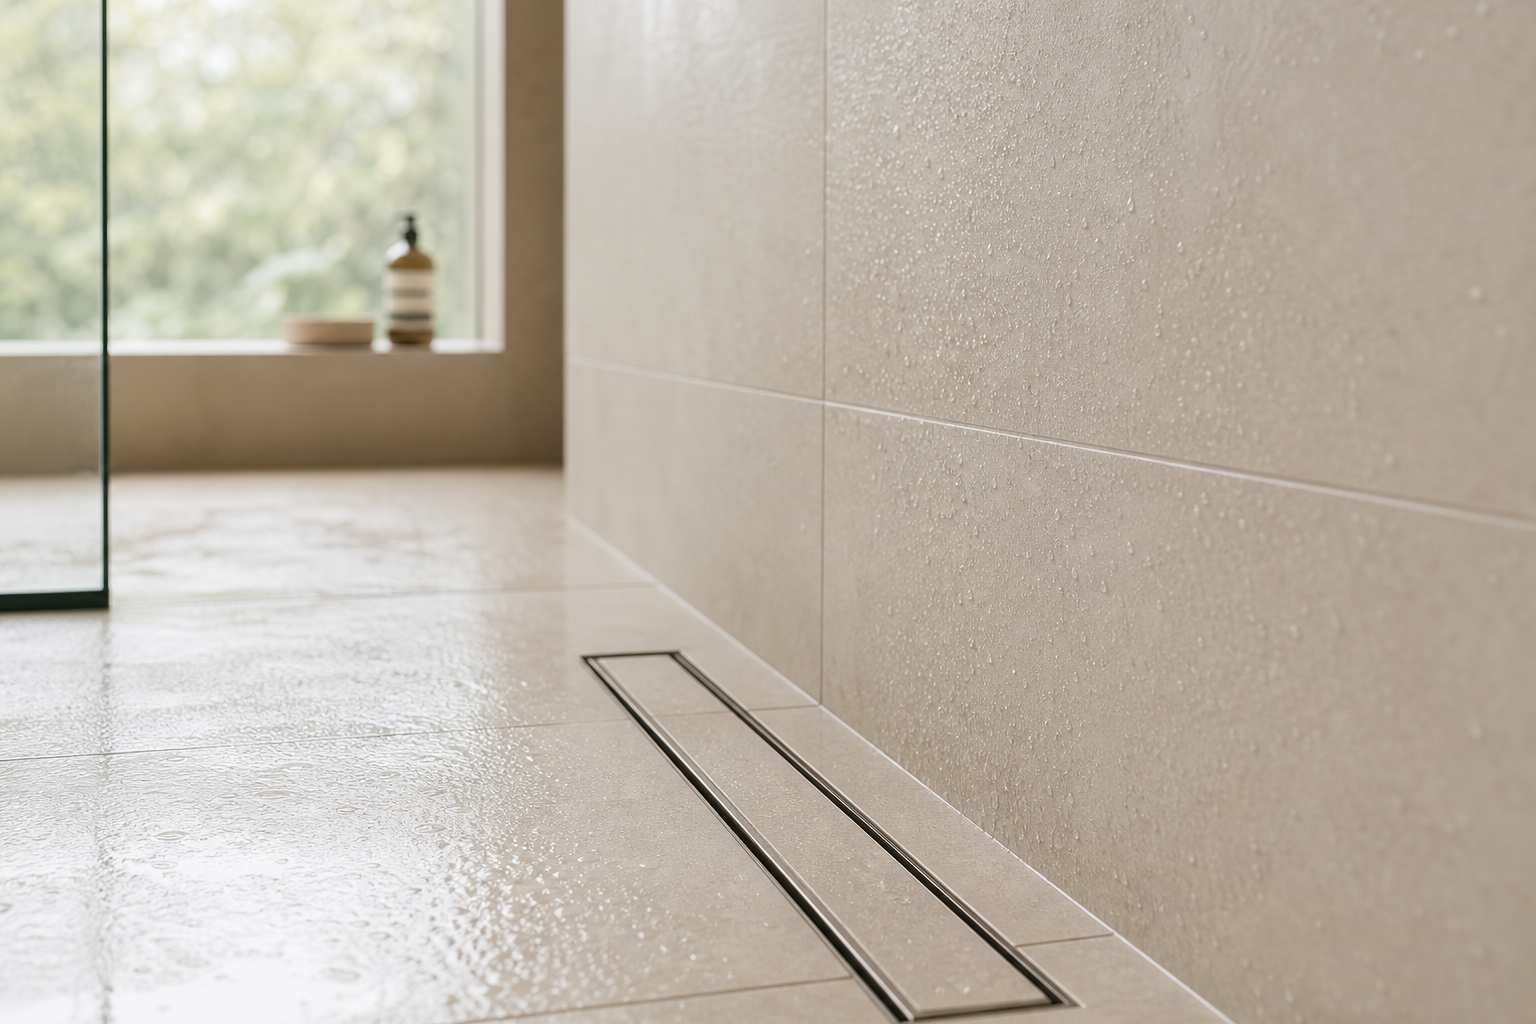
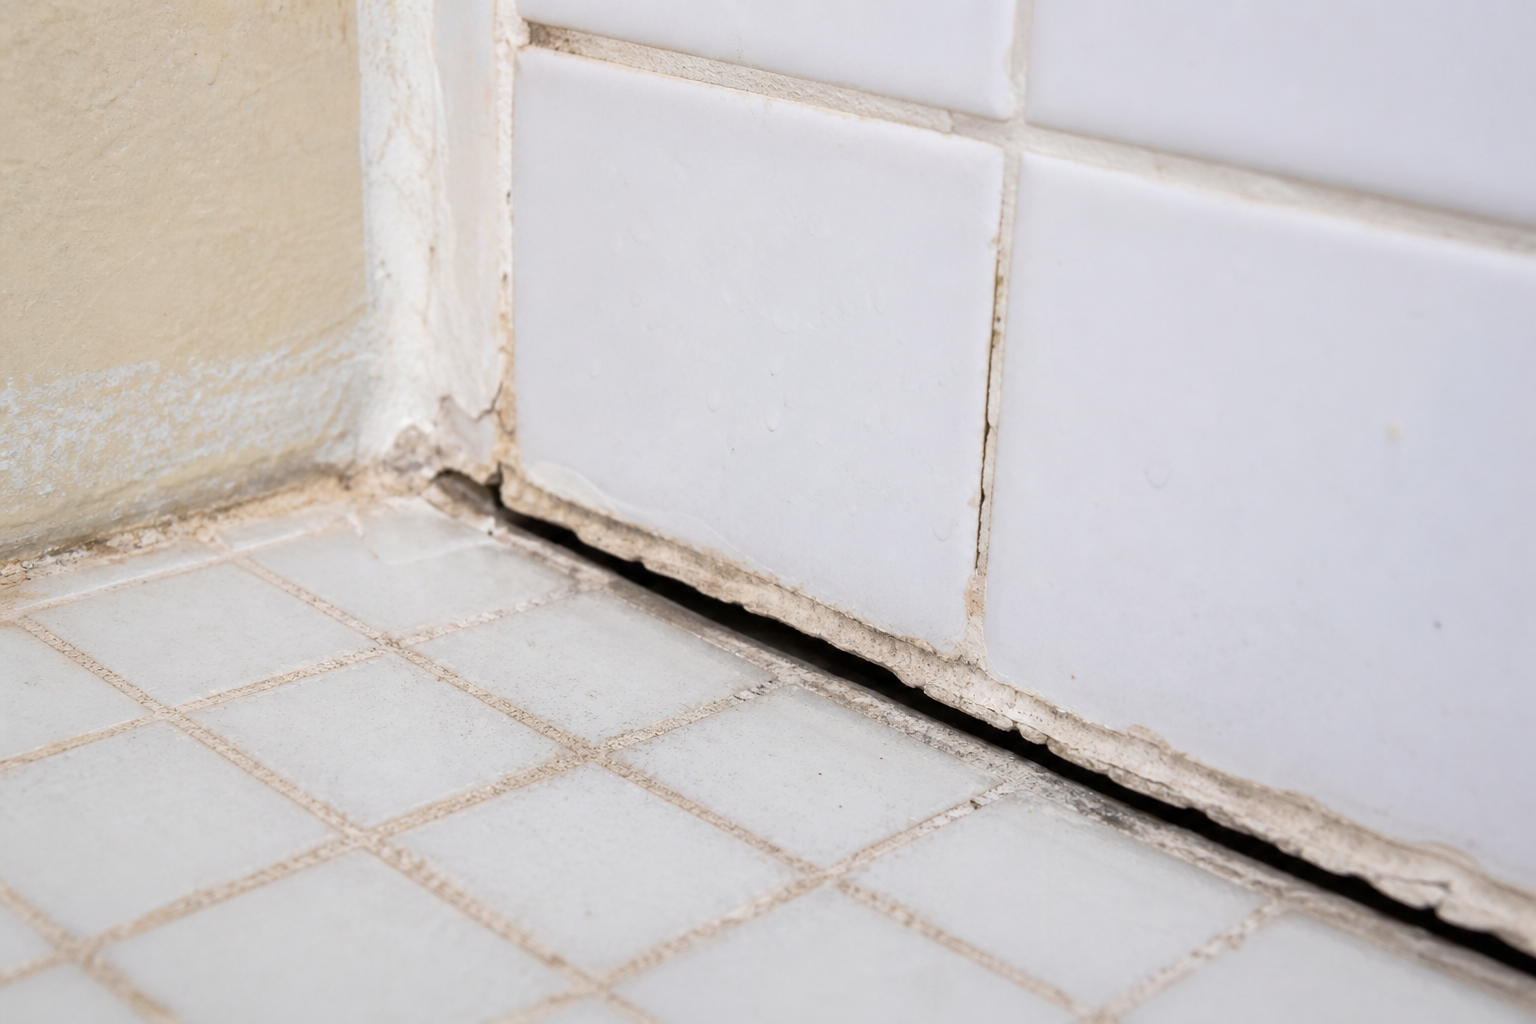
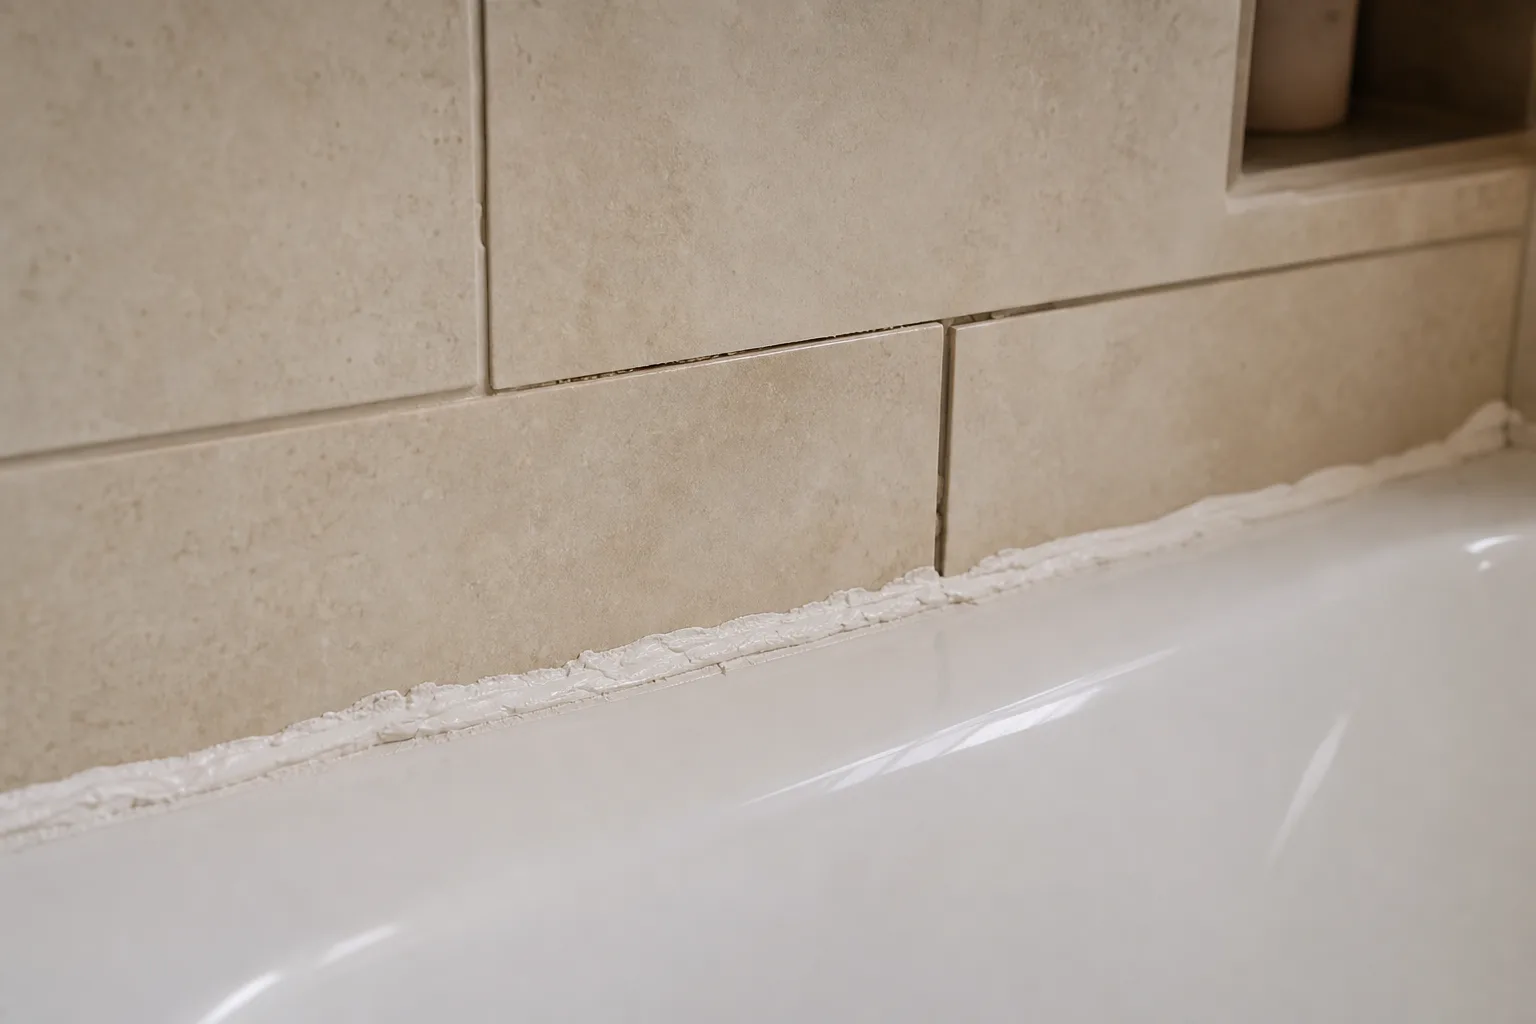
With narrow grout joints on rectified tile, the same substrate deviation produces visible lippage because the allowable lippage for joints of 1/8 inch or less is only 1/32 inch, roughly the thickness of a credit card. The TCNA white paper on rectified tile and narrow grout joint installations states this directly: lippage is far more noticeable with narrow grout joints, and an appropriately flattened substrate is critical for any successful narrow joint installation.
Rectified tile's sharp, square edges offer no visual forgiveness. Where two rectified tiles meet at different elevations, the step is crisp and catches light at oblique angles. On a bathroom floor with directional lighting from a vanity or window, lippage that would be invisible at 1/4-inch joints becomes the first thing the eye finds at 1/16-inch joints.
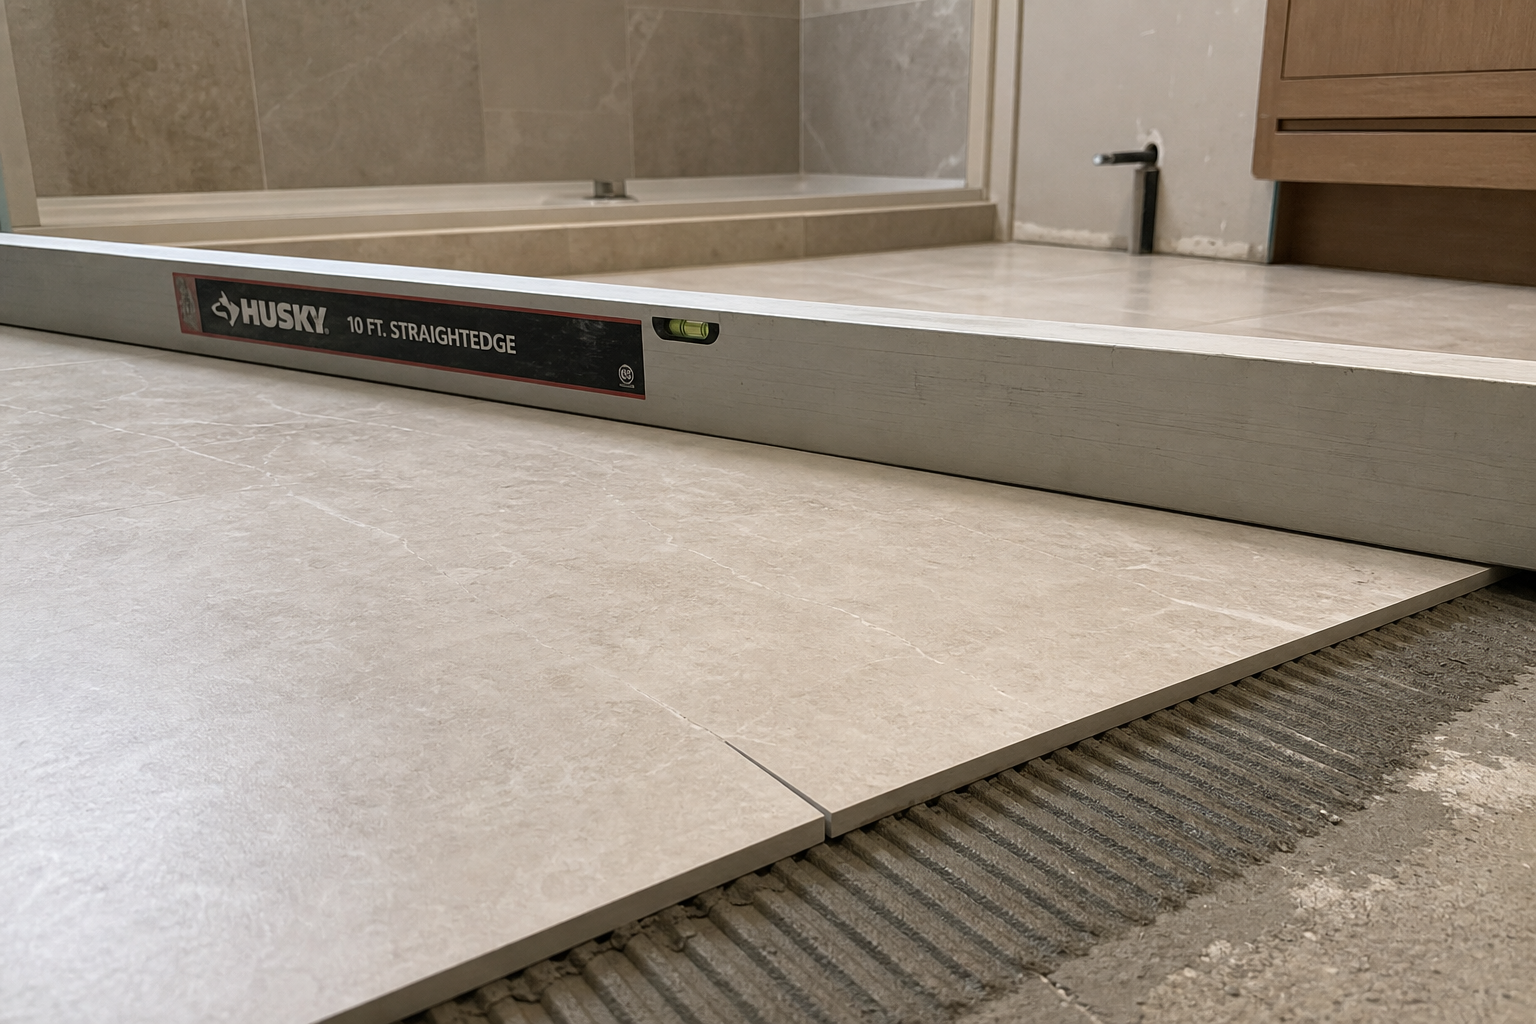
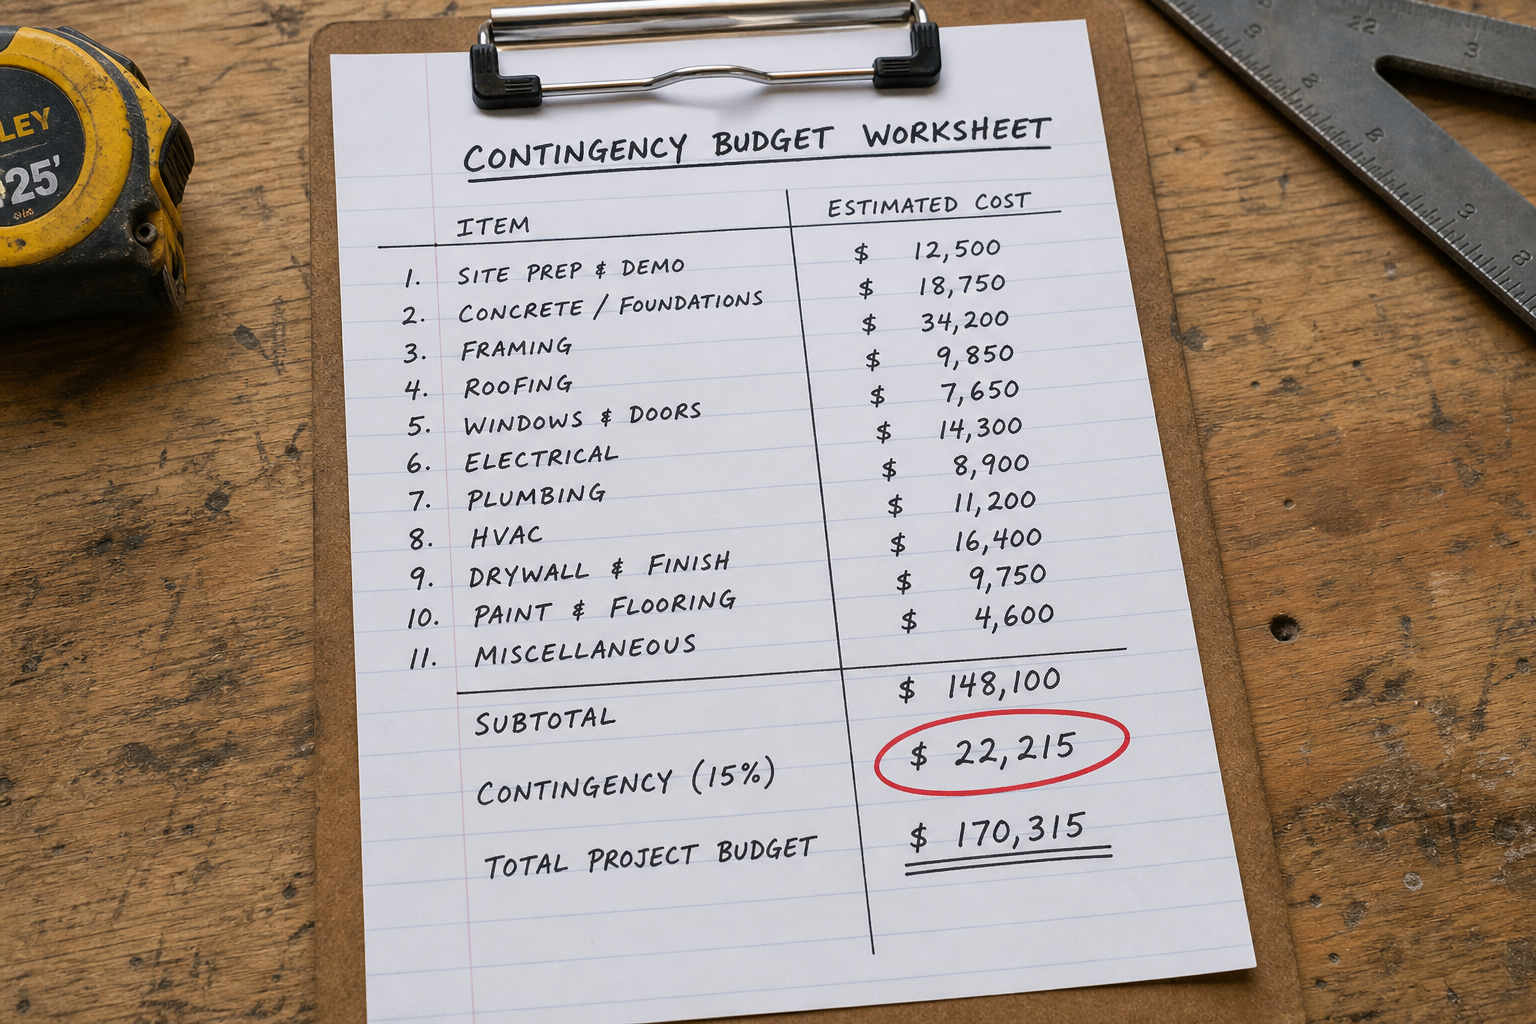
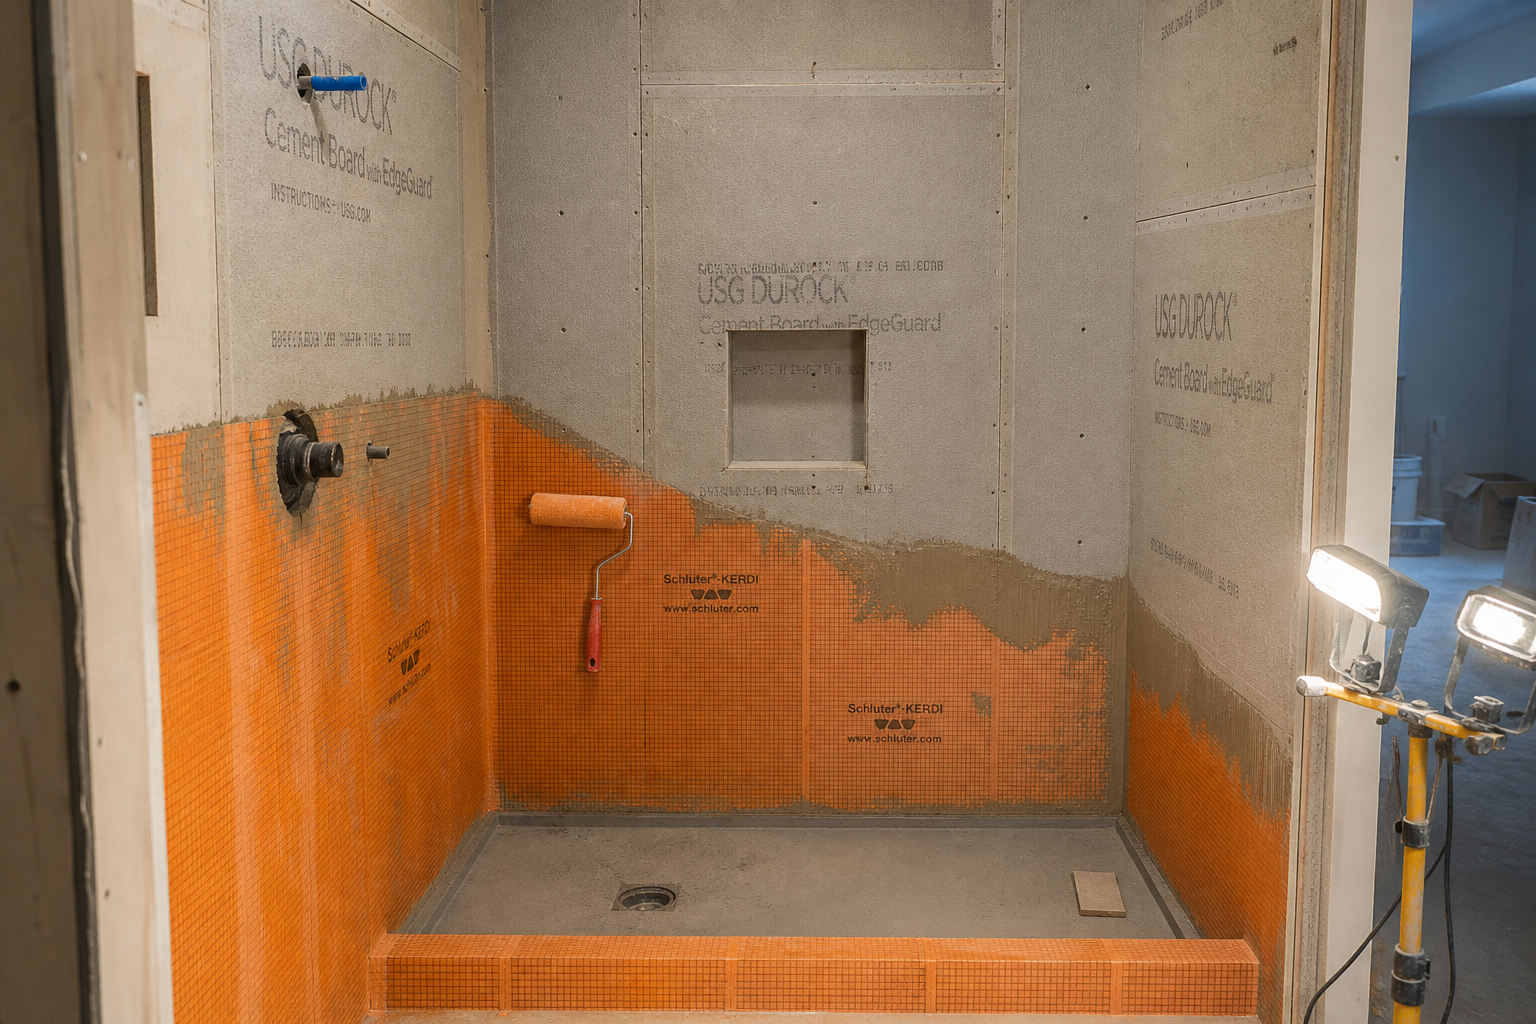
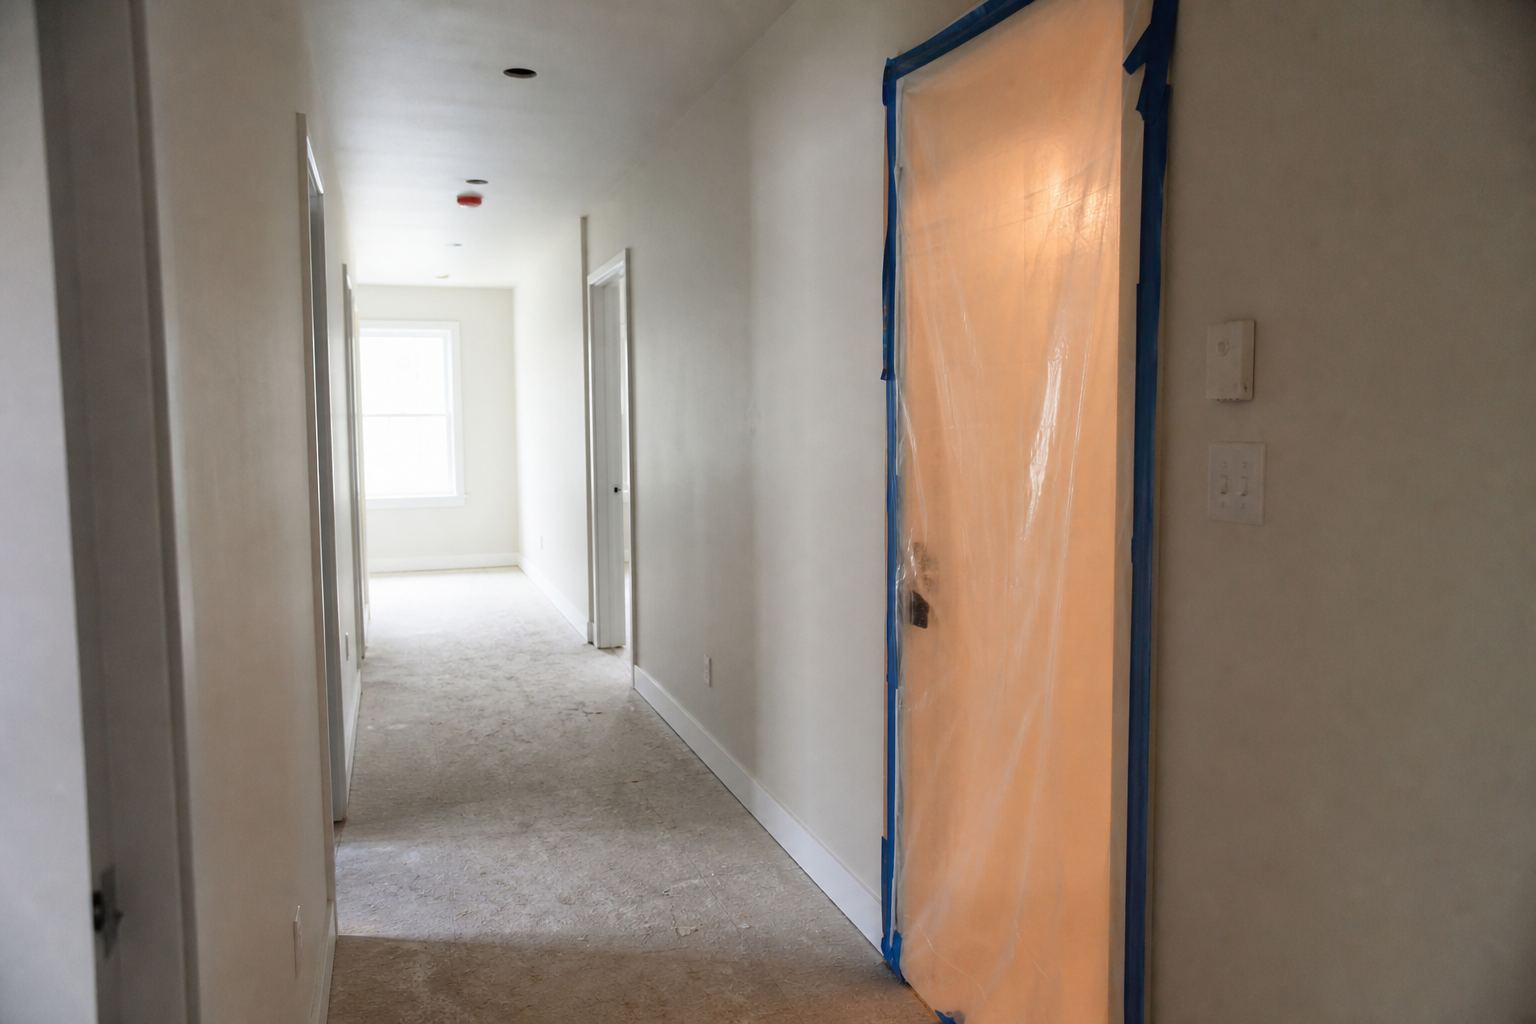
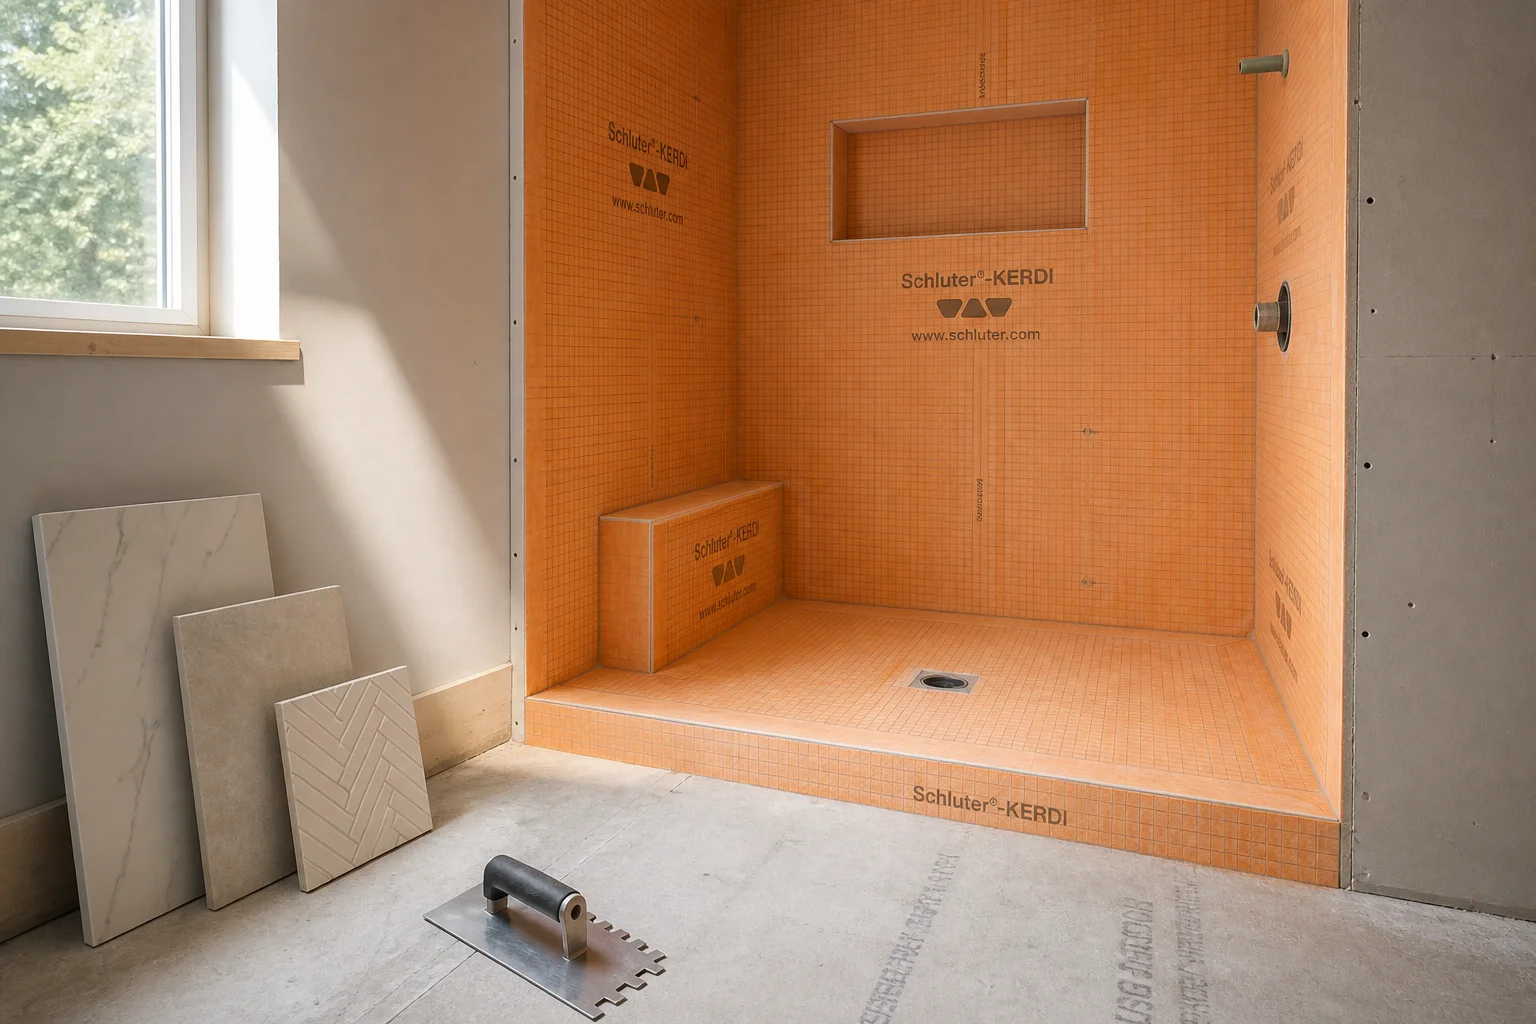
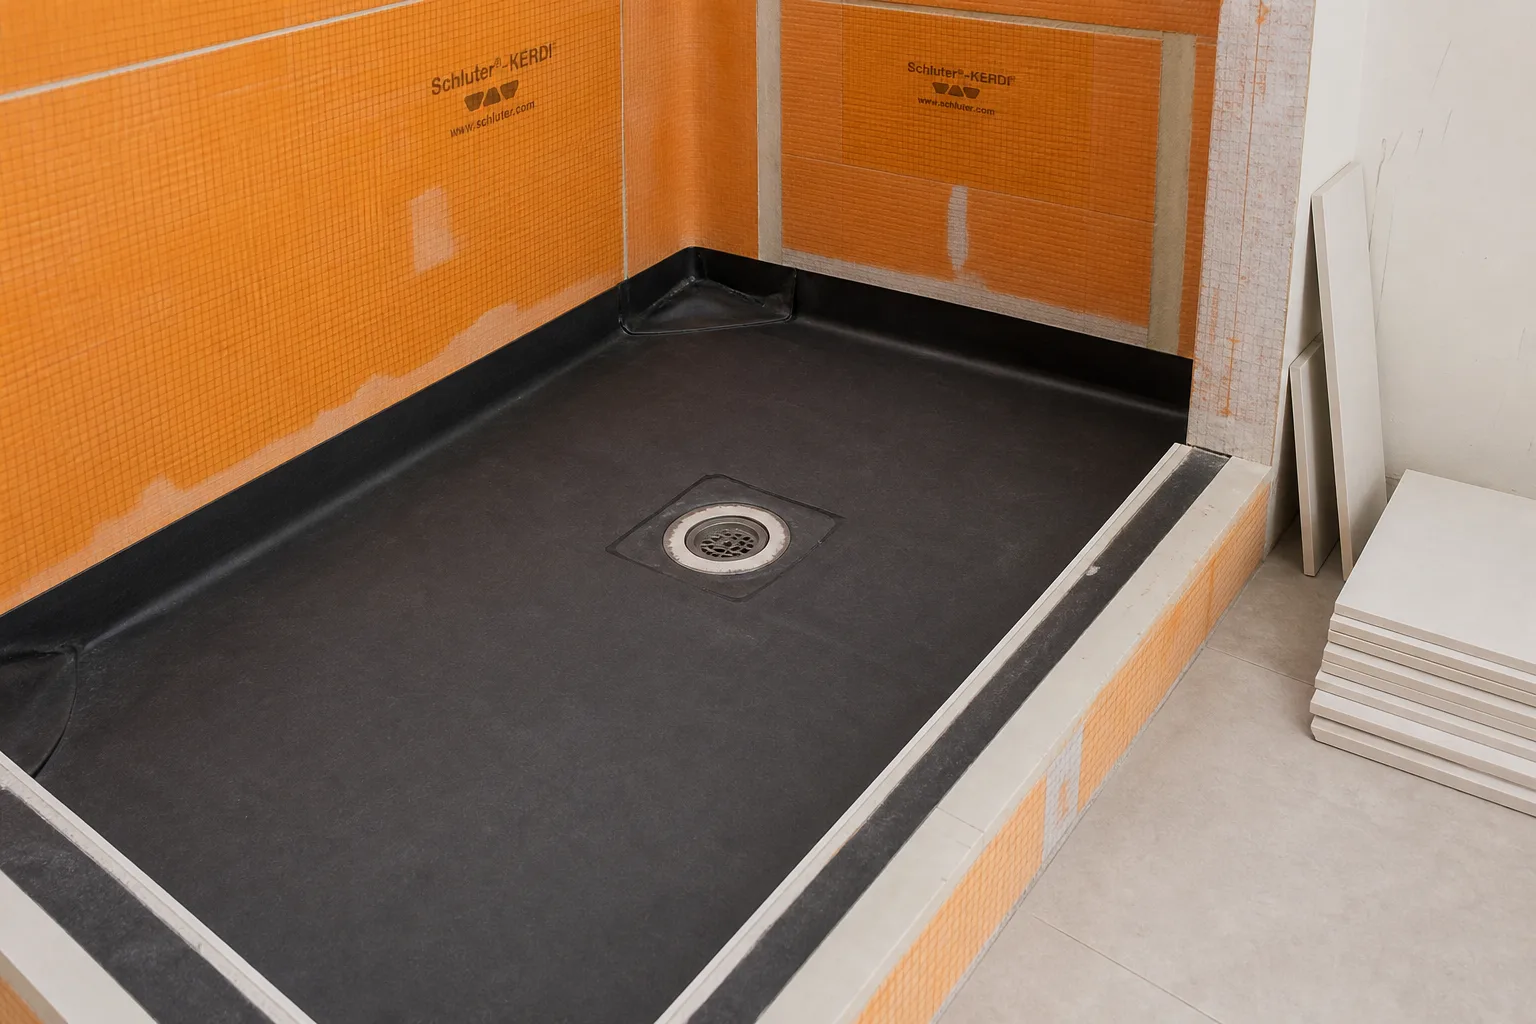
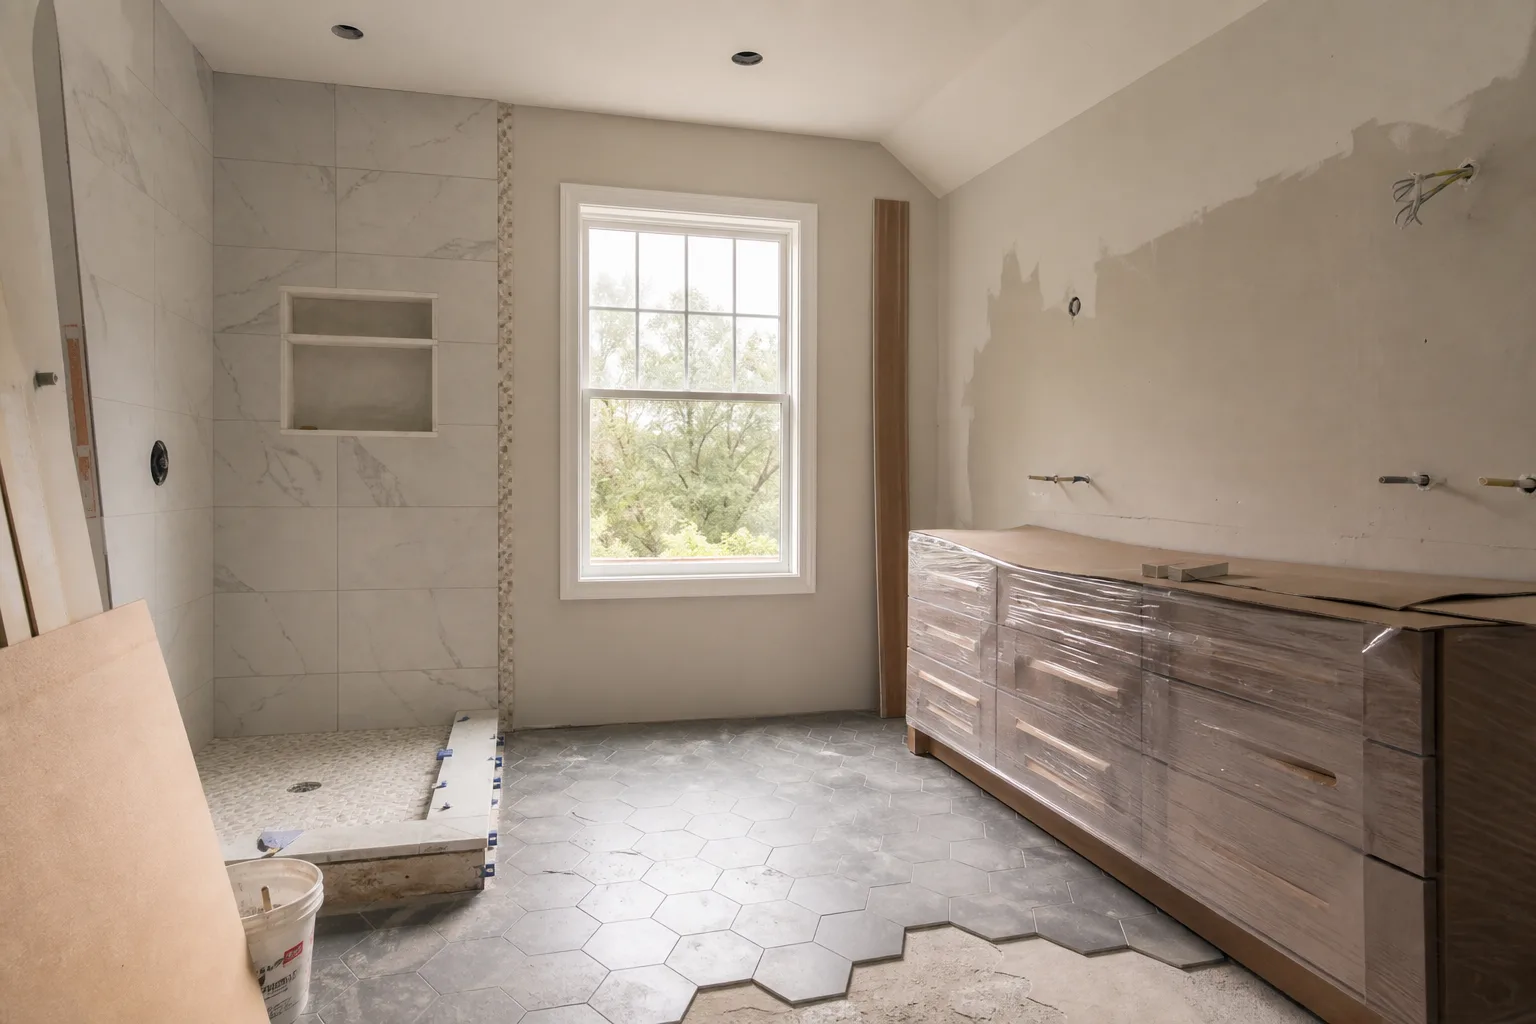
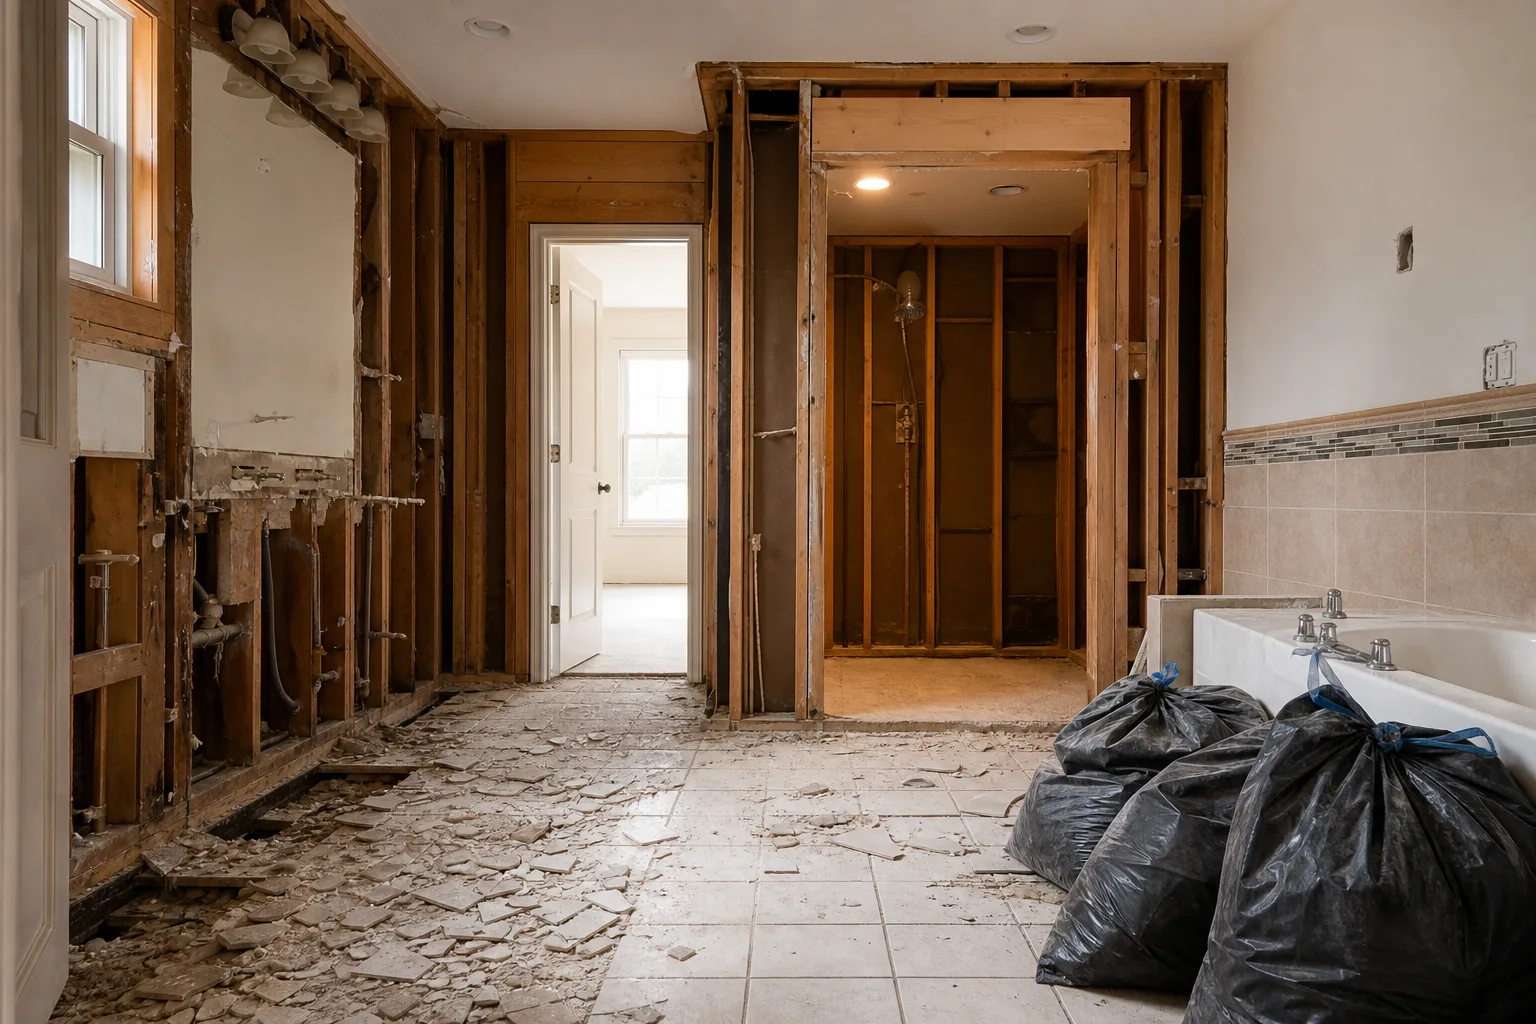
This is why rectified large-format tile in a renovation often requires substrate preparation that was not in the original estimate. Existing floors and walls in older homes rarely meet the 1/8-inch-in-10-feet tolerance without grinding high spots, filling low areas with patching compound or self-leveling underlayment, and verifying flatness with a straightedge before tile begins. That preparation is real labor and real material cost. It is not optional if the specified tile is rectified large-format with narrow joints.
The installer who sets rectified tile over an unverified substrate is not cutting a corner on the tile. The tile is fine. The corner being cut is on the surface beneath it, and the consequence is lippage, hollow spots, or cracked tile that appears months after the job closes.
Layout Patterns That Work and Patterns That Fight
Rectification solves dimensional consistency. It does not solve warpage. Large-format tile, rectified or not, can bow along its longest dimension as a result of the firing process. In a straight-stack or grid pattern, warpage is distributed evenly and manageable with proper substrate flatness and skilled setting technique.
In a running bond or brick-joint pattern with 50 percent offset, warpage on adjacent rows stacks vertically. The high point of one tile's bow aligns with the low point of the tile below it, or worse, two high points meet and produce pronounced lippage at the joint. ANSI A108.02 restricts running bond patterns on tile with any side longer than 15 inches to a maximum 33 percent offset unless the owner approves a mock-up showing the actual lippage that will result.
Many rectified large-format tiles carry manufacturer installation instructions specifying minimum 1/8-inch grout joints, maximum 33 percent offset in running bond, and explicit warnings against 50 percent brick patterns. These are not conservative recommendations. They are responses to the physics of warpage on fired ceramic bodies that no amount of edge grinding can eliminate.
The design implication is straightforward. If the aesthetic goal is a seamless large-format floor with hairline joints, the layout pattern should be straight stack or a minimal-offset running bond. If the aesthetic goal is a traditional brick pattern with 50 percent offset, rectified large-format tile is the wrong product regardless of how precisely its edges were cut.
How to Verify What You Are Actually Buying
Not every tile labeled rectified meets the ANSI A137.1 dimensional tolerances for rectified product. Until the standard was updated to include specific tolerances for rectified tile, the label was applied inconsistently. TileLetter, the industry publication, notes that tile meeting A137.1 specifications is normally easier and faster to install because the dimensional consistency is verified. Tile that has not been tested to those specifications carries no such guarantee.
Before specifying rectified tile, ask the distributor or manufacturer for the technical data sheet confirming ANSI A137.1 compliance for the rectified subcategory. Confirm the recommended minimum grout joint width for the specific product. Confirm the maximum allowable offset for running bond patterns. These numbers vary by manufacturer and by tile body even within the rectified category.
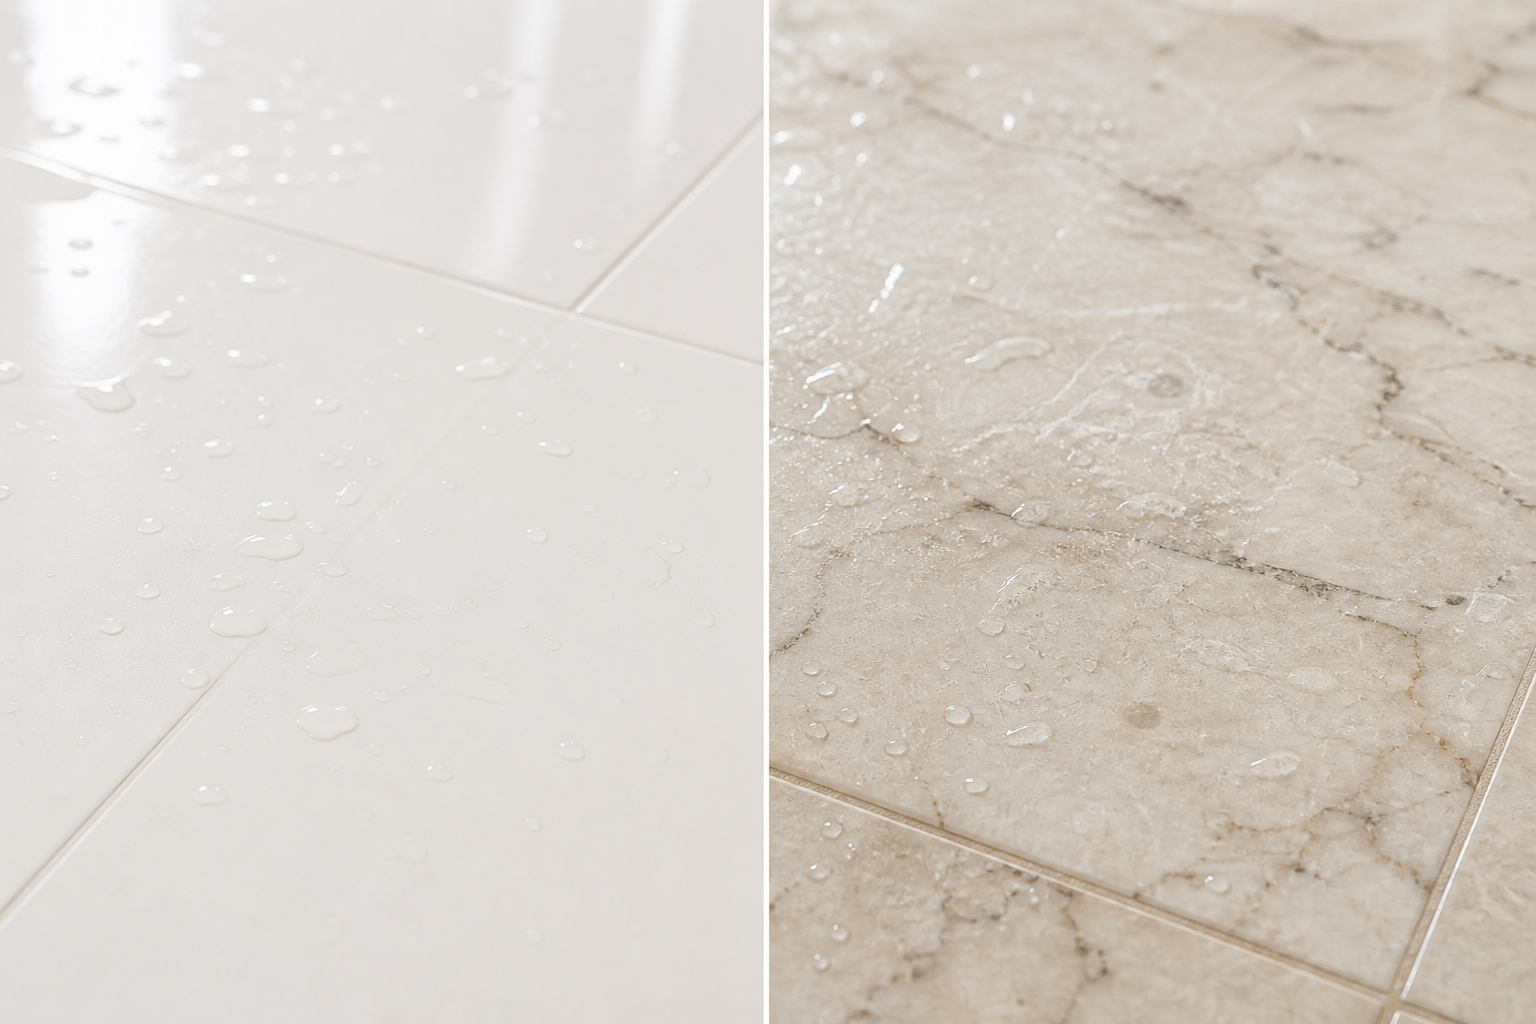
For bathroom floors and shower walls, also confirm whether the tile is porcelain or ceramic body, whether the surface is polished or matte, and whether the manufacturer specifies medium-bed mortar for large-format installation. Rectified edges do not change any of these requirements. They change only the joint width and the visual standard the finished surface must meet.
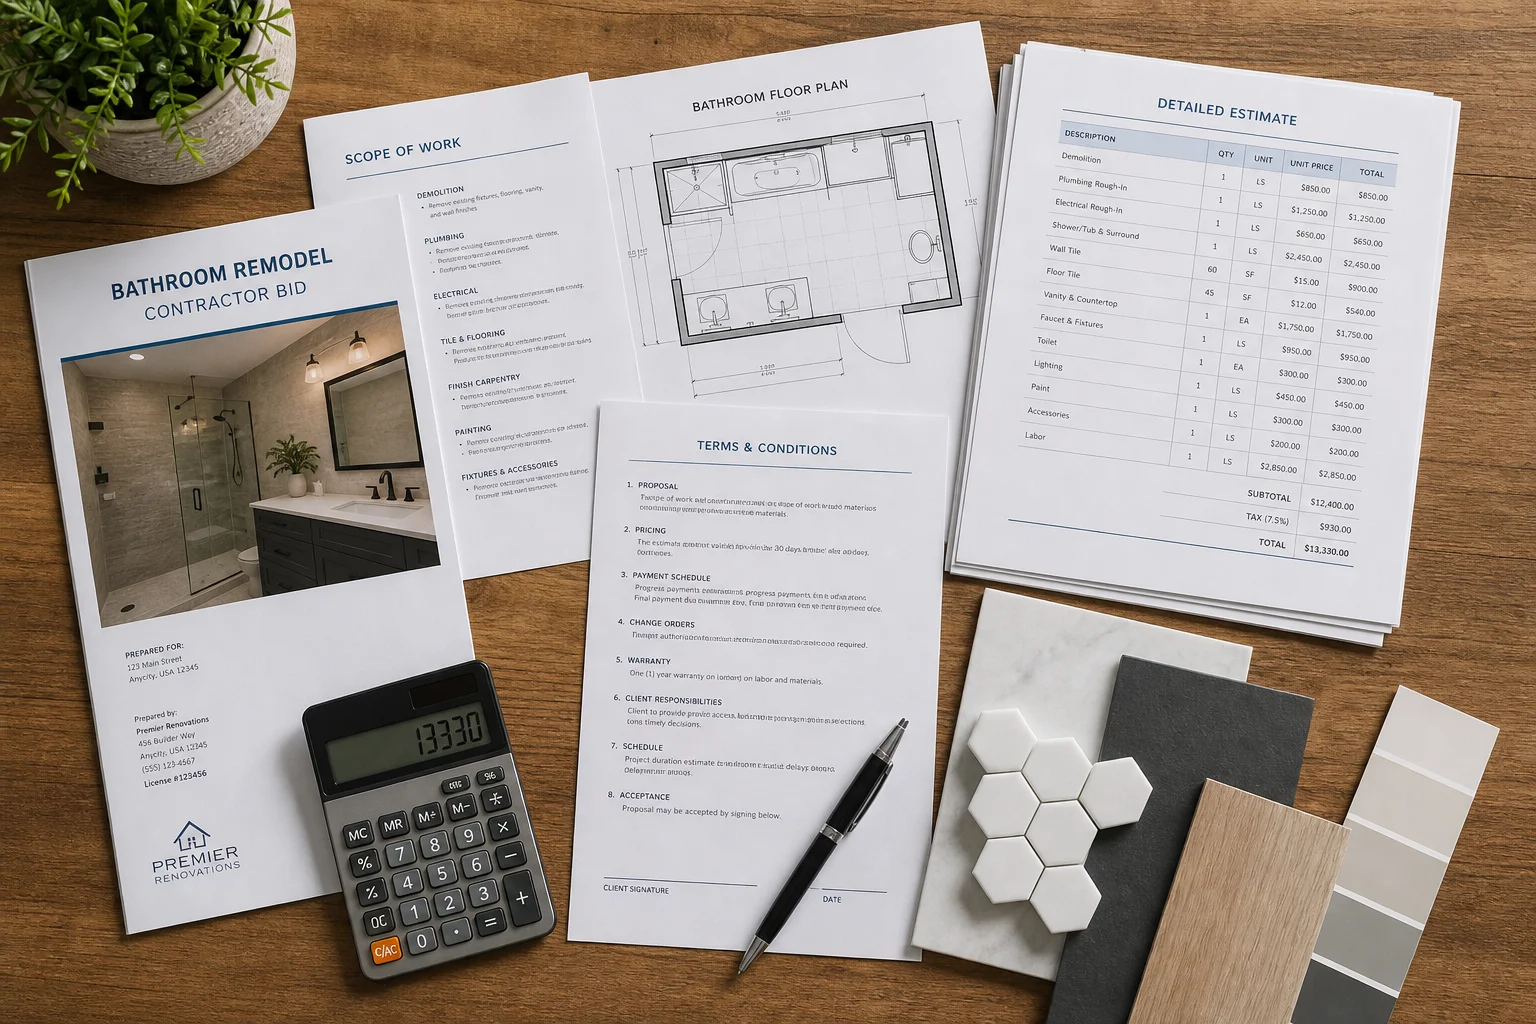
Before specifying any large-format rectified tile, we verify the substrate tolerance on site, not in the estimate. A floor that needs self-leveling compound or a wall that needs skim-coating to meet the 1/8-inch-in-10-feet requirement is a different project than one where the substrate is already within tolerance. That verification happens before the tile is ordered, because the preparation cost belongs in the budget before the client falls in love with a product that demands it.